


“Here to Help” is a support column written especially for Formstack’s awesome, loyal customers. This post is part of a four-post series highlighting connections to Zapier that can help you streamline your workflows.If you’re often buried in busywork, workflow automation can be your best friend.
With an online form connected to your favorite apps, you can update email subscriber lists, manage your CRM, collect payments, and more without having to lift a finger. You’ll accomplish tasks faster, your to-do list will get shorter, and you’ll have additional time to focus on bigger, more important projects. At Formstack, we provide over 40 native integrations that can help you automate your workflows. But you can go beyond our selection of offerings by using Zapier, a web automation app that lets you create custom integrations with over 650 different tools. Zapier calls these integrations “Zaps,” and you can choose to make your own or use one of their pre-made integrations.If you’re specifically looking to better manage your accounting and e-commerce workflows through your online forms, then you should pay particular attention to the QuickBooks Zap. This handy integration makes it easy to collect and store customer information in your QuickBooks account. Read on for a closer look at this Zapier integration and how to set it up on your Formstack forms.
Benefits of Connecting Formstack to QuickBooks
QuickBooks is a set of software solutions designed to manage payroll, sales, inventory, and other business needs. Zapier’s QuickBooks integration makes it simple to administer your e-commerce and accounting processes by using form submissions to create new customer profiles in your account. Here’s an example of how this works:
- A customer fills out a signup form for your service.
- The online form submission is sent to the Formstack database.
- Submitted information (like name, email, address, preferred payment method, etc.) is sent to QuickBooks and entered into a new customer profile.
Pretty easy, right? The QuickBooks integration works great for order forms, registration forms, contact forms, and any other e-commerce or accounting form that collects customer information.
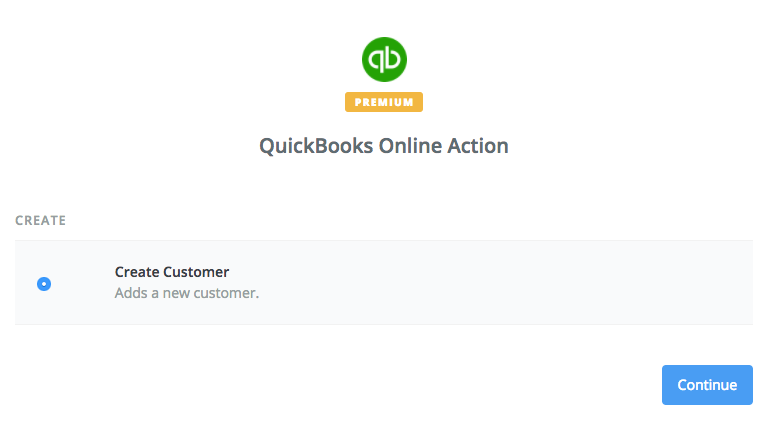
How to Connect Formstack to QuickBooks with Zapier
Ready to get started with Zapier’s QuickBooks integration? Check out the pre-made Zap below and follow these quick steps:
- Connect your Formstack and QuickBooks accounts in Zapier.
- Authorize the connection between both accounts.
- Choose which online form you want to connect to QuickBooks.
- Choose the form fields you want to use to create new customer profiles.
- Save your settings!
Want to learn more about using Zapier with Formstack? Check out our other Zapier integrations.


