


In this tutorial, we'll show you how to use Formstack Documents, Google Forms, and Google Spreadsheets to create personalized invitations. If you are an event planner, you probably have plenty of experience using spreadsheets to organize guest data. In this tutorial, you'll learn how Formstack Documents can help you transfer data from a spreadsheet into a custom template document to create personalized invitations that you can have delivered to your guests.
Â
Step One: Upload your template document to Formstack Documents.
Uploading your template document to Formstack Documents is easy. Simply add merge fields to your document in place of spreadsheet data. For example, a merge field to capture a customer name would be notated as {$customer_name}. You can create your template using our Document Builder or Microsoft Word. Here's an example of a template invitation with merge fields for the guest's name.

As you can see, you can include images and custom fonts. Formstack Documents will customize the document by transferring the information of each of your guests from your spreadsheet into your template document.
Step Two: Configure your document settings and delivery options
Next, you can specify the format of your final document. PDF is a good format if you'll be sending the document directly to the guest. In the second part of this step, you can choose what you want Formstack Documents to do with the document in terms of delivery. You can have send it directly to your guests, upload a copy to your CRM, or save it to a cloud-based storage tool, like Dropbox.

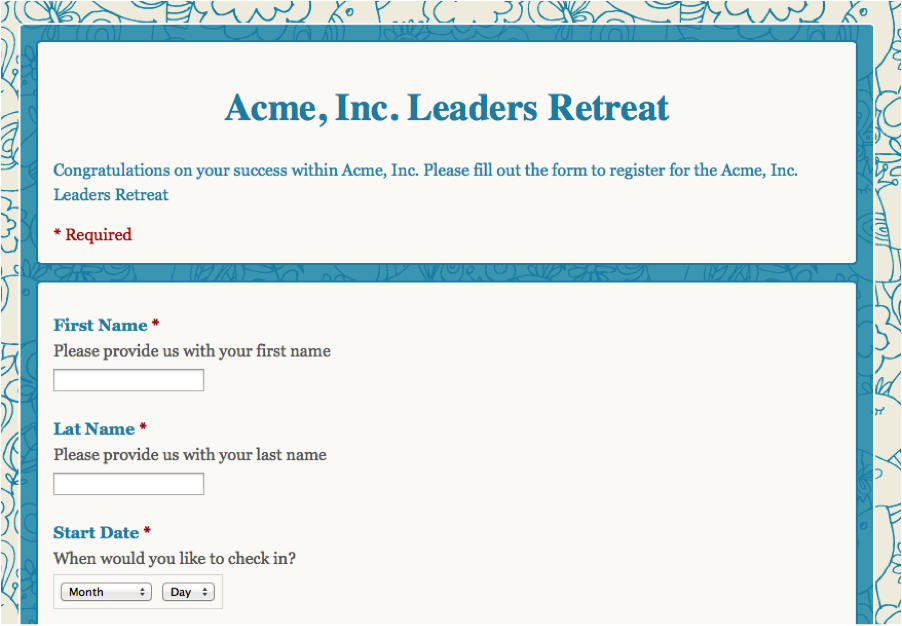
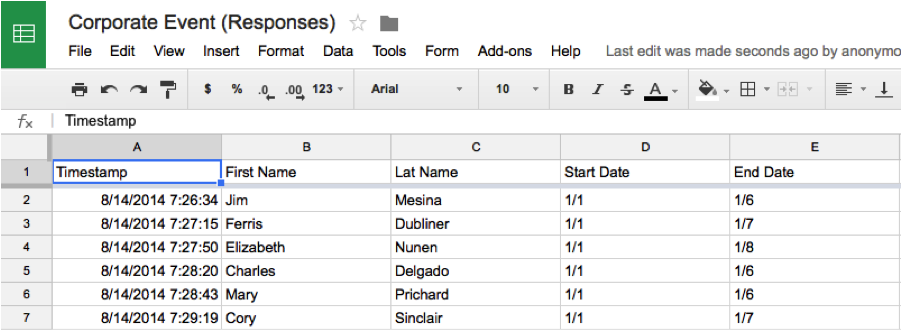
Step 3: Google Forms, Spreadsheets, and Uploading Data to Formstack Documents
When you use Google Forms you can specify that you want to store the information collected through the form in a Google Spreadsheet. Here we have our Google Form and the Responses Spreadsheet.
Now, in order to populate our custom invitation with the responses, we save our spreadsheet as a CSV file, go to Formstack Documents, and upload the CSV data. Click: File -> Download As -> CSV in the Google Spreadsheet menu. When you have your CSV file downloaded the next step is to upload and sync the data to your template through Formstack Documents.
Step 4: Syncing your Spreadsheet data with your Template Document
At Formstack Documents, in the last step, under the merge tab, you can upload your CSV file and map it to the merge fields in your template. Upload the file and select the fields from your responses spreadsheet that you want to match to the merge fields in your template.
Once you click Merge the Data, your template will be customized and your documents will be delivered to your cloud storage account!


