


"Here to Help" is a support column written especially for Formstack's awesome, loyal customers.
There are a lot of reasons you might want to set up an automatic calculation on your online form. Externally, form calculations can be helpful if you allow customers to submit an online booking, product order, event registration, or monetary donation. Internally, you can use form calculations to streamline online expense reimbursement requests as well as scored employee surveys, reviews, and training quizzes.Prepping your form to automatically calculate numbered totals can be tricky, but Formstack provides self-calculating form fields to help you get the job done. With self-calculating fields, you can assign values to certain fields on your form and combine the assigned values to calculate a total. With this functionality, you don’t have to manually calculate total values—which means you save a lot of time!Setting up form calculations can seem complicated at first, but the process can be boiled down to a few easy-to-follow steps. Let’s take a look:
Step 1: Add Appropriate Fields to Your Form
If you want your form to calculate a numbered total, it must contain two types of form fields:
- A field that can be given a value.
- A field that can perform a calculation.
Values
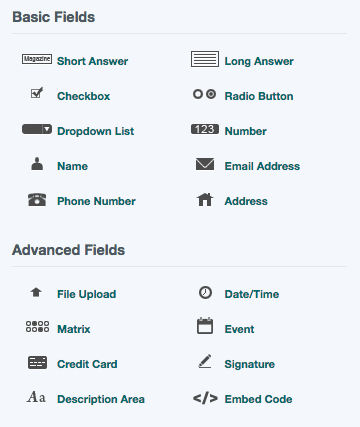
The Formstack builder has five basic fields and one advanced field that can be given a value:
- Checkbox
- Radio Button
- Dropdown List
- Short Answer
- Number
- Event
With Checkboxes, Radio Buttons, and Dropdown Lists, you’re able to assign a specific value to each option in the field. For example, you can have an online order form that contains a Dropdown List for T-shirt sizes that cost different amounts.With Short Answer and Number fields, you’re able to set a default value. For example, you can have an online order form for a book that costs one set amount. Number fields also allow you to set maximum and minimum values. This could be helpful if you want to let users enter a product quantity between 1 and 10, for example.With Event fields, you can set an event ticket price. For example, you can have an event registration form that allows customers to register for an event and purchase tickets at a default ticket price.
Calculations
The Formstack builder contains two form fields that can perform a calculation:
- Short Answer
- Number
Short Answer and Number fields can pull assigned values from the fields mentioned above and calculate a total price, score, or other value. Thus, these are the fields that can serve as your Total field.
Step 2: Assign Values to Your Form Fields
As mentioned above, in order to calculate a total on your form, you need to include form fields that have assigned values.To assign numbered values to options in a Checkbox, Radio Button, or Dropdown List field, follow these steps:
- Click on the appropriate field to bring up the edit options on the left side of the screen.
- Scroll down and click the Advanced Options Editor button.
- Find the List Options section in the bottom right portion of the Options Editor, and select the box next to Use Separate Values.
- When the Values column appears, add appropriate numbers to the column to assign a value to each label. Then, click Close.

Note: The values you assign in the Options Editor must be unique. This doesn’t mean you can’t have five options that all cost $5 or are worth 5 points. It simply means the values you assign must look unique. For example, if you wanted each of the above labels to be given a value of “5,” you would need to enter the values like this: 5, 5.0, 5.00, 5.000, and 5.0000.
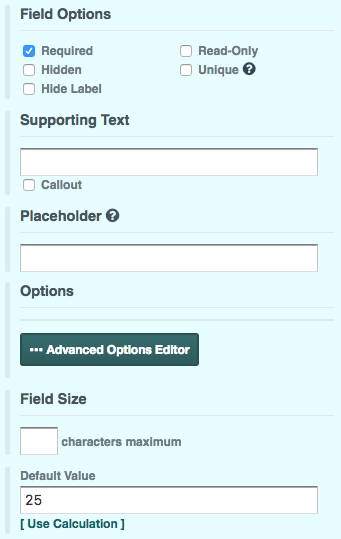
To assign a value to a Short Answer field, simply click the field to bring up the options on the left side of the screen, and type the appropriate value into the Default Value box.
Do the same to add a default value to a Number field. Additionally, if you want to add maximum and minimum values, enter those values in the Minimum Value and Maximum Value boxes.
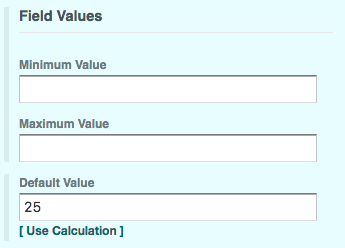
Note: If you are using a Number field for quantity or open-ended donations, you should set a minimum value of “0” so customers can’t accidentally insert a negative number.
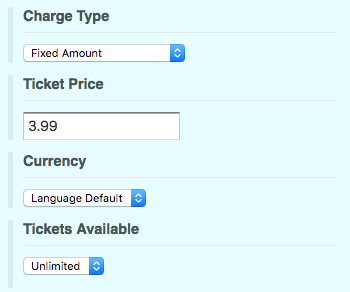
To add a value to an Event field, simply bring up the field options and add a price to the Ticket Price section.
Step 3: Set Up a Total Calculation
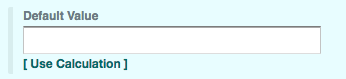
When you are ready to set up your total calculation, add a Short Answer or Number field to your form, navigate to the appropriate field options, and select Use Calculation to bring up the calculation builder.
Note: If you are totalling a price, it’s best to use a Number field for the calculation because Number fields allow you to include a currency type and a set number of decimal places in the total.
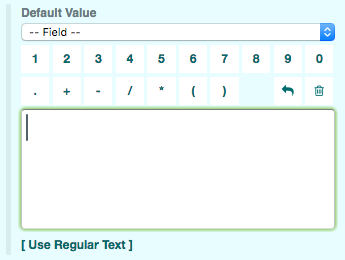
When the calculation builder pops up, you will see three sets of tools that you can use to set up your calculation:
- A dropdown list of form fields that appear on your form
- Numbers 0 through 9
- Mathematical symbols
To avoid confusion, please note that the asterisk (*) is the multiplication symbol and the forward slash (/) is the division symbol. Additionally, the arrow symbol is the backspace/delete button, and the trash can symbol is the clear button.
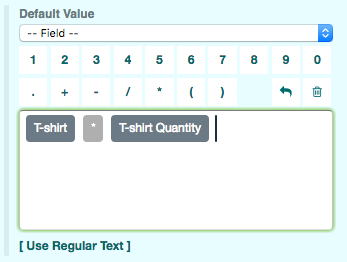
To build your calculation, select the correct value fields from the dropdown menu and separate them with the appropriate operators. (And be sure to follow the order of operations!) This will look different depending on the form type. For example, a scored quiz form will likely involve adding up scores from individual quiz questions, while an order form will likely involve multiplying a product price by a product quantity.Here is an example of a simple T-shirt order form calculation:
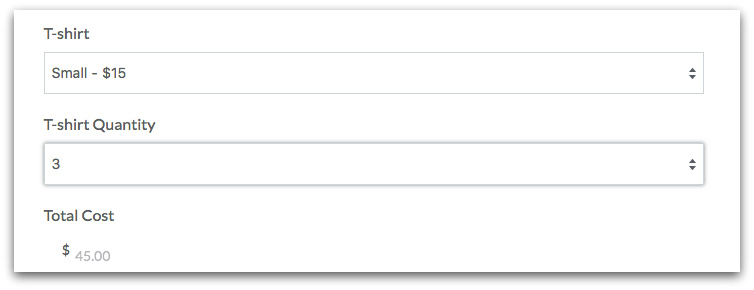
And here is how the calculation looks on the live form:
Note: You should set your total field to Read-Only so those submitting your form can’t edit their amount due, quiz score, etc. Additionally, you should make sure all fields that feed into your total calculation are set to Required so they aren’t accidentally skipped.
Step 4: Test Your Form
The final step is simple—but important! Before sending your self-calculating form into the wild, test it out to be sure your total calculation is functioning correctly. To do this, click the “View Live Form” button in the top right corner of the Build tab, and walk through your form as if you were the target recipient.
Want a closer look at setting up a calculation in Formstack? Click below to view a video tutorial.

