


Want to create a PDF document from information you collect through an HTML form? With Formstack Documents, it's easy!
Today, we're going to show you how to get started with this workflow. All you'll need is your HTML form and a template document with merge fields. When people fill out the form, their data would automatically populate the template, providing you with a customized document, ready for delivery. If you collect an email address, Formstack Documents can even deliver your documents directly from our application.
In this example, we will go through the process of creating an HTML form that collects contract information and automatically maps to a document in Formstack Documents.
Step 1: Create your template.
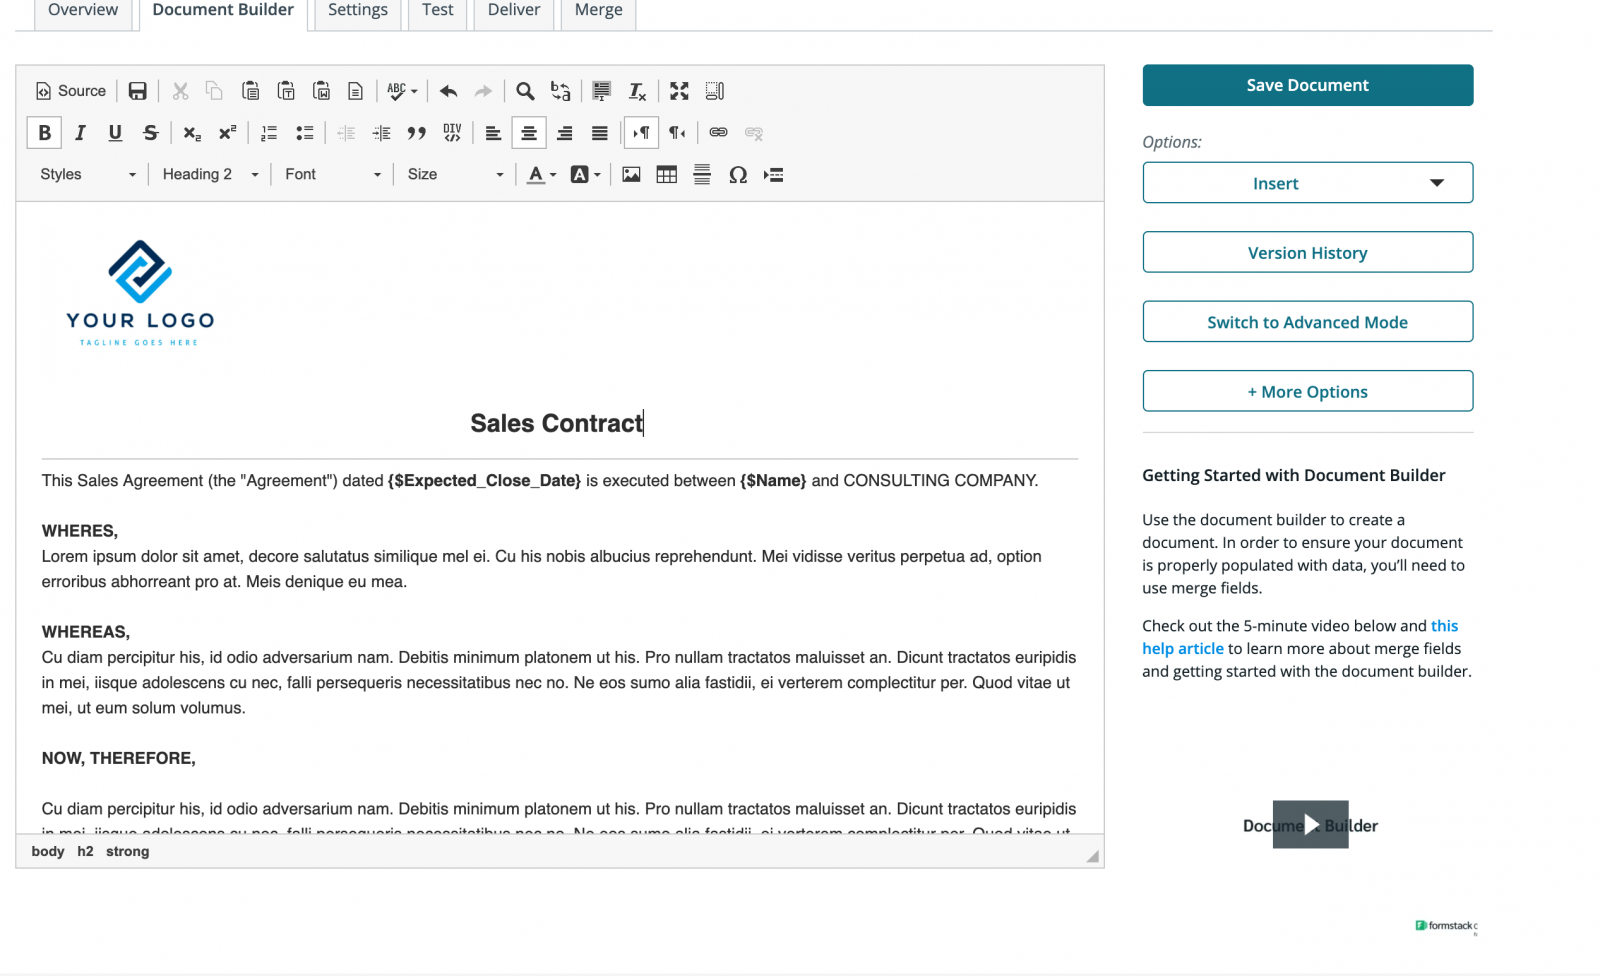
Our first step is to create our template document. We'll add merge fields where we want form data to populate in our document. You can create your template using our Document Builder or upload a Word Doc or PDF template.Â
Learn More: If you're looking for an in-depth overview of adding merge fields to your Formstack Documents templates, check out this blog post.
Here's a look at our contract template for reference.Â
Step 2: Establish your delivery.
After we've built our template document, we need to specify a delivery option. For example, you may want to email the completed document to your customer, send to Formstack Sign for a customer signature, or upload to a document storage app, such as Dropbox or . In this example, we're just going to send the completed document to customers in an email. Select the "Deliver" tab and choose "New Delivery." Select "Email." Here, you can add any relevant details to the subject line and body of your email.
Learn More: Learn how you could easily send this document for a signature with Formstack Sign.
Step 3: Create your HTML form.
Once we've made our template and it's ready for delivery, we'll create our HTML form. We have two options here. We can do this with a form we've created and hosted on our website, or we can use a form created and hosted through Formstack Documents. Let's start with a form we want to create and host on a website of our own.
OPTION 1
Build the form with the input names as the names of the merge URLs. In this example, we're using Date, MemberName1 and EmailAddress. We should also include a redirect URL, so that once the form is submitted to Formstack Documents, we can redirect the member to a "Thank You" page. Here's an example of the HTML:

Notice the action of the form should be set to the Merge URL. This can be found under the "Merge" tab in the "Document" section of your Formstack Documents account. Set the method to POST. When someone goes to your website and submits the form, the data will be merged and delivered!
Step 4: Run a test.
Populate your form with test data to ensure your form and documents are working properly. When you get responses to on your form, response data will automatically be merged with your template document and emailed to the email address provided by the responder. And that's it! Now, you can collect responses from customers using your HTML forms.

