


"Here to Help" is a support column written especially for Formstack's awesome, loyal customers.
Do you run an agency with several clients who require online forms for their websites? Or do multiple business units at your company create forms and access data for their work? If so, you could benefit from Formstack’s ability to add multiple users to an account.Our multi-user functionality was built specifically for customers who have several people editing or using forms, themes, and data. Not sure how to add or manage several users? Here’s your quick guide to managing multiple user accounts in Formstack:
Benefits of Multiple Users
With multiple users, you can assign unique permissions to people based on what they need to do. You can also get more people involved in the following ways:
Form Building
With multiple users, you don’t have to make all the forms yourself! Empower your colleagues with Formstack’s drag-and-drop form builder. As the administrator, you will still be able to view and edit all forms and keep an eye on submissions. It’s like the old “give a man a fish” saying: “Build a colleague a form, and he’ll be back tomorrow for another one. Teach a colleague to build his own form, and he won’t bug you anymore.”
Data Sharing
Adding users isn’t a requirement to share data; it’s easy to share with others who don’t have Formstack access. But there are benefits to adding multiple users to your account for data-sharing purposes: users will be able to view submission data at any time and can run their own reports, which takes work off your plate.
Theme Creation
Multiple users can share themes across the Formstack account, which helps to create consistent branding. And if someone designs an amazing custom theme, you can all take advantage of it. No need to reinvent the wheel—er, theme.
Approval Workflow
This feature allows you and other designated users to approve or deny form submissions. To use Approval Workflow, you must enable multiple users so approvers can access form data to approve or deny.
Miscellaneous Tasks
When you add additional users, you can grant them permissions to view, create, or have full access to forms. You can also restrict them to specific folders. This means you can assign your colleagues specific access without worrying about them a) stumbling upon sensitive data or b) messing up your awesome forms. For example, you can use permissions to allow someone to embed your forms on your website or run reports for a meeting.
How to Add Users
Adding users is simple! Just click the My Profile icon at the top right of the Formstack screen and select Users. When the Users screen opens, click the New User button.
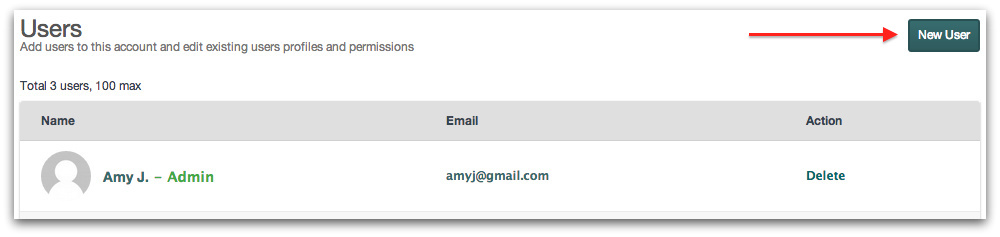
Enter the new user’s email address and click save. If you ever run out of user seats, simply upgrade to the next Formstack plan.
How and When to Use Different Permissions
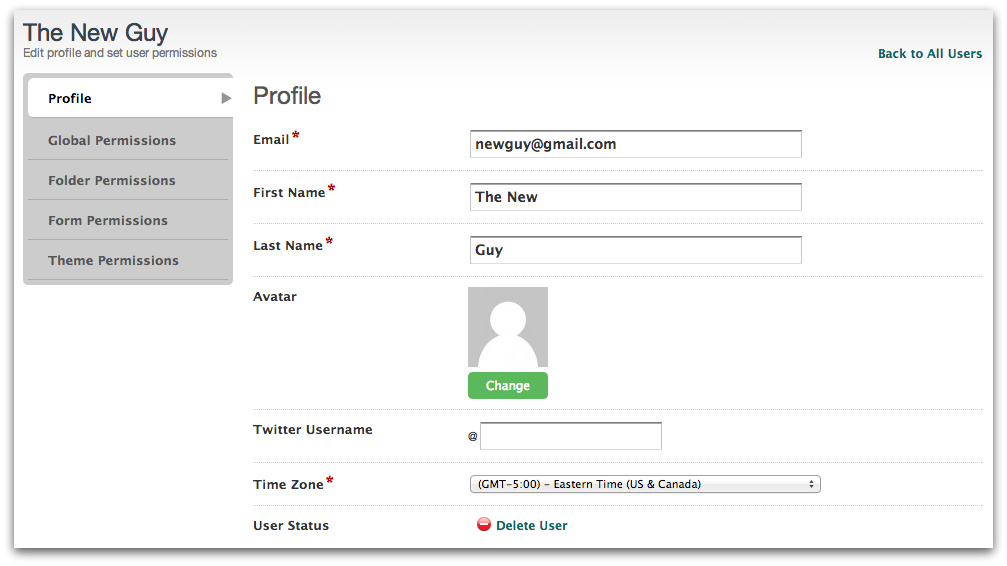
Permissions dictate what a user is allowed to do within Formstack. There are four major types of permissions, and each is explained in more detail below.To edit a user’s permissions, click on the user’s name under Users. This will take you to a page where you can edit the user’s information and permissions.
Global Permissions
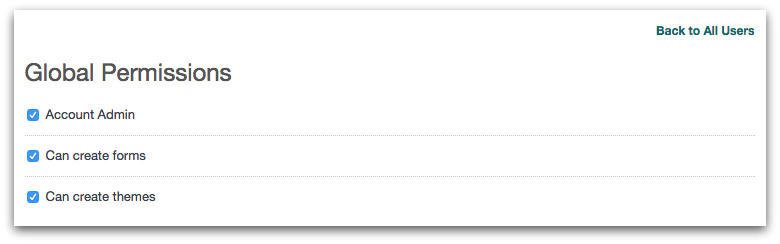
Once you’ve added a new user, you want to be sure that his or her access is limited appropriately. Click on Global Permissions to choose if the user is allowed to create forms, create templates, and/or have full admin access to the account. Keep all boxes unchecked if you don’t want the user to be able to create anything. Options are Account Admin, Can create forms, and Can create themes.
- When you should use them: Whenever you add a new user! Not everyone needs the ability to build forms and themes, so use this area to determine new users’ access.
- Use case: Alison Admin decided to teach Marketing Mary how use Formstack and changed her permission to include Can create forms. As the head of the marketing department, Mary is now able to build her own forms, run reports, and use the data to make better marketing decisions.
Folder Permissions
You can grant permission for a user to edit and/or view forms that are in a specific folder.

- When you should use them: Granting folder permissions is helpful if you separate your folders by department. That way, you can permit access only to the relevant players. Options are Folder Admin, View + Edit, and View only.
- Use case: Alison Admin gave HR Hank Folder Admin permissions for the entire Human Resources folder. Now, he can create, edit, and view all of the HR forms. Additionally, Alison granted HR Assistant Henry View only permissions for the HR folder. He can review submitted data but cannot edit or create forms.
Form Permissions
This setting permits a user to have access to individual forms.
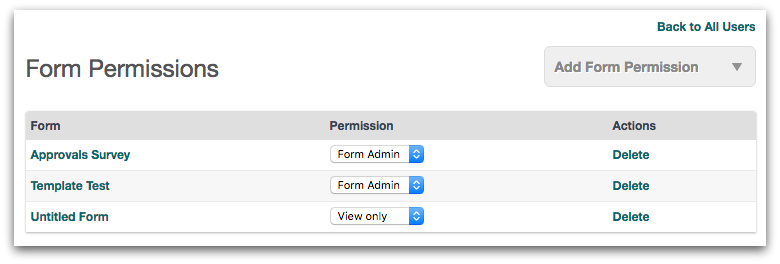
- When you should use them: If you have coworkers who ask for specific forms to be created, you might want to grant them form permission. That way, they can review submissions, run reports, and crunch data by themselves. Options are Form Admin, View + Edit, and View only.
- Use case: Alison Admin wanted to give Intern Isabell some ownership within Formstack, so she granted Isabell the ability to view a single customer survey. That way, Isabell can review submissions and settings for the form but can’t make any changes to it.
Theme Permissions
You can set permissions for individual theme templates. You’ll see a list of your themes and can control what a user can do with each. With "Use only" permissions, users can use (but not change) a theme. Full permissions allow a user to use, edit, and delete the selected theme.
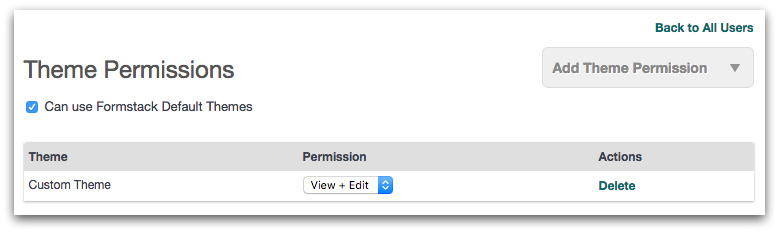
- When you should use them: Granting different theme permissions is helpful if members of your team are capable theme designers. You can also use it to restrict specific users from certain themes. Options are View + Edit and Use only.
- Case use: Alison Admin wanted Designer Denise to update the company themes after a rebranding campaign. She granted Denise full access to use, edit and/or delete the custom themes.
Note: You do not need multiple user accounts in order to send submitted data to multiple email recipients, share submitted data using share URLs or RSS feeds, or allow multiple users to submit a form.
To continue exploring Formstack’s multi-user functionality, click below to check out our infographic on the available permissions.

