


Creating templates is an important way to make the most of your Formstack Documents experience. We've pre-built a lot of options for you that can be easily tweaked to fit your needs. But you probably already have a lot of pre-made documents. Having the ability to automatically populate the documents you use every day is a game-changer.
In order to use Formstack Documents to automatically populate your documents, you'll need to create fillable PDF documents. So we're going to show you how to make your Word documents and standard PDFs fillable. To get started, you'll need a PDF editing software program like Nitro Pro or Adobe. For this example, we'll be using Adobe Acrobat Pro.
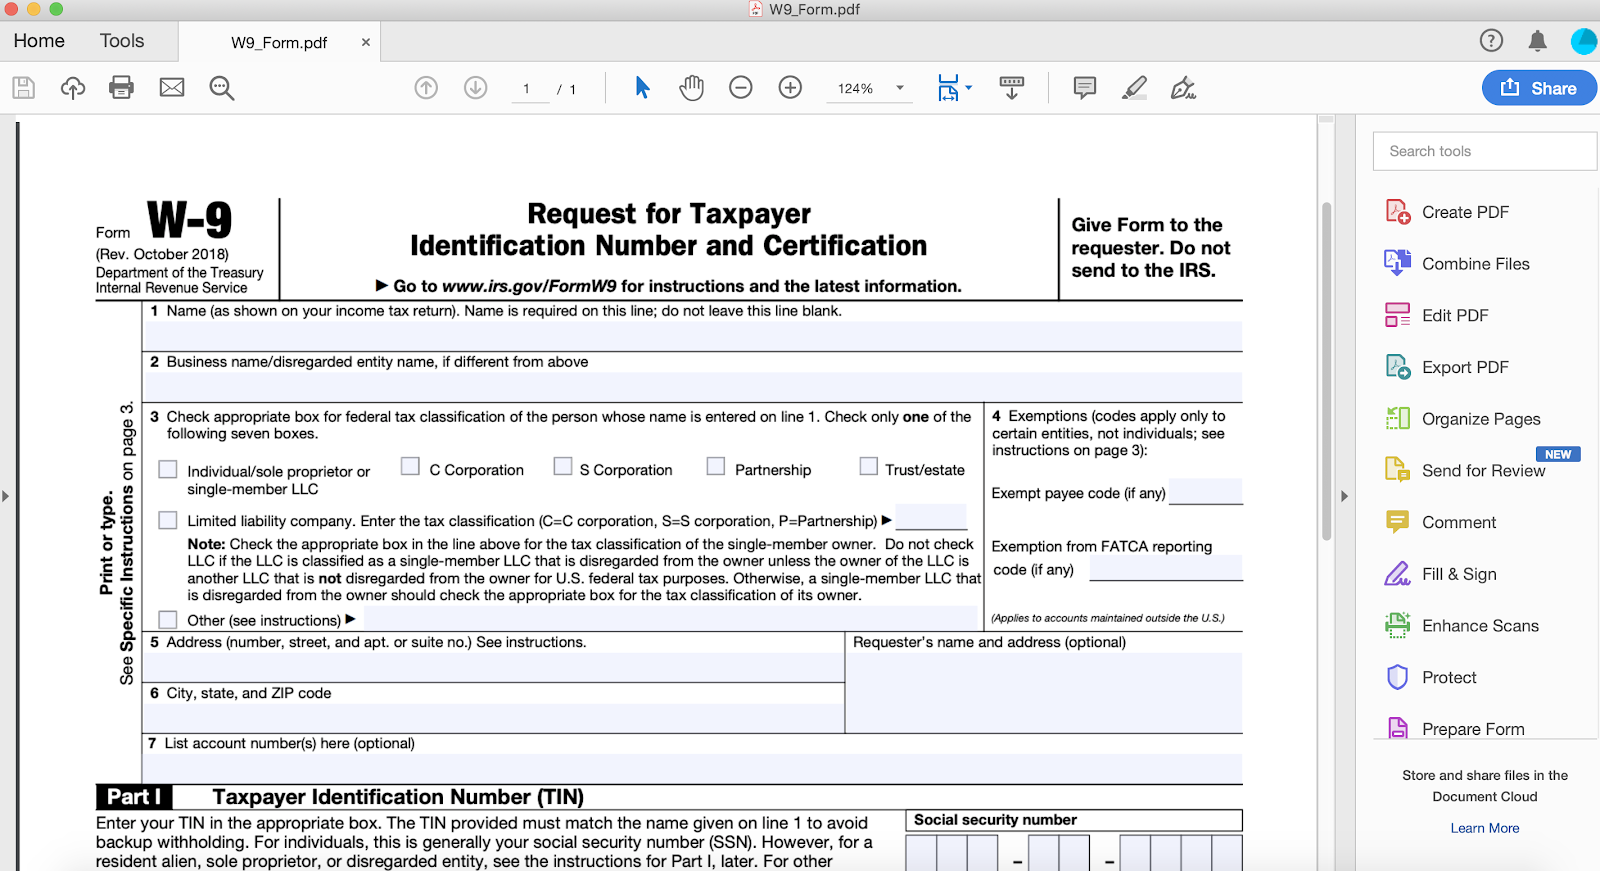
Step 1: Prepare your form.
On the right-hand side of your screen, you'll see the option to Prepare Form. (If this option is not there, click Tools on the top navigation. You'll find the Prepare Form tool under Forms & Signatures.)
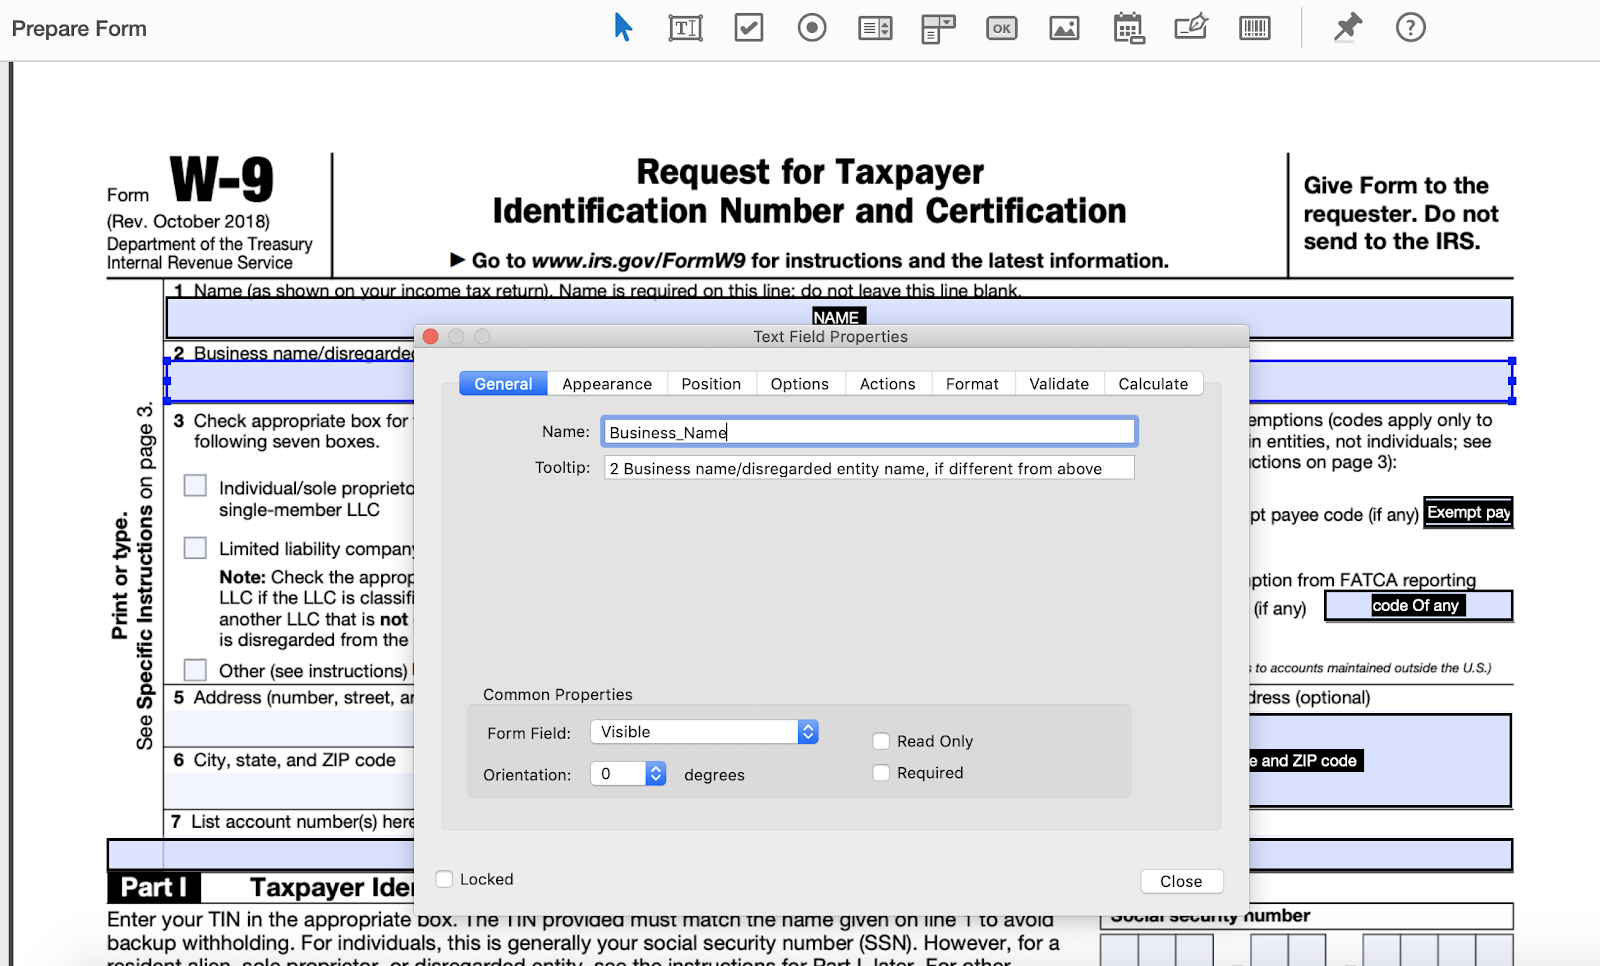
On our form, Adobe recognizes the fields and automatically inserts text fields for us. However, the field names are random and inaccurate.

To make the Formstack Documents integration process as smooth as possible, we'll want to take some time to better define our document fields. You can edit the name of your fields by double-clicking inside each text box. Here are a few tips for field naming conventions:
- Make sure to use unique names for each field.
- Use field names that are easy to understand.
- Don't use numbers on their own (e.g., '123') or include spaces, punctuation, special characters, or hyphens.
NOTE: Using underscores so the field names are easy to read is fine.
Step 2: Update missing fields.
Adobe may not have automatically recognized all of the fields in your document. If that's the case, you can manually add text fields by selecting the Add a Text Field button on the top navigation bar.

Step 3: Add special fields.
In our document, Adobe didn't automatically recognize checkboxes. We'll need to add them manually.
Adding checkboxes to your fillable PDF is a little trickier than just updating the field name. Each check box in your PDF has an Export Value. This is sort of like this box is checked when X is true. When the value that you are passing to the PDF matches your Export Value, the check box will be checked.
In our W-9 document, we want to collect information about a person or organization's federal tax clarification. Once we've used the check box tool to update our field name, we're ready to update the ExportValue. Under Options, we've updated the Export Value to match the text in our form.

NOTE: Export Values for a checkboxes are limited to 125 characters.
You're done! Once you've created your fillable PDF, simply upload it to your Formstack Documents account, and we'll take it from there.
Formstack Documents makes automating your document creation a breeze. See for yourself by starting a free trial today!

