In today’s legal landscape, efficiency is key. From managing your legal matters, to communicating with clients and participants, it’s important that you don’t waste any time. One great way you can keep track of your entire practice is to use a Practice Management system like AdvoLogix.
With AdvoLogix, you can easily manage all things that are related to your legal matters. AdvoLogix is built in the cloud (powered by Salesforce), so it’s available from anywhere on any device. You’ll never be out of touch with the progress of any case.
AdvoLogix has a great document management tool as well. You can easily save all the legal documents associated with your matters and allow your team to edit them with ease. One thing missing is document generation. Formstack Documents is the solution!
With Formstack Documents, you can automatically generate all the documents you need for your matters. From letters to your clients, to filling forms with the court, you’ll never copy & paste again! In this example we’re going to show you how to generate a Welcome Letter to send to the clients when a new Matter is created in AdvoLogix.
To get started, we’re going to setup the template for our letter. We’re going to use a Word document as our template, so go ahead and open up your letter in Word. For each piece of information that we’d like to insert into the letter (name, address, etc), we need to add a Merge Field. These merge fields can be named anything you’d like and they looks like {$Name}, {$Address}, {$MatterName}, etc.
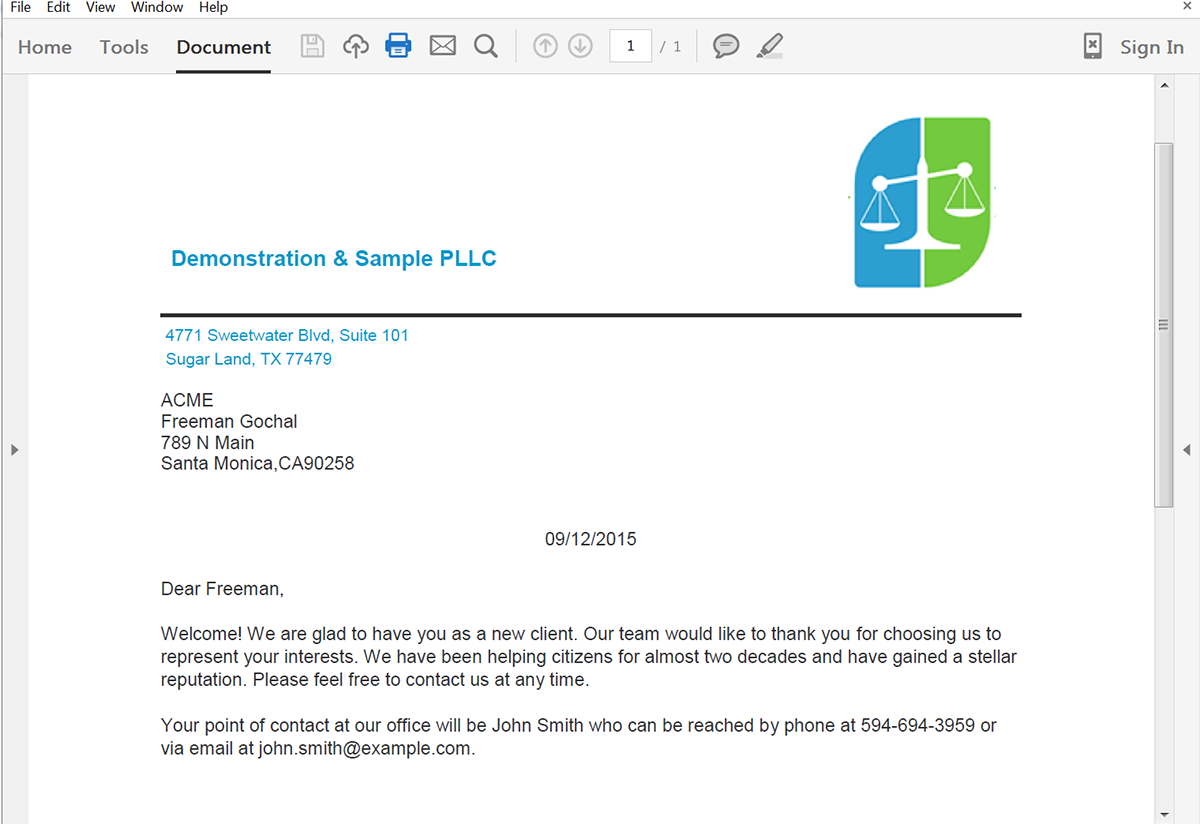
Here’s what our template looks like:

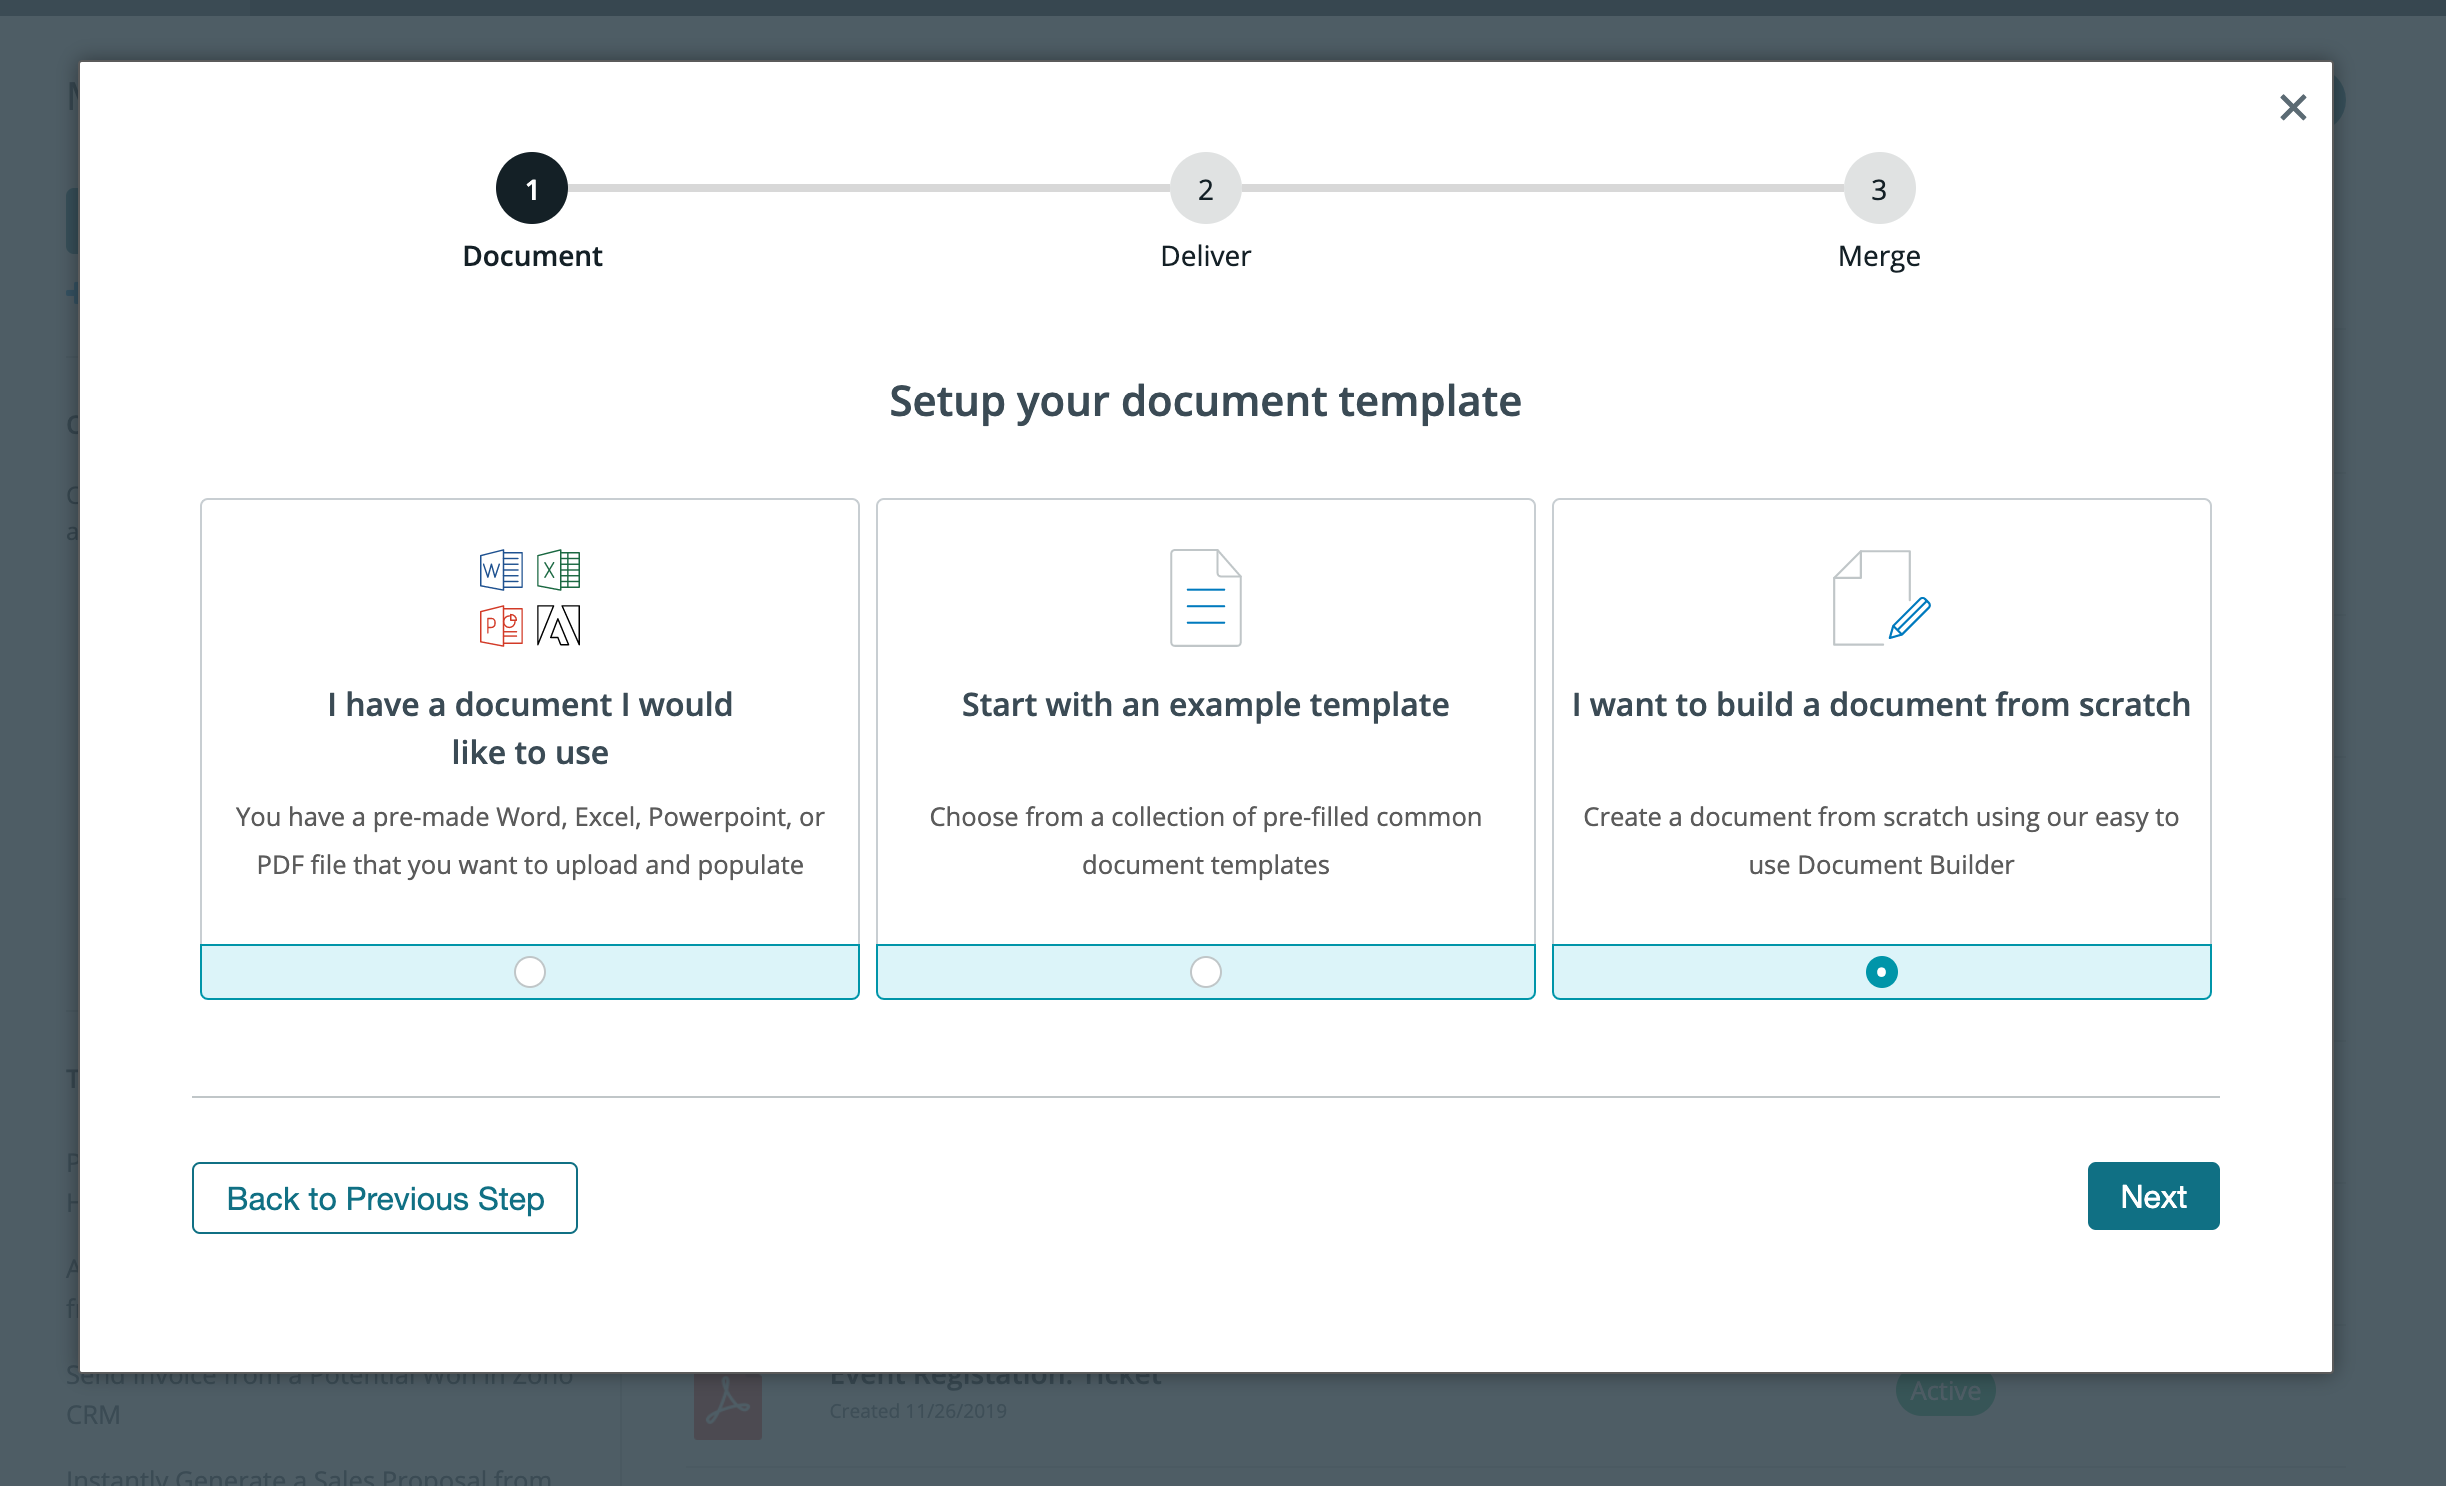
Once we have the letter template all finished, we need to upload it to Formstack Documents. From the Documents page in Formstack Documents, click the New Document button then enter a name for the document. On the next step, pick Office Document as the document type and then pick the file from your computer.
After you’ve uploaded your template, you’re going to be taken to the Settings tab. Here, you can change the name of the generated letter, the type of file that is generated, and more. For this example, we’re going to generate a PDF and we’re going to add the primary contact’s name to the file name.
Next, we need to setup how we want the letter delivered. We could just send the letter via email to our client, but that’s boring. Let’s mail it to them like a real letter! To send the letter via postal mail, we’re going to use a service called Lob.
From the Deliver tab, click the New Delivery button and then choose Lob. To send the letter, you need to define the To and From address. For the To address we’re going to use the merge fields from our document and then the From address, we’re going to choose the << other >> option and then type in our real address.
After you have the Lob settings finished, we’re ready to setup the integration with AdvoLogix!
If you haven’t done so already, install the Formstack Documents from the AppExchange and then follow the installation instructions.
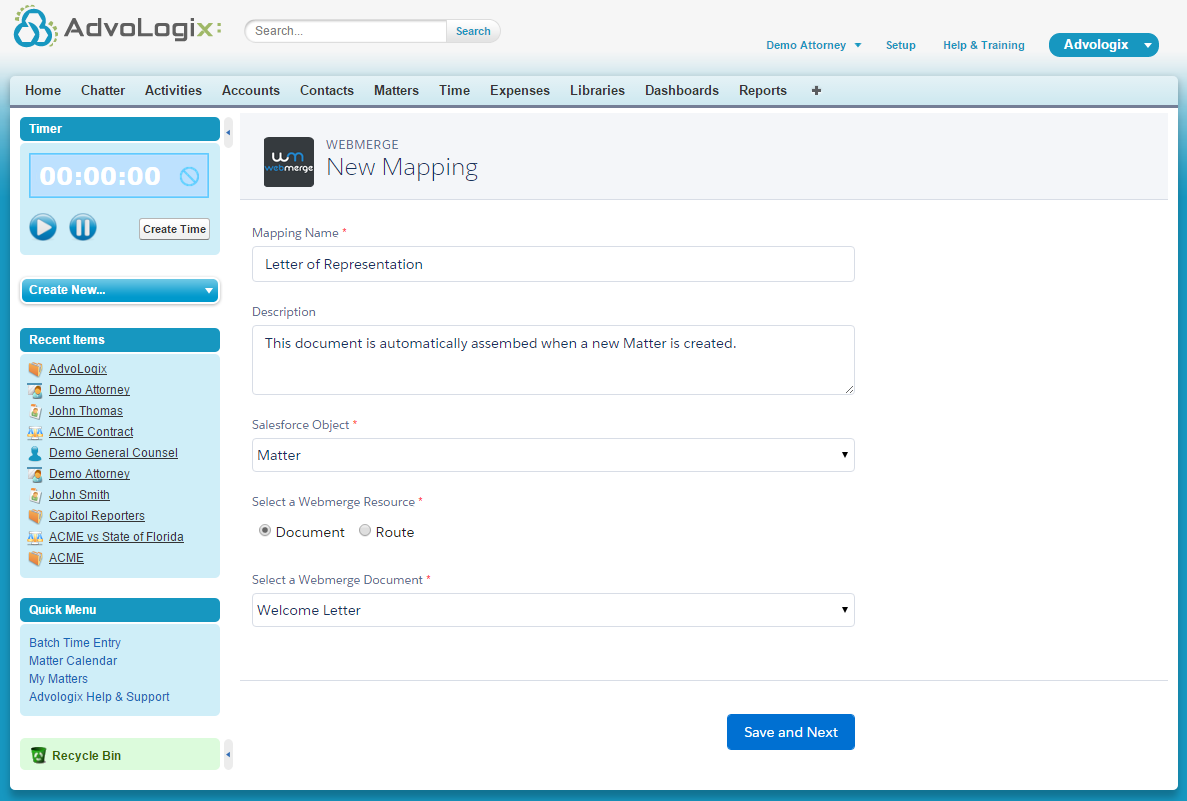
Inside AdvoLogix, we need to setup a mapping for our new document. From the Formstack Documents Mappings page, click the New Mapping button. This mapping is going to tell AdvoLogix how to send data over to Formstack Documents so that it gets populate in our letter correctly.
From the New Mapping page, enter a name and then select Matter as the Salesforce Object. Then pick your letter from the Formstack Documents Document dropdown and click the Next button.
On the next step, you’ll see the same settings at the top of the page, but you’ll want to scroll down to the Field Mapping section. You should see a list of all the merge fields that you have in your letter. For each of those merge fields, select the corresponding AdvoLogix field from the dropdown on the right.
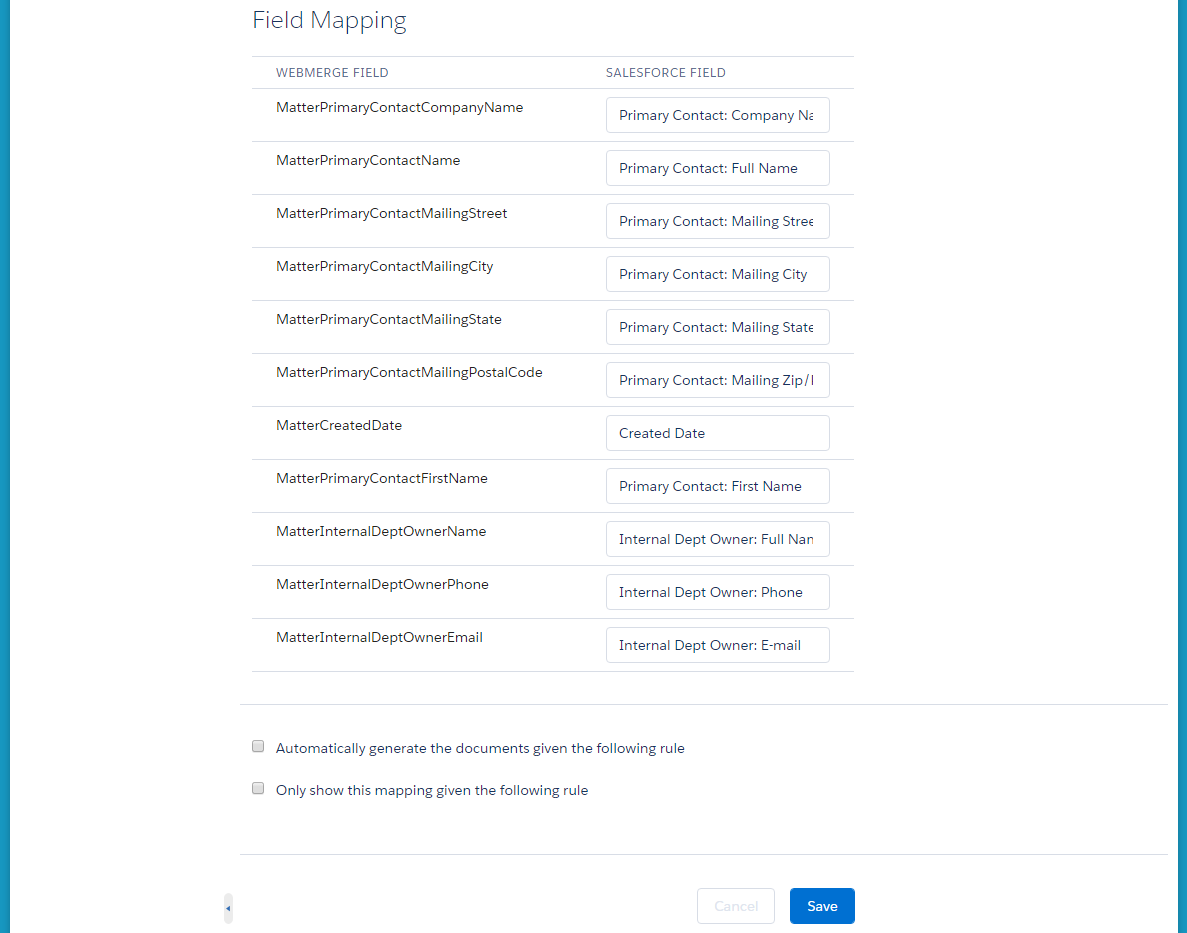
After you have all of the fields matched up, go ahead and click the Save and Activate button at the bottom of the page. This will make your mapping available for merging.
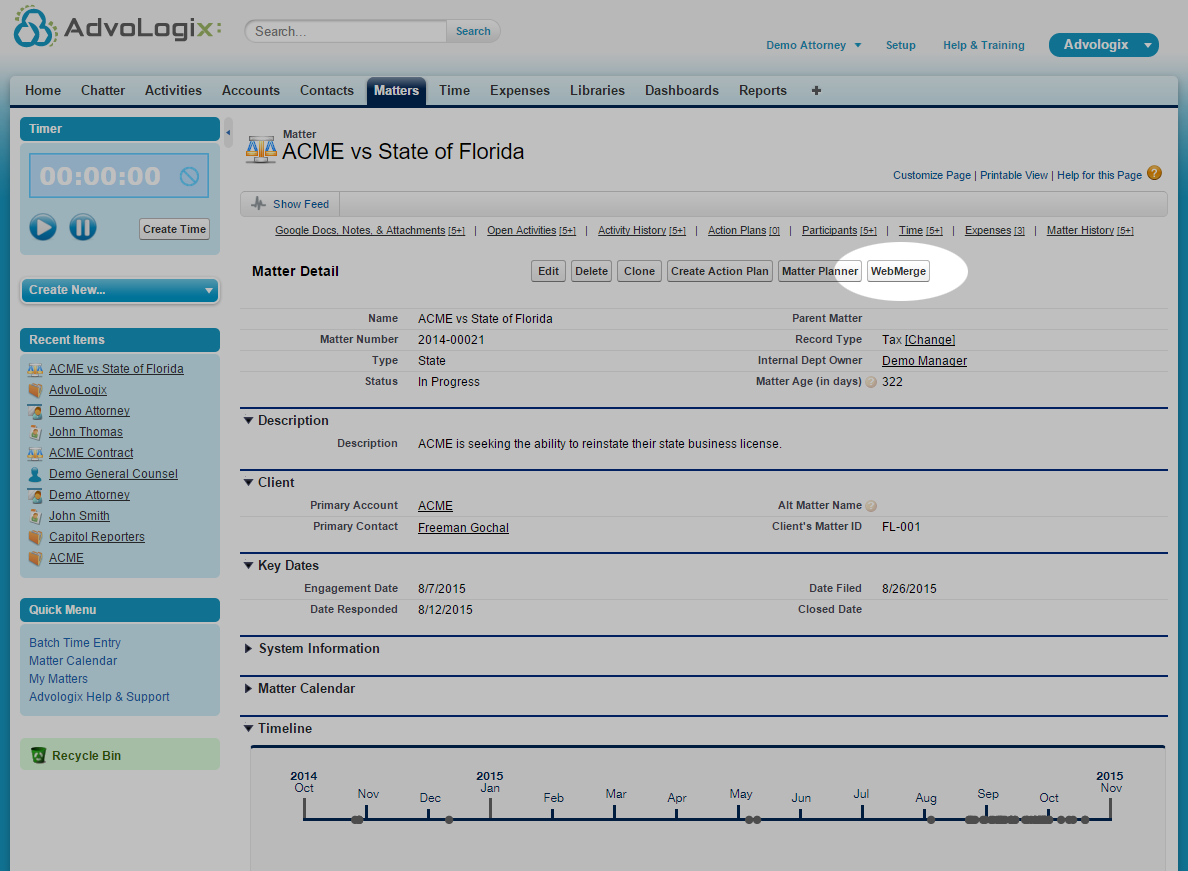
It’s time to run a test! Go ahead and open up one of your Matters. On the matter detail page, you’ll see a Formstack button (you’ll need to setup this button). Go ahead and click that button.
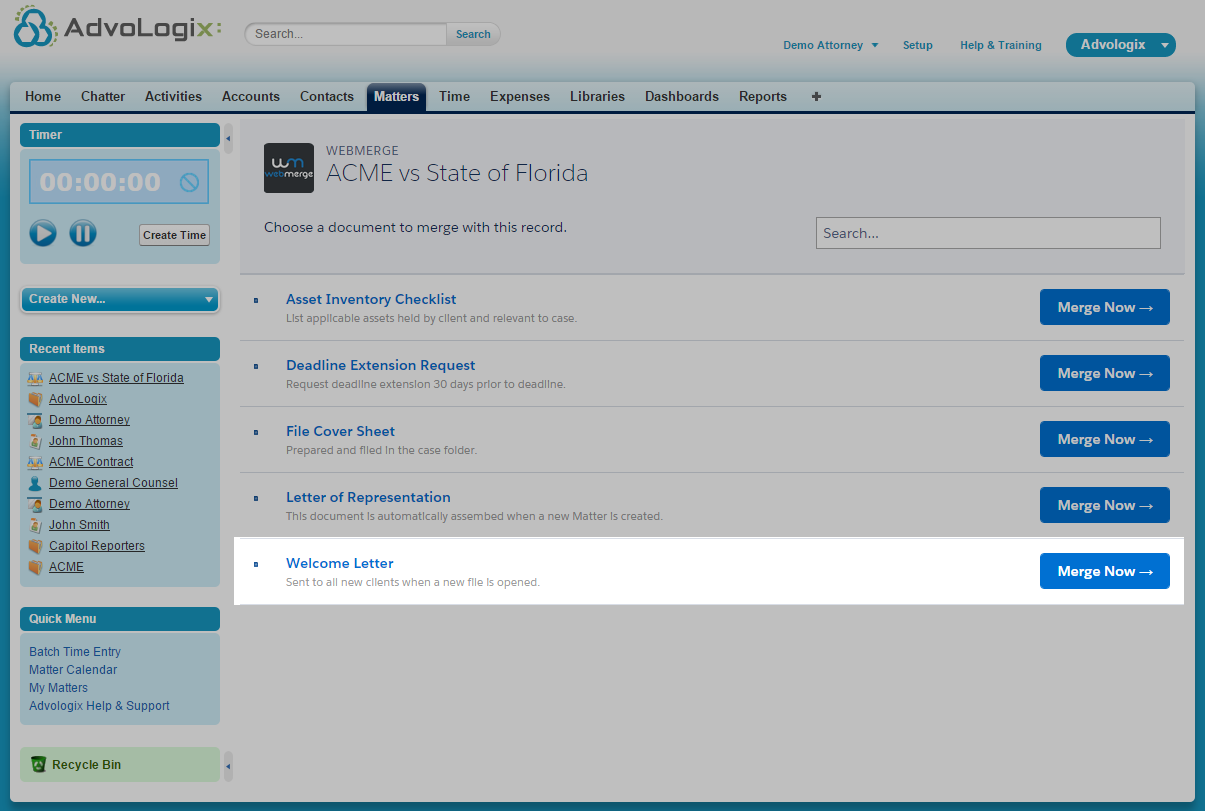
On the next screen you’re going to see a list of the mappings that you have setup and available for merging. Go ahead and pick your Welcome Letter mapping and your document will be generated and sent over to Lob!
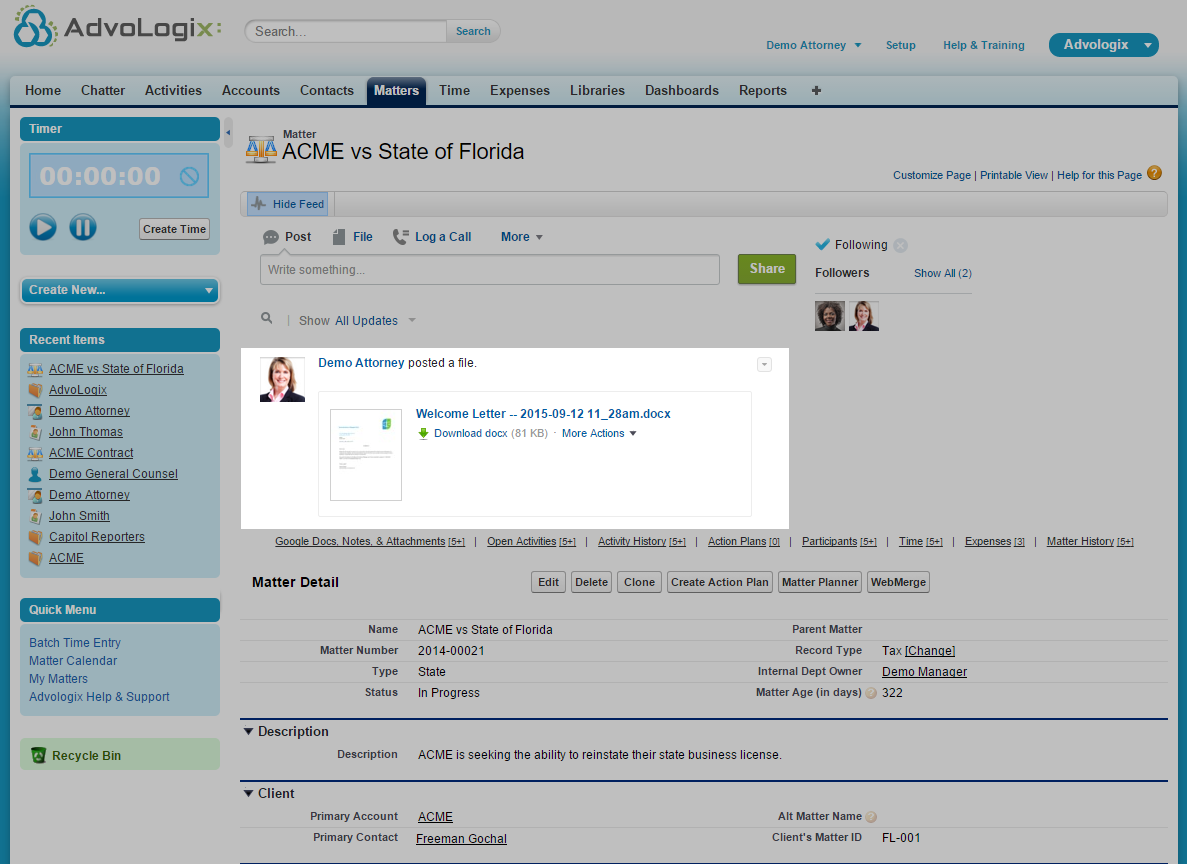
If you find any issues with the document or the mapping, go ahead and fix them now. You can also login to your Lob account and download the letter for review. We've also decided to post our letter to Chatter so that we can easily see a history of the documents generated.
Here’s a bigger version of what our letter looked like: