


Managing your small business has never been easier than with Xero accounting software. From your billing to payroll to contact management, Xero has got you covered and will save you hours upon hours every month. Xero has a built in feature to send invoices to your customers and it will show you when they have viewed the invoice, but customization is limited.
With Formstack Documents you can generate customized invoices, receipts, letters, and more directly from your Xero account. In this example we’re going to show you how to create a customized invoice from Xero and email it directly to your customer. We’ll be using Zapier to help connect Xero with Formstack Documents.
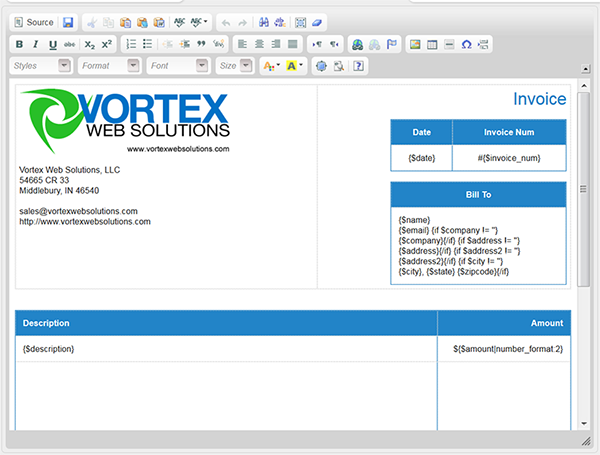
Our first step is going to be to build our invoice template in Formstack Documents. We’re going to use our online builder for the invoice and we’ll add our logo, business info, customer info, and the product info. As you can see below, our merge fields look like {$business_name} and {$address}.
Once we have the document setup, let’s update our email delivery so that the merged invoice is emailed directly to our customer. Under the Delivery tab you should see the default email delivery. Go ahead and click the Edit button then you’ll want to choose/enter the email field code in the “To” setting.
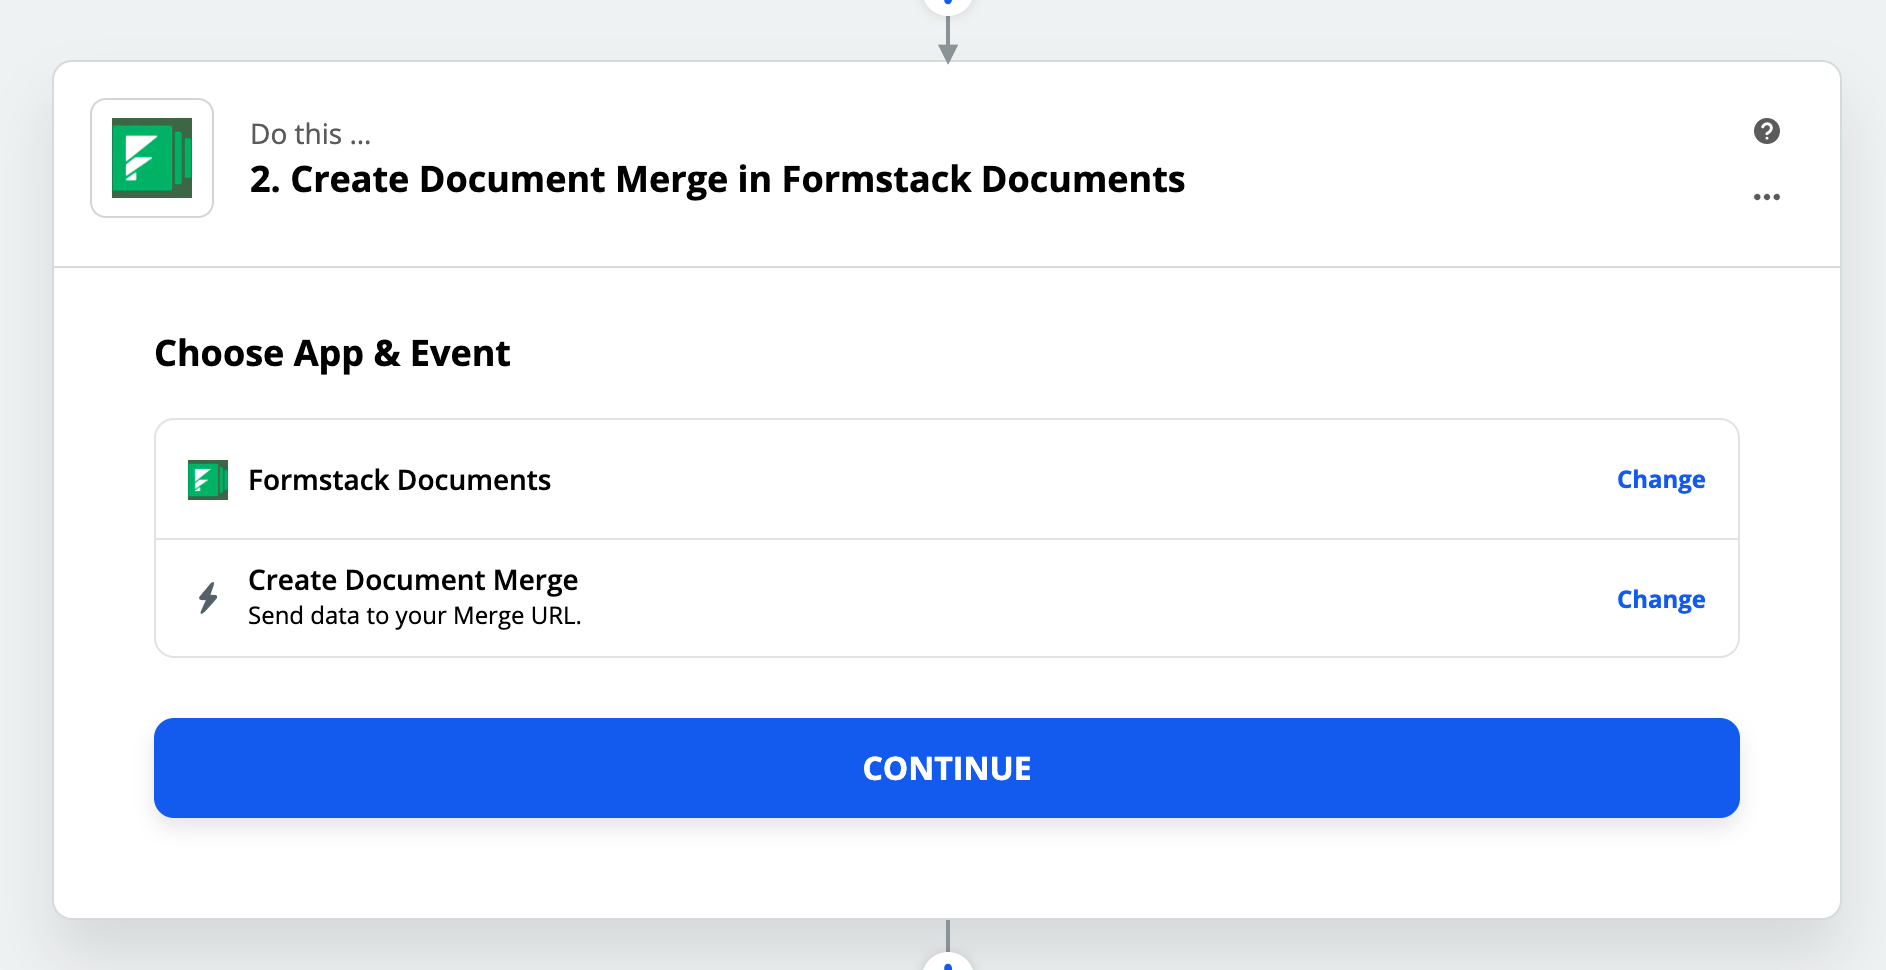
Our next step will be to integrate Xero with Formstack Documents by using Zapier. We’ll create a new Zap that is triggered when a new invoice is added to Xero and then Zapier will send that information directly to WebMerge to generate the merged document. Go ahead and start a new Zap, link up your Xero and WebMerge accounts, then pick your newly created invoice document from the document dropdown.
After you select the invoice from the document dropdown, all the merge fields in the document will be loaded. Your next step will be to “match” those fields to the corresponding Xero fields. This tells Zapier how to send the data to Formstack Documents.
Next, it’s time to test the Zap! At the bottom of the Zap setup, there is a button you can click to test the Zap. This will grab an invoice from your Xero account and send it over to Formstack Documents. Go ahead and follow the instructions. Here’s what our test produced:
Now that you have your invoices being generated automatically, are there any other documents you can automate? Maybe payments receipts or new customer letters? The possibilities are endless and you’ll save time and money along the way! Start a free trial today!

