


Who needs a workflow for applications?
Have you ever had to wait in line at the BMV for hours just to complete a simple form? It’s not fun for anyone, but employees in the public sector are often overwhelmed by the sheer volume of citizens who visit their offices each day.
Government offices need to modernize in order to resolve widespread productivity concerns. The government of the future will meet citizens where they are by collecting information and file uploads online. This will provide faster processing of claims, real-time status updates, and overall smarter services.
Today, we’re sharing a tutorial on how to use Formstack Forms and Documents to automate applications. This tutorial is specific to parking permit automation, but similar steps could be used to automate rental applications, new customer applications, employee applications, and more.
What You Need for this Parking Permit Workflow
- Parking permit document template
- Parking permit application form
- Formstack Forms account
- Formstack Documents account
6 Steps to Automated Parking Permit Applications
Step 1: Add your parking permit template to Formstack Documents.
To get started, log in to your Formstack Documents account, and upload your parking permit template. You’ll want to make sure your document is either a fillable PDF or Word document with merge fields added where you’d like information to populate.
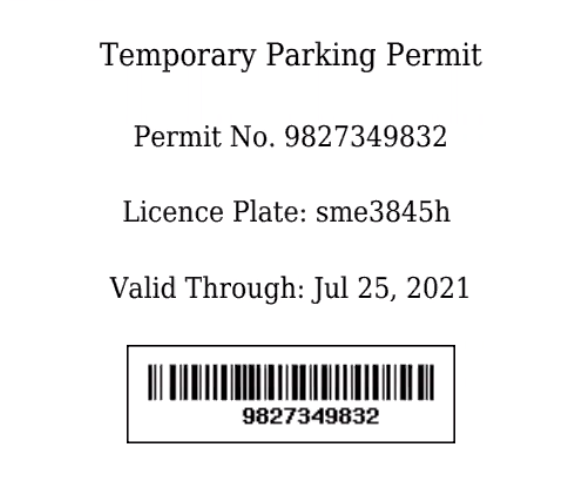
For this example, we’re going to create a simple permit using the Formstack Documents builder. To create unique permits and prevent duplication, we’re going to add a scannable barcode to each permit.
To add a barcode, head over to Barcodes Inc. Title your barcode with your merge field (we’re calling this field {$NewPer}). Select “Link or embed this code,” and grab the first link option.
Back in Formstack Documents, select the image icon, and add your link to the URL field.

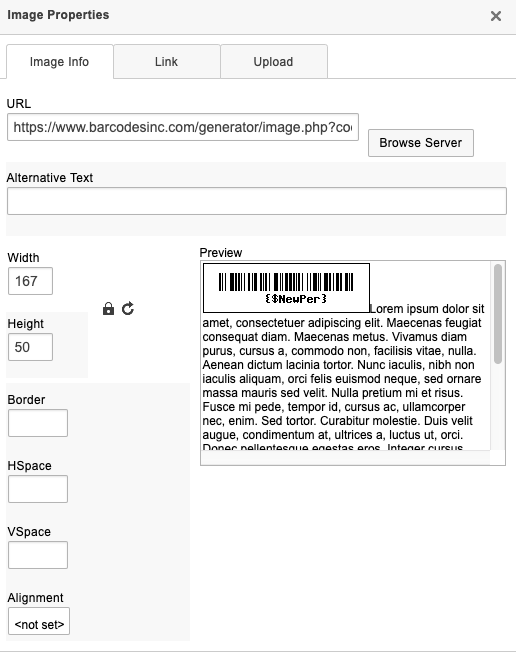
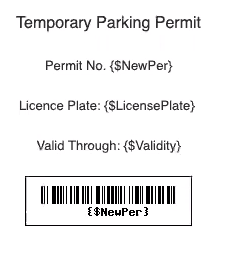
Here’s a look at our final template:
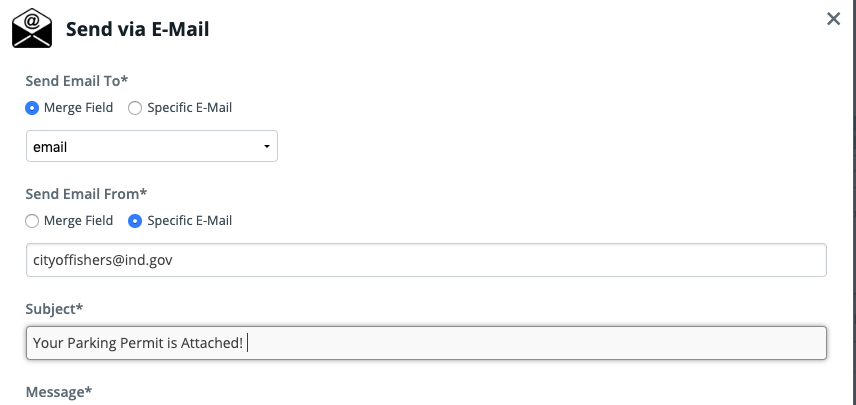
Step 2: Set up your file delivery.
After you’ve set up your document template, head to the “Delivery” tab, and select “New Delivery.” Here, you can create the email that will automatically send approved applicants a unique parking permit once.
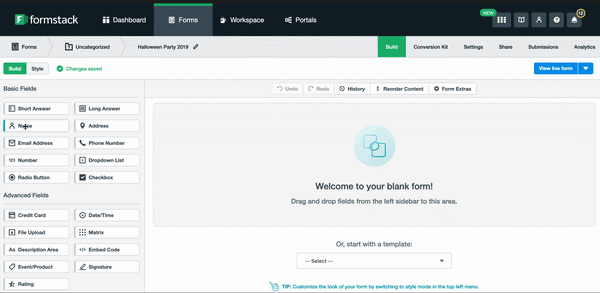
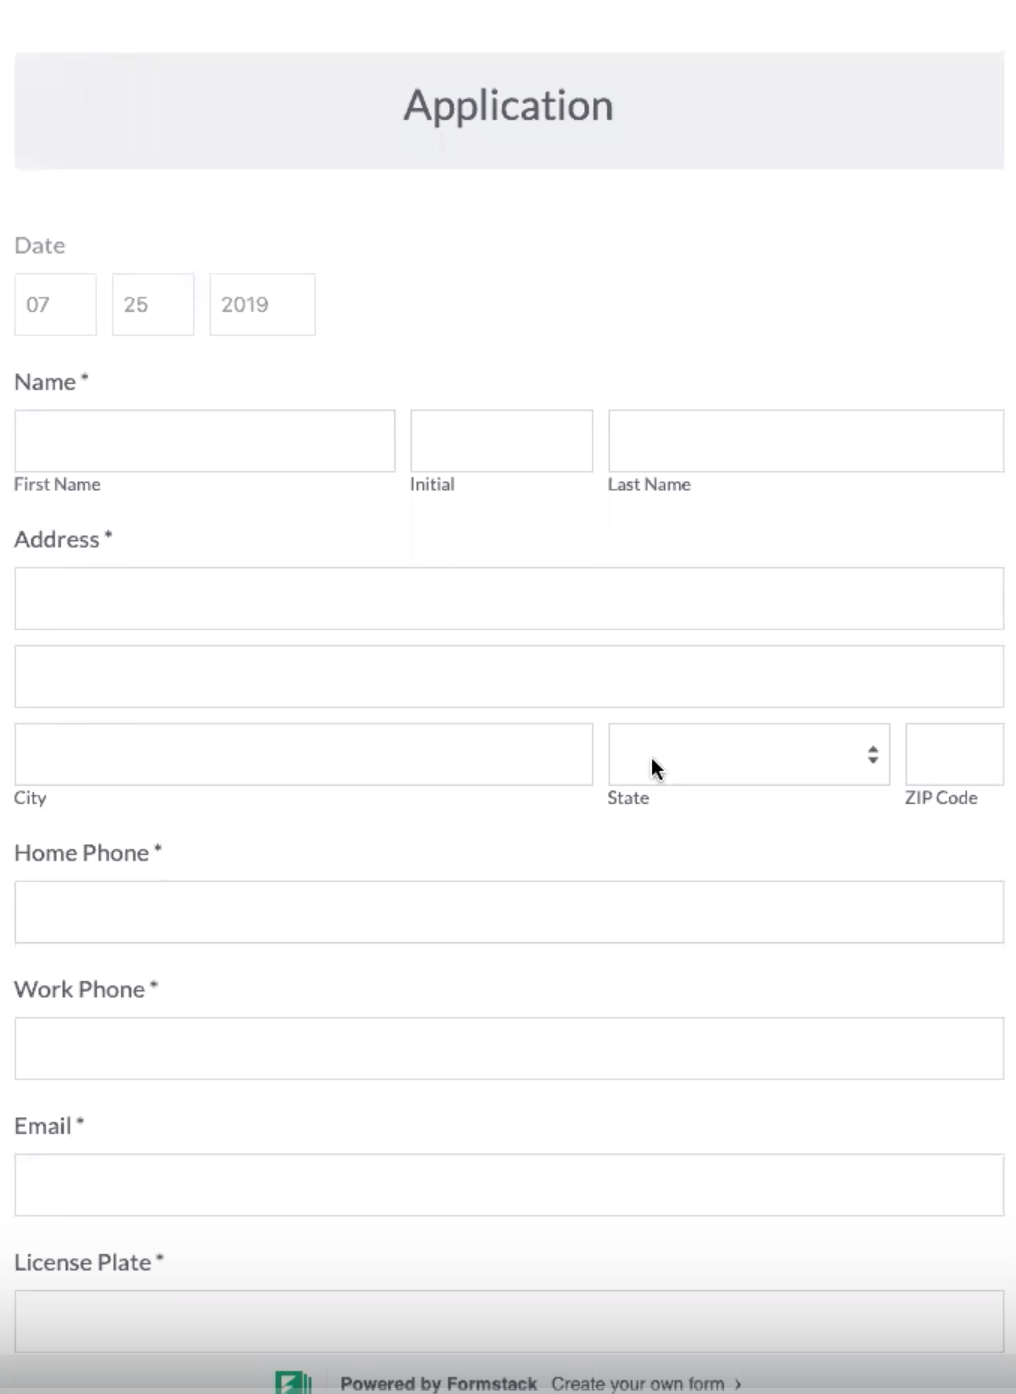
Step 3: Build your form.
Next, we’re going to log in to our Formstack Forms account and build our parking permit application form.
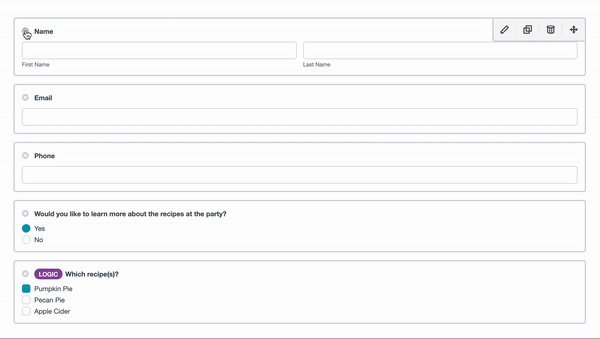
Building forms with Formstack is really easy. With the drag-and-drop form builder, you simply pull in the fields you’d like to appear on your form.
We’re going to add in a couple features to make sure our form is really easy to use. We need to ensure we capture details like our participant’s email and mailing address so that we can send their parking permit. We’ll make those fields required.
Here’s a look at our final form:
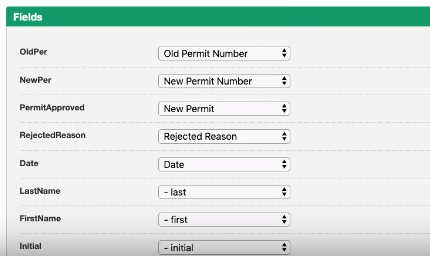
Step 4: Connect to your document.
Navigate to the “Settings” tab, and select integrations. Here, you’ll see the Formstack Documents integration right at the top. Open the integration settings, and add your API Key and Secret. This will connect your Formstack Forms and Formstack Documents accounts. Then, we’ll select our parking permit document, and map our fields.
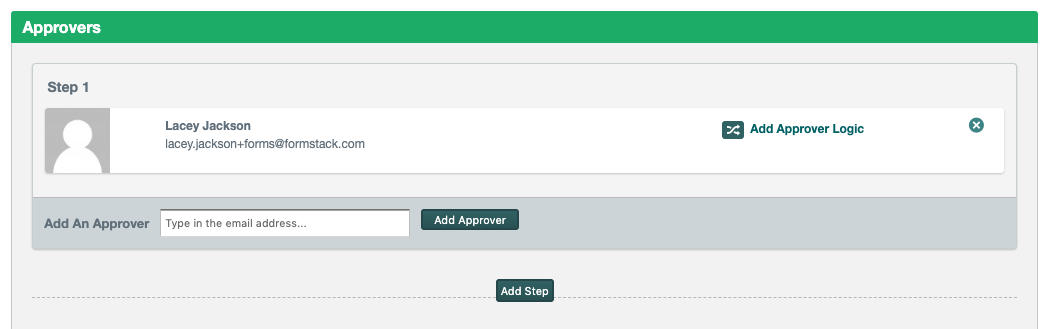
Step 5: Set up an approver.
Next, select “Approvals.” Simply add in the email address of the staff member who you’d like to be in charge of approving parking permit applications. Here, you can add multiple approvers as well as establish automated denial messages.
Step 6: Set up your deliveries.
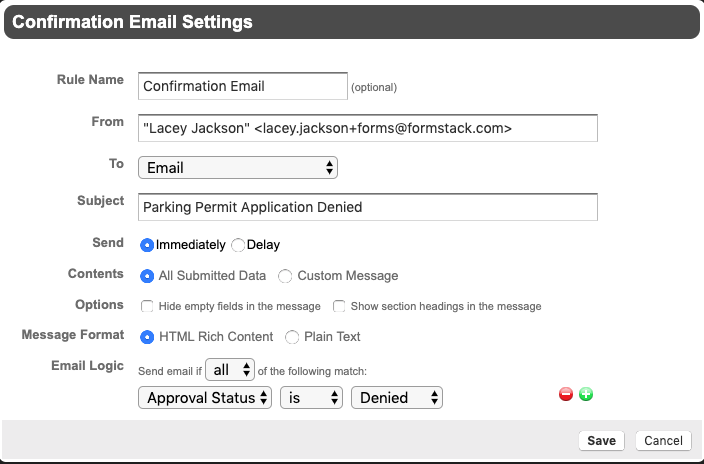
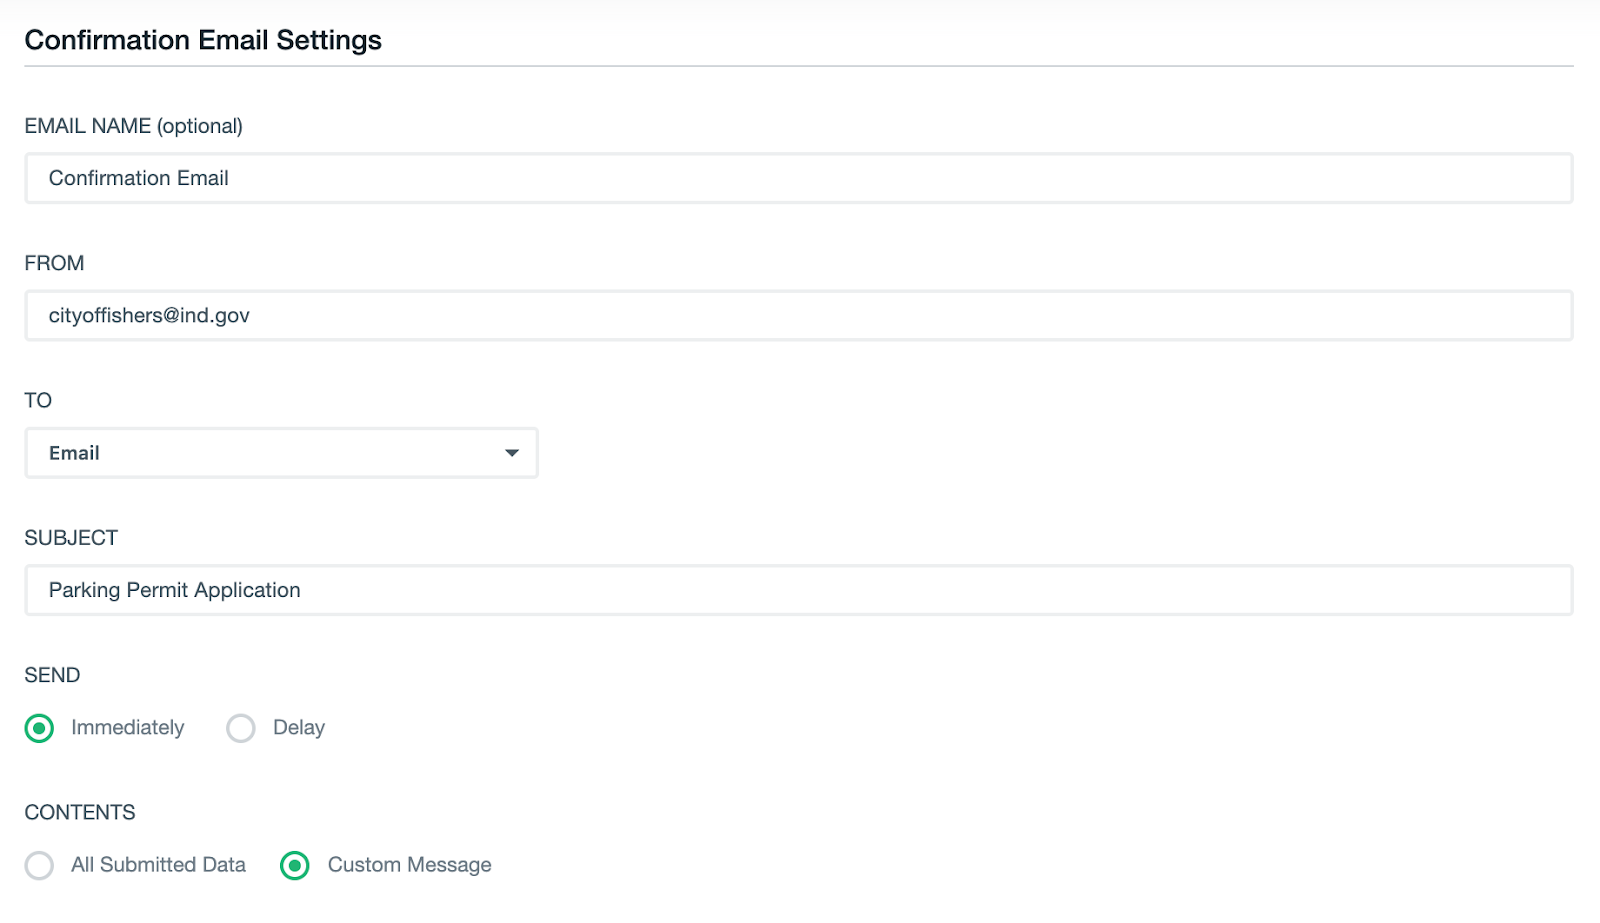
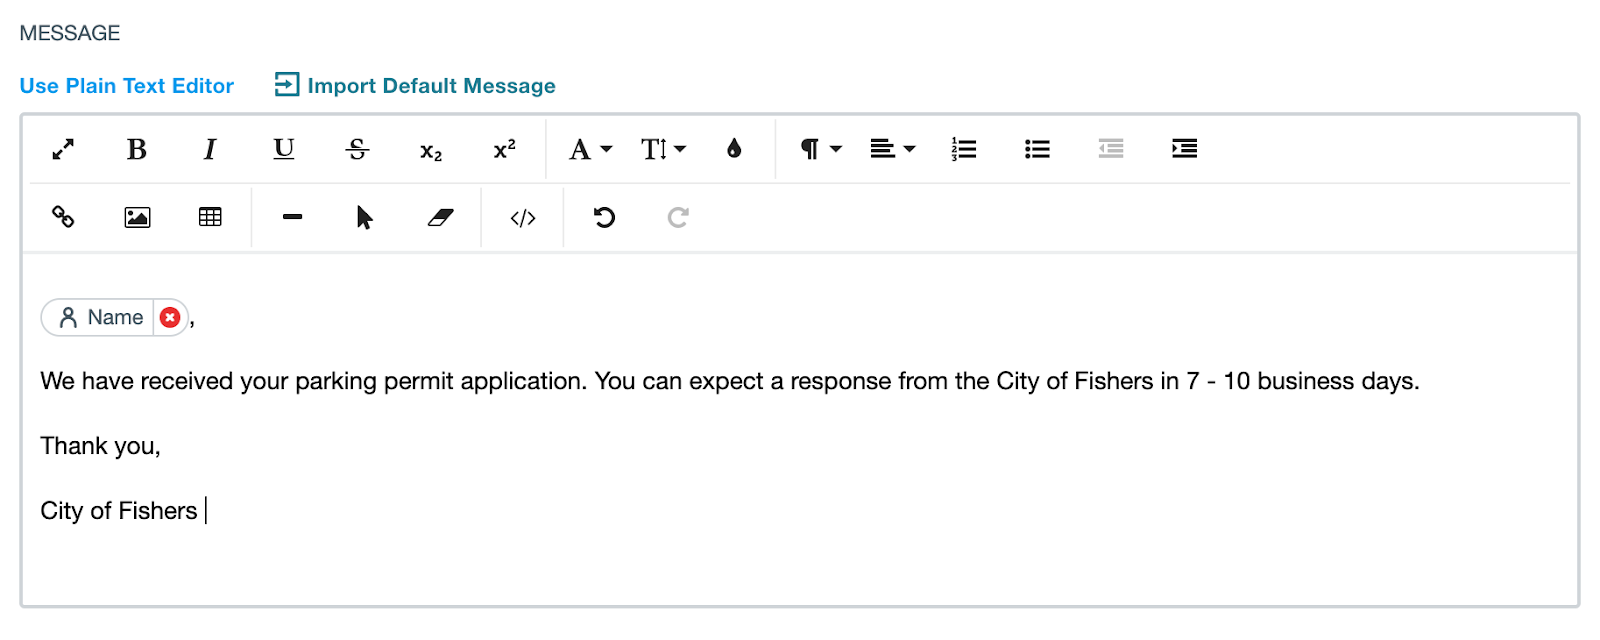
We want an email to send to the applicant when they submit their form to let them know we’ll be in touch soon. Within your Formstack account, select “Settings,” and navigate to “Emails & Actions.” We want the email to send immediately, and we want to create a custom message for the applicant.
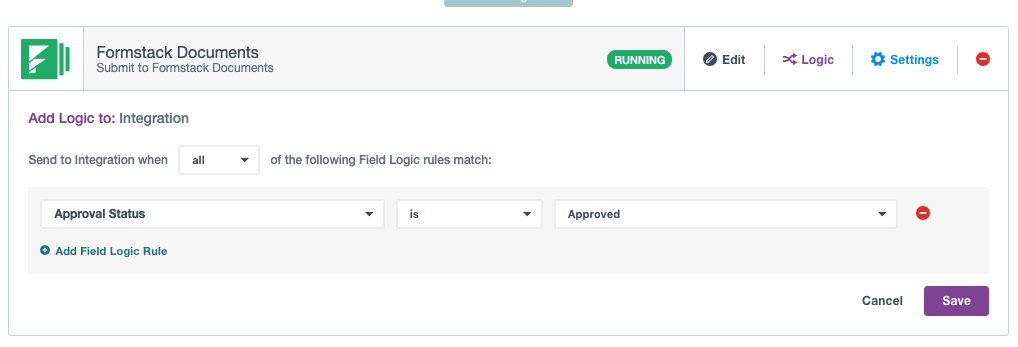
We also need to add some Conditional Logic because we only want our Formstack Documents file to trigger when a permit application has been approved. Scroll to the bottom of the page, and expand the “Advanced Settings” field. Here, we can make sure our document is created after the application has been approved.
Now, simply embed the form on your website or add a link. Here’s a look at our final parking permit:
All done! Now, as soon as a user’s application is approved, they’ll receive an email with their attached parking permit.
This tutorial covered a unique use case for parking permit automation. If you have additional questions about how you could apply these steps to your business, we’re here to help.
Check out the video below to learn more about leveling up your document generation process with Formstack Documents.

