


Looking for an easy way to populate documents from WooCommerce when you receive new orders? Setup this Formstack Documents + WooCommerce integration and you can instantly populate document templates with data from your orders and send them to your customers.
In this example, we’re going to show you how to instantly populate a contract for a customer after they complete an order on WooCommerce. We’ll then automatically send this contract over to HellSign for e-signature by our customer.
Building your contract
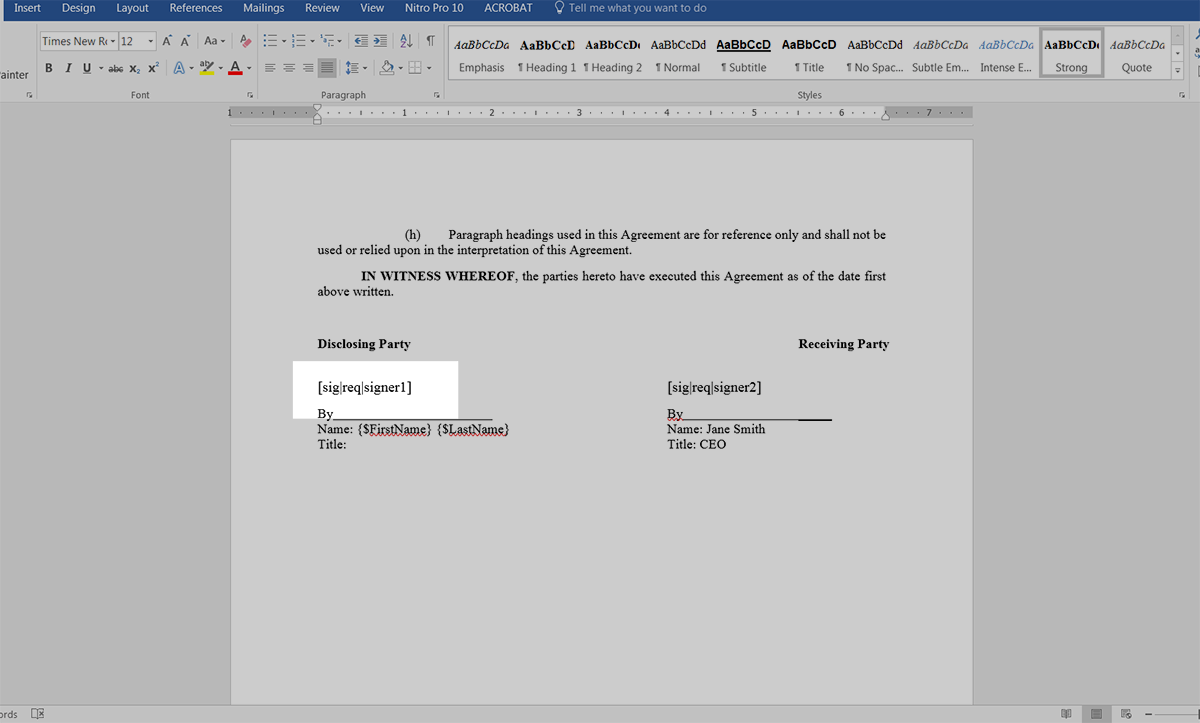
To get started, we’re going to setup the template for our contract using a Word document. Inside Word, we’re going to add our boilerplate contract information then for the spots that we want to insert our customer information, we’re going to use merge fields that look like {$FirstName}, {$LastName}, {$Address}, etc.
Here’s what our contract template looks like:
Since we’ll be sending this contract over to HelloSign for signature, we need to also add a signature tag so that HelloSign knows where to place the signature. This tag looks like: [sig|req|signer1].
Once we have our template ready, we need to upload it to Formstack Documents. From the Documents page in Formstack Documents click the New Document button and enter a name. On the next step, choose Office Document as the document type then upload the file from your computer.
Set up your document delivery
After you’ve uploaded your template to Formstack Documents, you’ll be taken to the Settings tab where you can modify various settings like the type of file that is generated and the name of the file. For this example, we’re going to produce a PDF document and include the name of our customer in the file name.
Next, we’re going to setup the delivery of our document so that the contract is sent over to HelloSign for signature. Under the Deliver tab, click the New Delivery button then select HelloSign from the list. After you enter your HelloSign API Key, you’ll need to pick the merge fields for the signer’s name and email address.
Integrate with HelloSign with Zapier
Once you have saved your HelloSign delivery, you are done with the setup inside Formstack Documents and you’re ready to setup the integration with WooCommerce. To help with the integration, we’re going to use our friends over at Zapier.
Inside Zapier, we’re going to create a New Zap. For the Trigger, we’re going to choose WooCommerce as the app, then New Order for the trigger.
Once you authenticate your WooCommerce account, Zapier is going to load a test order to make sure everything is working correctly. Follow those steps and continue. Next, we’re going to setup the Action of our Zap. For the app, choose Formstack Documents, then Create Document Merge as the action.
Once you authenticate your Formstack Documents account, Zapier is going to load a list of the documents in your Formstack Documents account. Go ahead and pick the contract template that you just setup and Zapier will load a list of the merge fields in your document.
For each merge field, you’ll need to pick the corresponding WooCommerce field by clicking the button on the right side of each box. This tells Zapier how to send your WooCommerce order data over to Formstack Documents so that it is populated in the correct spot on your template.
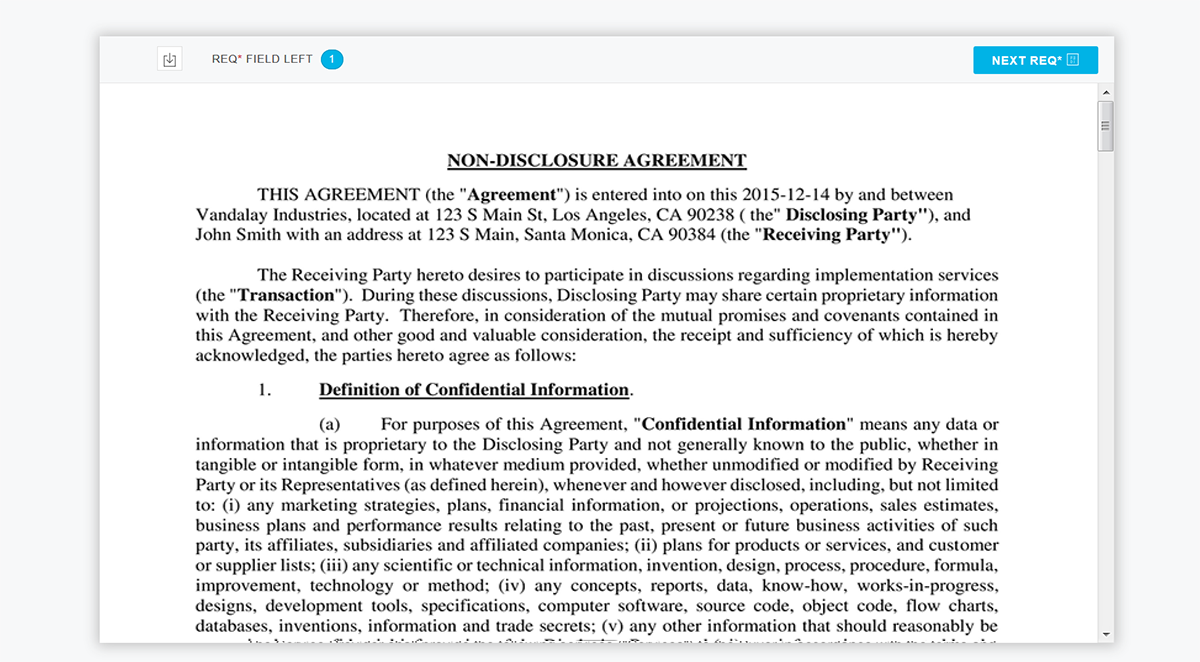
Once you have matched up all of your merge fields, you’re ready for a test! Save your Zap and turn it on, then complete a new order in WooCommerce. Zapier will detect this new order and send the information over to Formstack Documents, and your contract will be delivered to HelloSign.
Here’s what our contract looked like ready for signature in HelloSign:
Congrats, you’re all finished! You can now automatically populate all kinds of documents from WooCommerce. Can you think of any other ways you can use Formstack Documents to simplify your paperwork process?

