You’ve sent out the quotes, they’ve agreed to the terms, and now it is time to finish the sale with a purchase order agreement that can be sent up the chain on their end so you can get paid! You’ll need to collect a signature from their site and you need to make this process as smooth as possible so your payment is processed quickly.
In this example, we’re going to show you how you can use CudaSign to easily collect the necessary signatures for your purchase order to be processed. We’ll also be using Salesforce to generate the purchase order with the click of a button (never copy & paste again!) right from an opportunity record using Formstack Documents.
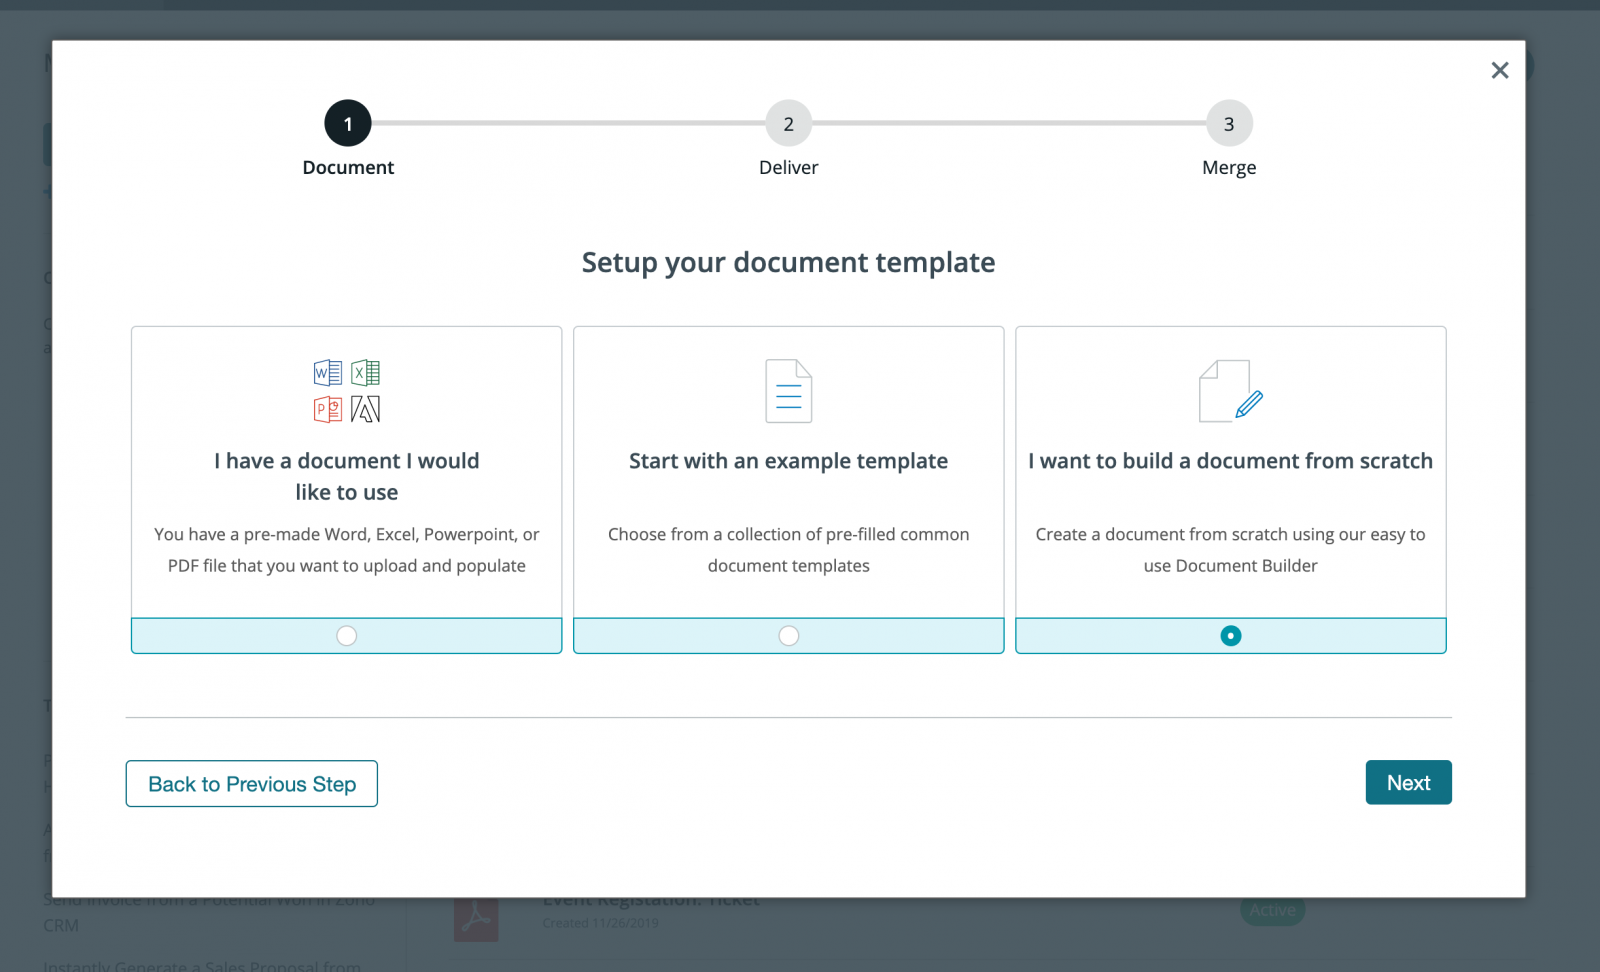
To get started, we’re going to set up our purchase order template in Formstack Documents using the online document builder. From the Documents page in Formstack Documents click the New Document button and then give the document a name (Purchase Order). In the next step, you’ll choose the “Build Your Own” option.
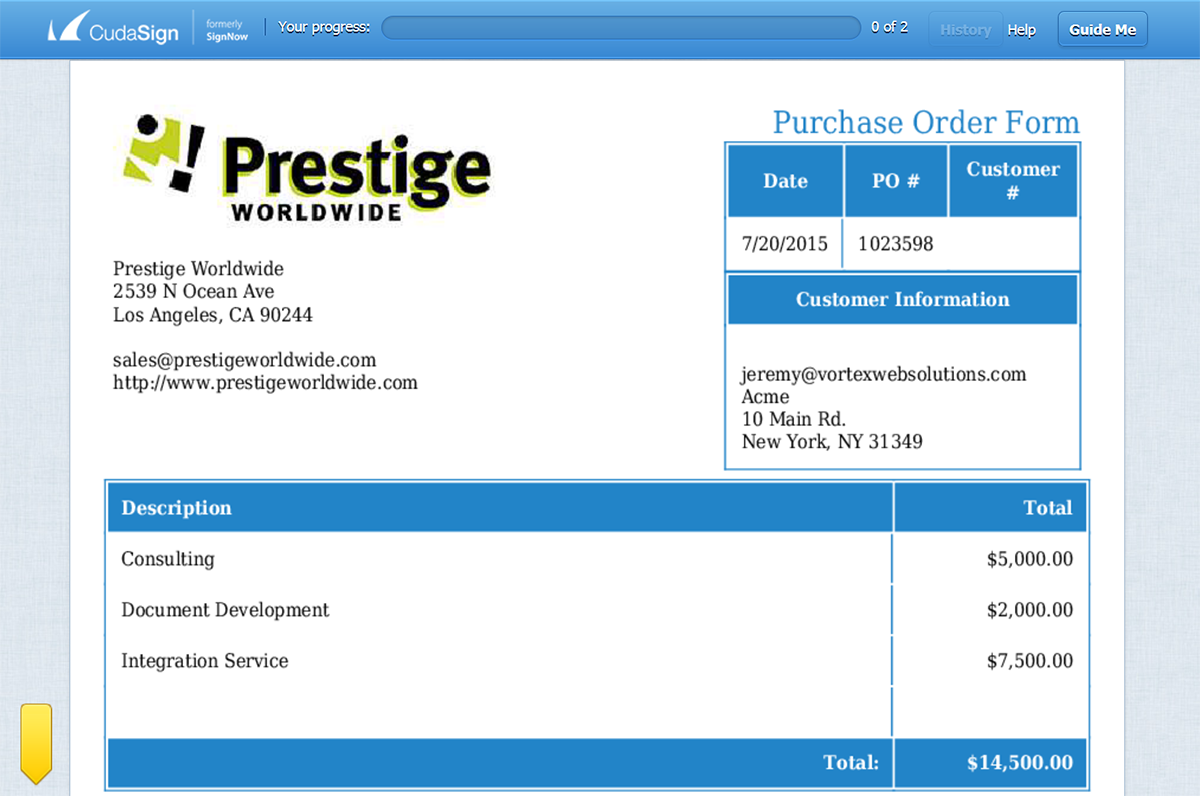
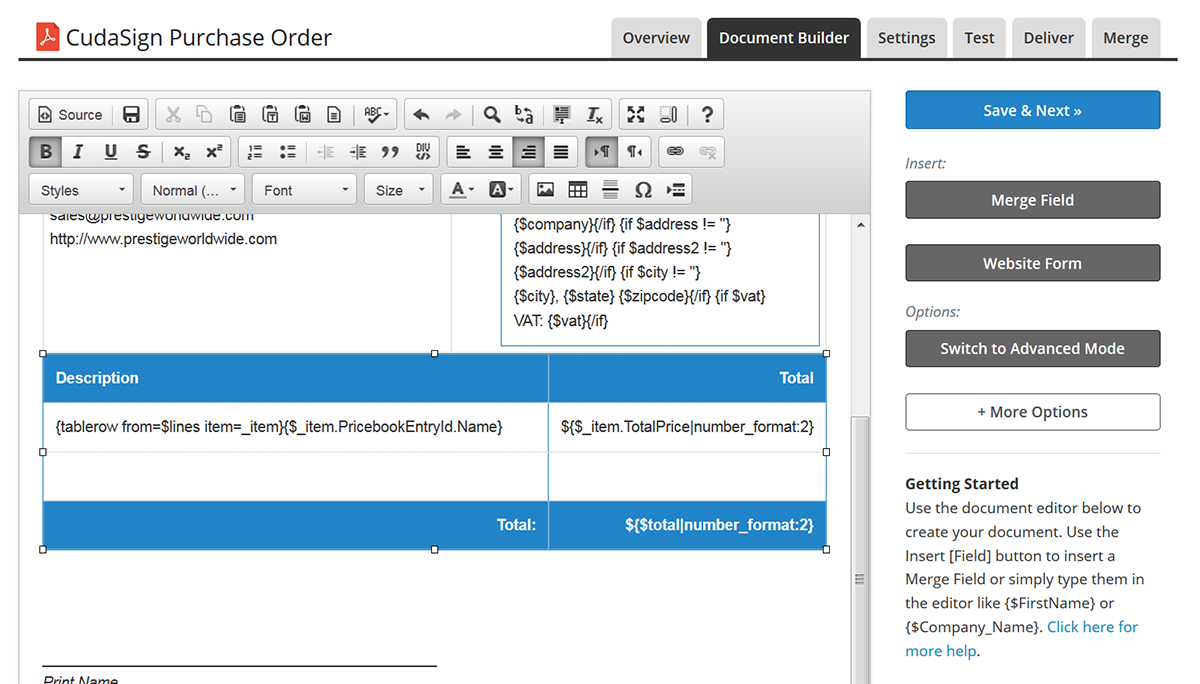
Go ahead and click Next Step and you’ll be taken straight to the document builder where you can set up your purchase order template. We’re going to add a logo, our address, and then the merge fields where we want the purchase order details to go. Merge fields are in the format like {$CompanyName}, {$Address}, etc (no spaces or special characters).
We’re also going to add a table to our template so that we can show all of the products that were ordered as part of this purchase order. In order to list those items, we’re going to use the {tablerow} tag and “loop” through the list of items.
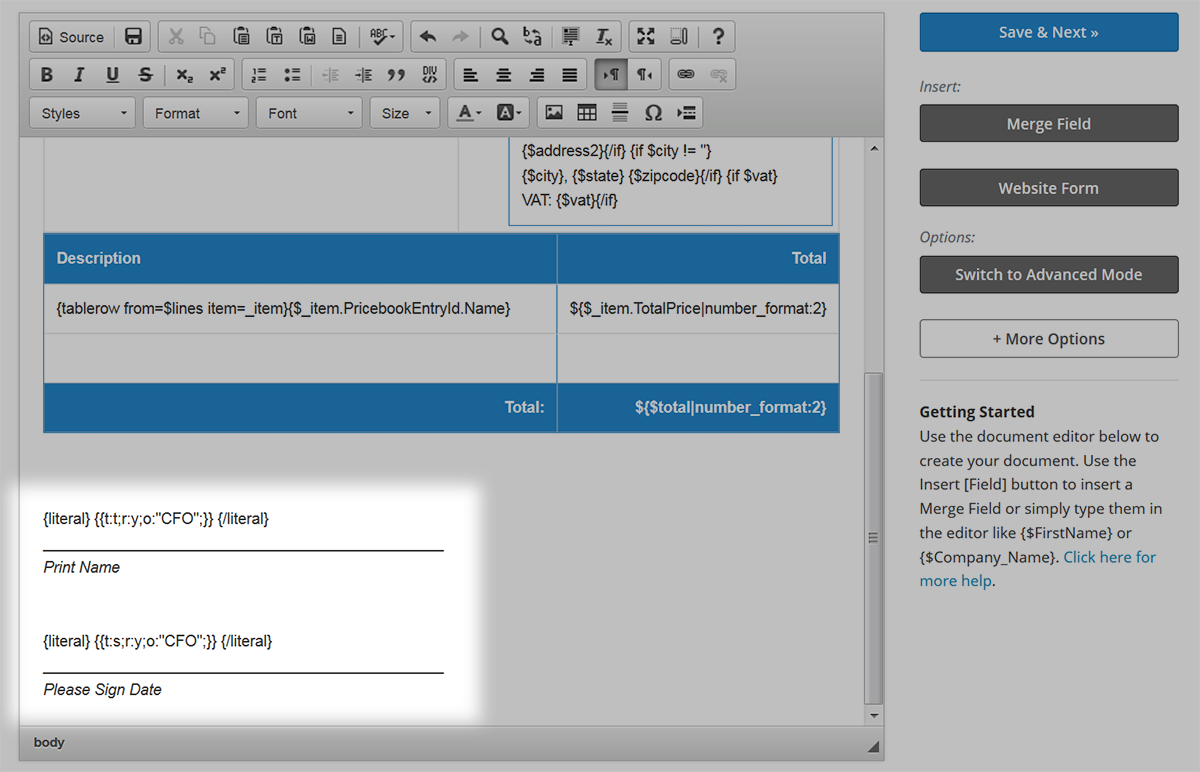
The last piece of the template that we’ll want to include is a space for signatures. We’ll be adding special “tags” that will be recognized by CudaSign so they know exactly where to put the signature on the document. We’re just going to add a signature for the CFO to sign-off on the deal.
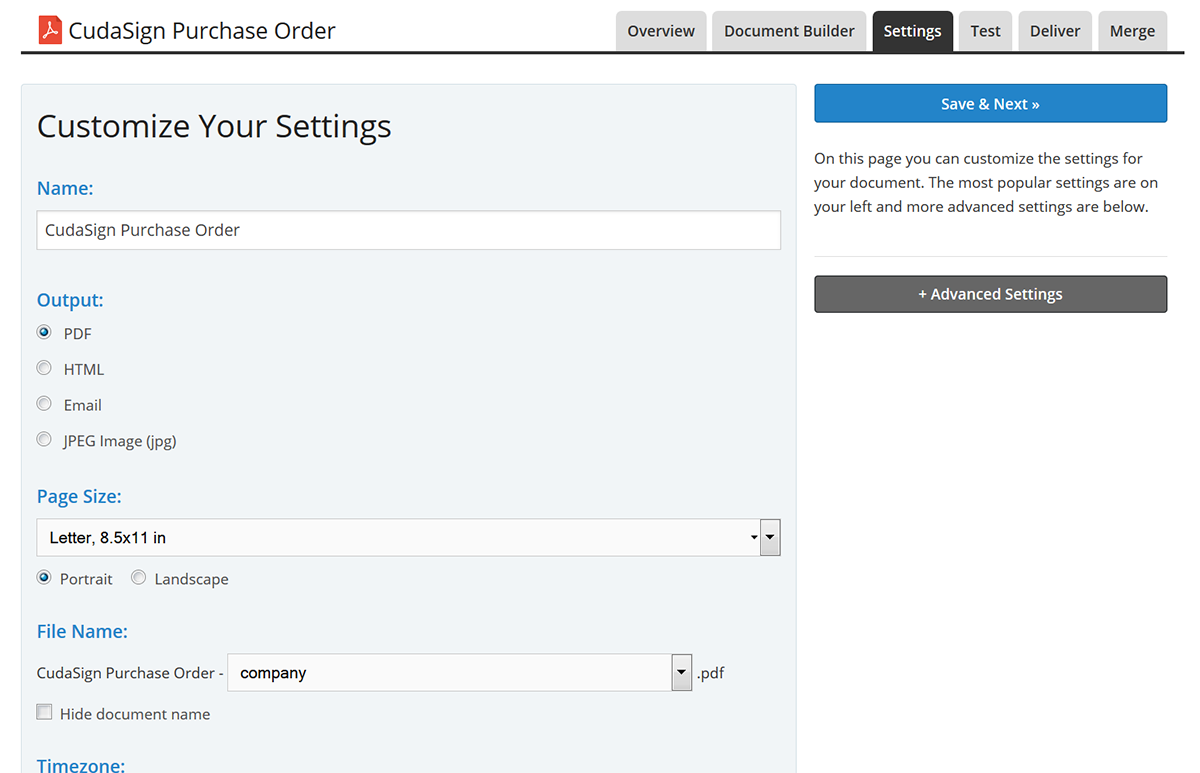
Once we have the template finished, let’s save that and jump over to the settings page. Here, we’re going to update the File Name (the name that is used when a purchase order is generated) to include the name company. You can also update other settings like the file type, time zone, and more.
Our next step is going to be setting up the integration with CudaSign so that when a purchase order is generated, it is automatically sent to CudaSign for signature. From the Deliver tab in Formstack Documents, click New Delivery and then pick CudaSign. You’ll be asked to login to CudaSign and then you’ll see the settings. You’ll need to define the signers (by email). In this case, we’re just going to an email field that we defined in our purchase order template. We’ll be pulling this email address from Salesforce later.
Since we have added the special signature tags in the document, we need to define the “Role” as well in those settings. We used “CFO” in our document, so we’ll put “CFO” in the role box as well.
Now that you’ve got the CudaSign integration setup, it’s time to connect up the template with Salesforce so that we can easily send our opportunity data to WebMerge to populate the purchase order agreement.
If you haven’t already, you’ll need to install the Formstack Documents application from the AppExchange and follow the setup process.
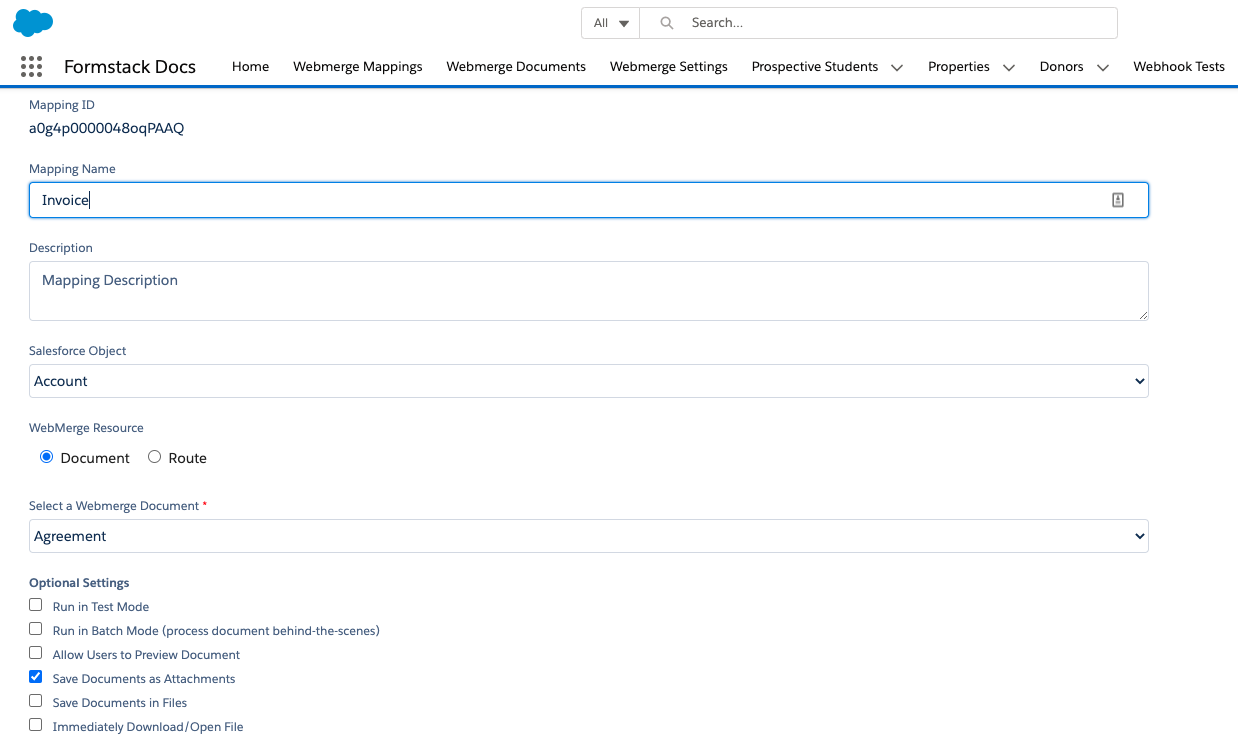
In Salesforce, we’re going to be setting up a new mapping for the purchase order. From the Formstack Documents Mappings tab, click the New Formstack Documents Mapping button. On this page, you’ll give the mapping a name, pick the primary Salesforce object (Opportunity), then pick the Purchase Order document you setup in Formstack Documents. Click Save and Next.
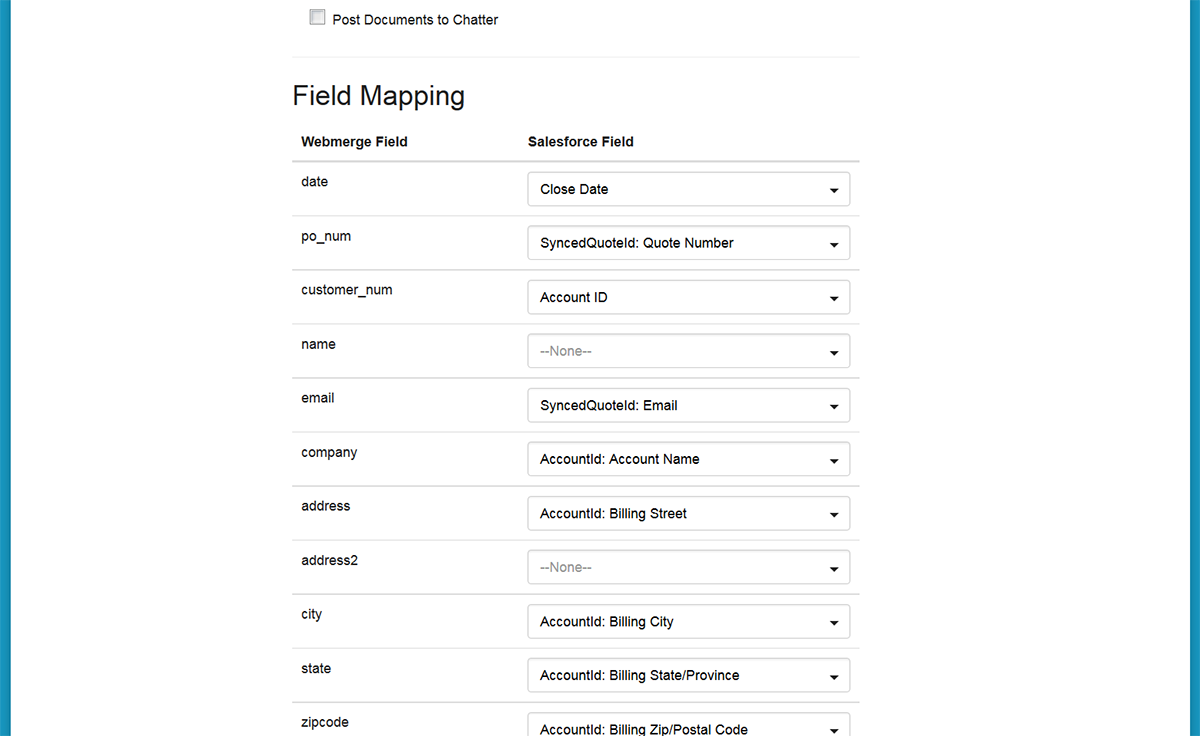
On the next page, you’ll see a few of the same settings, but we’ll want to focus on the Field Mapping section. This is where we are going to define which fields “map” to the corresponding merge fields in our purchase order template. For each of the merge fields you see on the left, pick the corresponding Salesforce field from the dropdown on the right.
After you finish mapping all the fields, go ahead and Save and Activate the mapping so that we can do a test! Pick one of your opportunities and then click the Formstack Documents button from that record’s page. You’ll be asked to pick from your mappings (if you only have the 1 mapping, it will auto-select it for you) and then you’ll want to pick the Purchase Order mapping.
The purchase order is being generated and you (or the signer’s email address you used) should be receiving an email from CudaSign with signing instructions. From there the signer can sign the purchase order, you’ll get a copy and they can process it internally and get you paid!
Here’s what our purchase order looked like when signing: