


Accepting payments online is a great way to streamline your business and offer your customers an easy way to pay you. With Braintree you can easily integrate your payment process into your website, app, or shopping carts. With just a few lines of code you can start accepting payments. Unfortunately, sending customized receipts is not quite that easy. Your hands are pretty tied if you want to customize the recipt.
Don’t worry, Formstack Documents has you covered! With Formstack Documents (and a little help from Zapier) you can easily setup a receipt template that can generate a customized receipt (with all your own branding and messaging) automatically when you receive a payment through Braintree. Sounds simple enough, let’s show you how to make it happen.
To get started, we’re going to build our receipt template using the online builder. We’ll upload our logo, add our address, and then add merge fields in the locations where we want our payment and customer information to go on the receipt. Those merge fields look like {$first_name}, {$email}, etc. Here’s what our receipt template looks like:
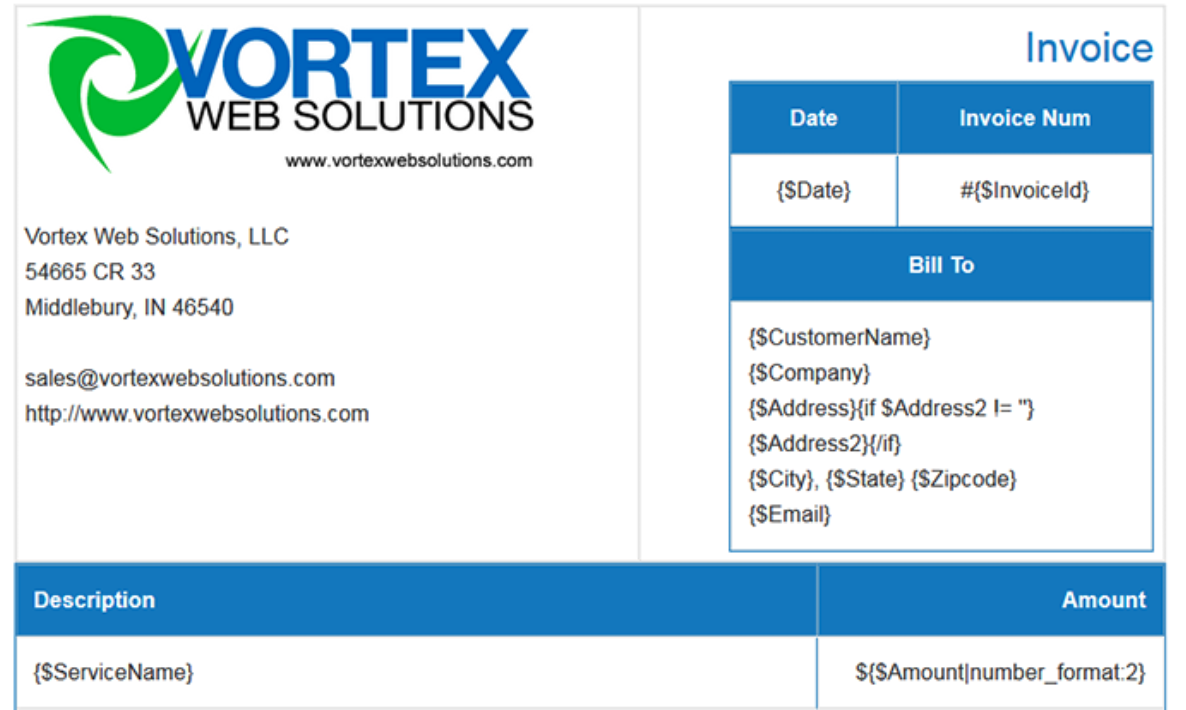
Once we’ve finished building our receipt, we need to update our email delivery so that the email will be sent directly to our customer. Go to the Deliver tab and edit the default email delivery. You’ll want to update the “To” setting so that it maps to the {$email} merge field that you setup on the receipt. If you want to receive a copy, there is a BCC option under More Options.
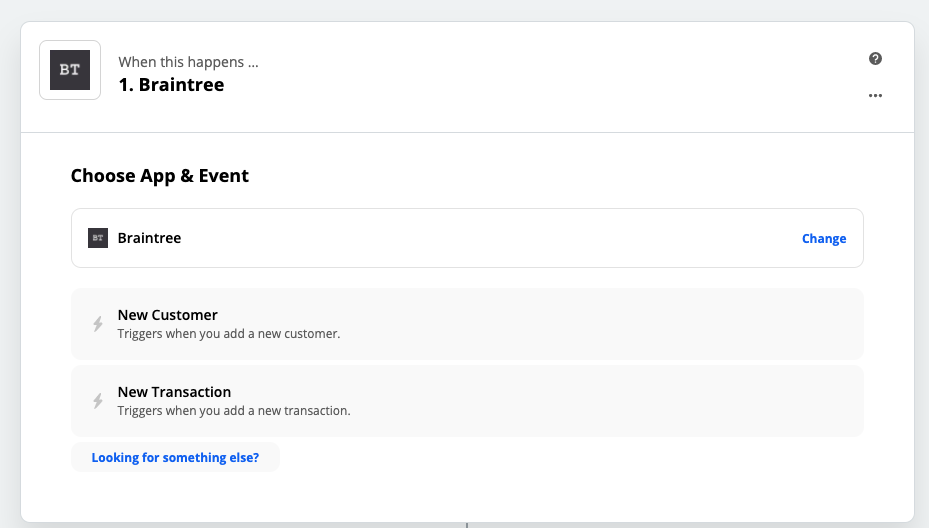
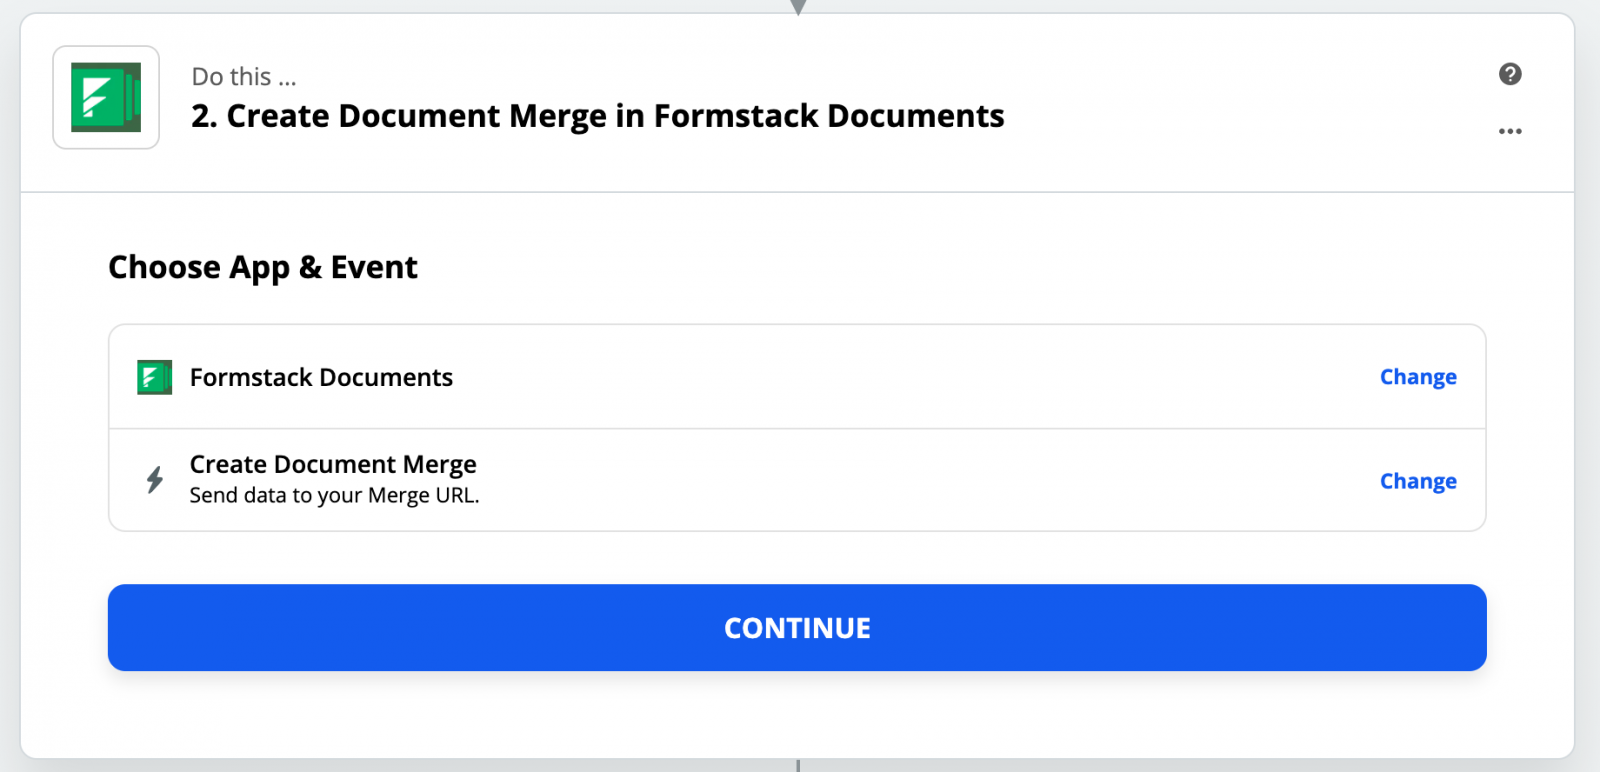
Cool, we’re now ready to head into Zapier to setup the connection between Braintree and Formstack Documents. Zapier will automatically detect the new payment has been received and then will send that information to Formstack Documents. Go ahead and create a new Zap and choose Braintree as the first service, then choose Formstack Documents as the action service.
After you have the accounts all connected to Zapier, it will load a list of the documents you have in your Formstack Documents account. Go ahead and select the Receipt you just created and then a list of the merge fields on the receipt will be loaded. You’ll need to “match” those fields with the corresponding Braintree fields so that Zapier knows how to send the data to Formstack Documents.
Next step is to test the Zap to make sure everything is working correctly. Zapier offers a testing tool after the mapping, so follow the instructions to make sure you receipt is being generated properly. Here’s what our receipt looks like:
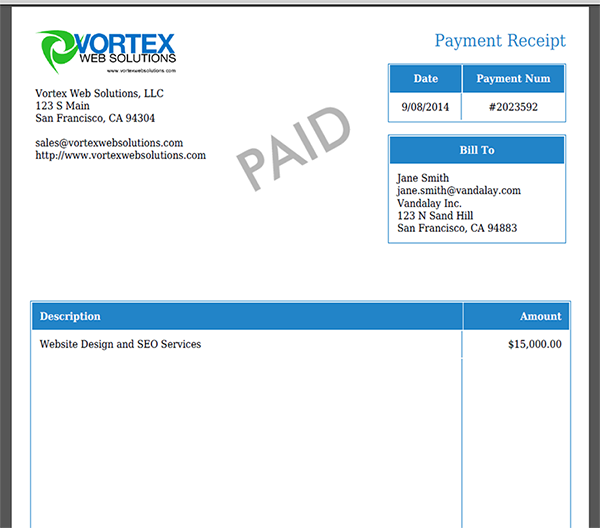
Pretty cool, right? That’s it, you’re now all setup to send out receipts to your customers when you receive payments through Braintree. Check out the video below to learn more about leveling up your document generation process with Formstack Documents.

