


Who needs an automated receipt generation process?
With a little bit of PHP code and a Formstack Documents account, you can automatically populate all kinds of documents. From Word documents and PowerPoint presentations, to PDF documents, you can instantly populate documents from your PHP application.
Today, we’re going to show you how to populate a PDF receipt using a Word document template. We’ll then email that receipt directly to our customer for their records.
What do you need for this tutorial?
A patient registration document with merge fields ({$FirstName}, {$DealName}, etc.)
Formstack Documents account
Formstack Documents API Key and Secret
5 Steps to Automated Receipt Generation
Step 1: Build your document
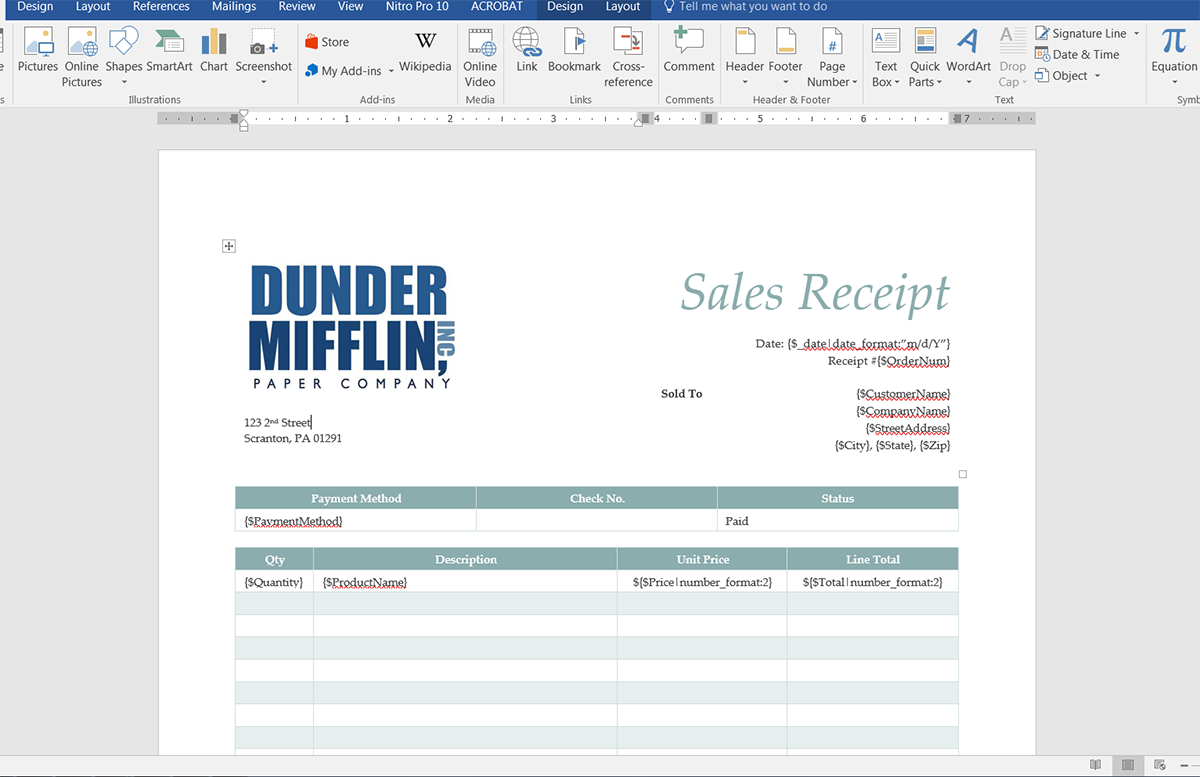
To get started, we’re going to setup the template for our receipt using a Word document. Inside Microsoft Word, we’re going to add our logo and other contact information. For the spots where we want to insert our customer/payment information, we’re going to use merge fields that look like {$CustomerName}, {$Amount}, etc.
Here’s what our receipt template looks like:
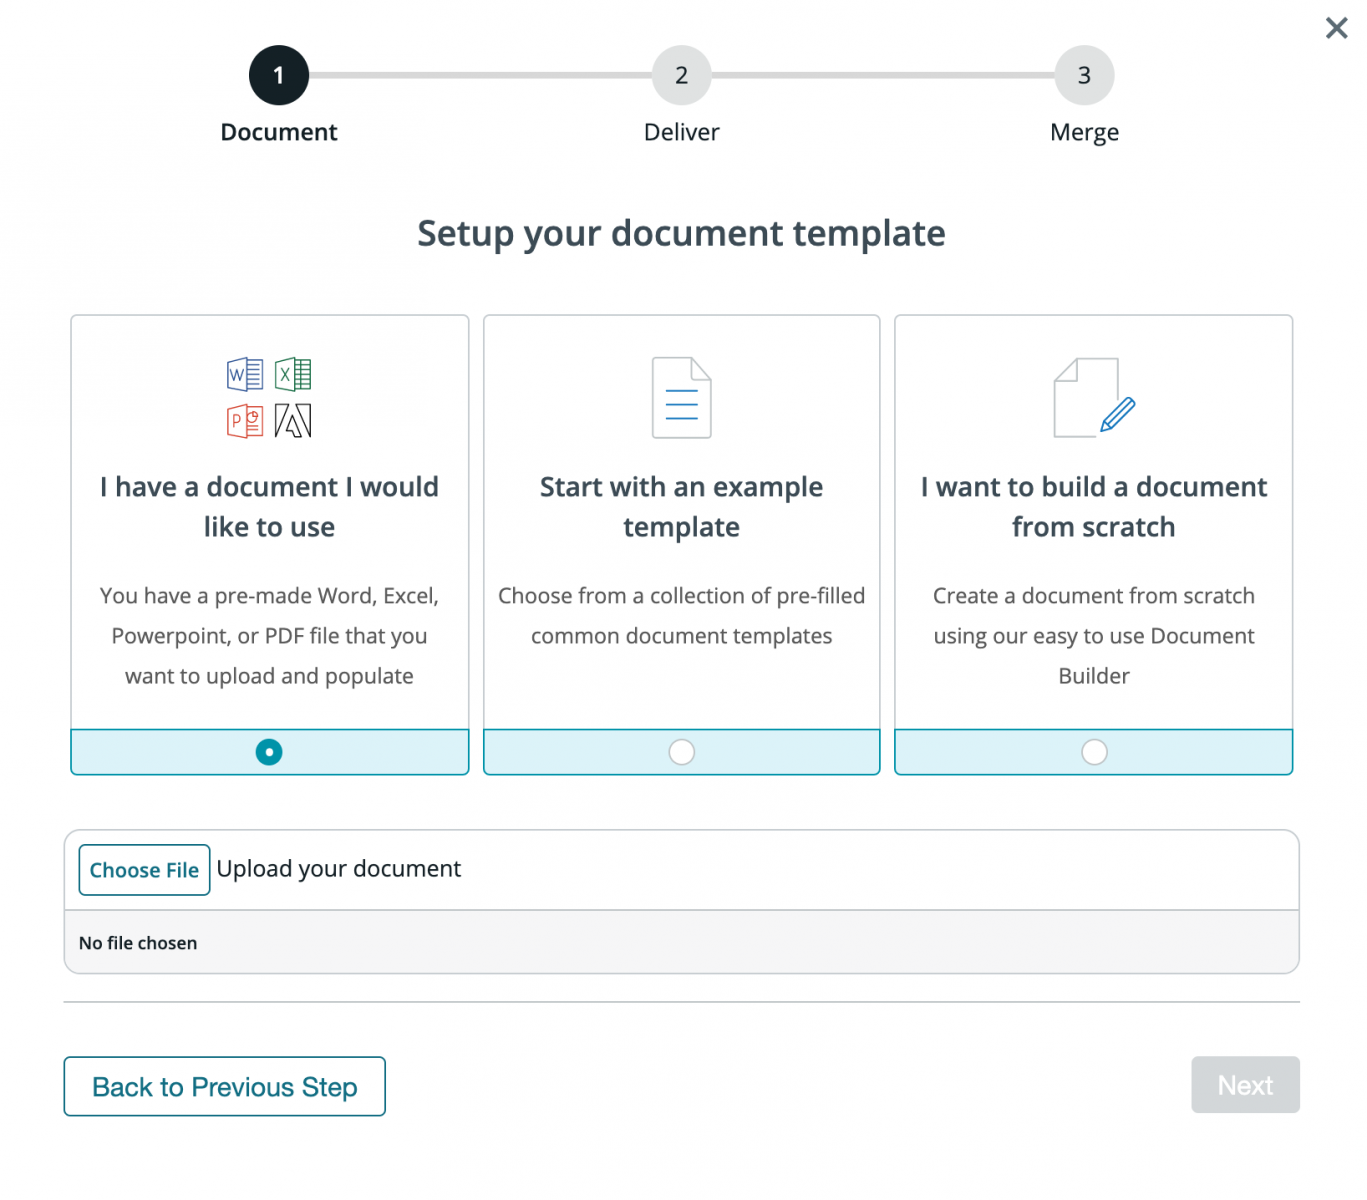
Once we have our template ready, we need to upload it to Formstack Documents. From the Documents page in your account, select New Document button and enter a name. On the next step, please pick Office Document as the document type then pick the file from your computer.
Step 2: Customize your settings.
After you upload your file, you’ll be taken to the Settings page where you can modify various options like the type of file that is generated and the name of the file. For this example, we’re going to generate a PDF and we've given our document a title we'll recognize.
.png)
Step 3: Set up your delivery.
We'll set up the delivery of our document so that it is automatically emailed directly to our customer. From the Delivery tab, we’re going to Edit the default email delivery. For the To address, we’re going to choose the merge field for our customer’s email address.
If you don’t have a merge field in your document for the email address, simply choose <> from the dropdown then enter something like {$Email}. Feel free to edit any of the other settings.
Once we have saved our email delivery we are done with the setup process inside Formstack Documents, and we’re ready to integrate with our PHP application.
To send merge data over to Formstack Documents (and trigger the merge process), we’re going to do an HTTP POST request using Curl. Each document template in your Formstack Documents account has a unique Merge URL that you’ll use for the endpoint and this can be found under the Merge tab.
Inside our PHP application, we need to add the code that will use Curl to send the merge data over to Formstack Documents. Here is some example code:
php
//$user = User information from app
//$account = Account information from app
//$payment = Payment information from app
$customerInfo = array(
'CustomerName' => $user->first_name.' '.$user->last_name,
'Email' => $user->email,
'Company' => $account->company,
'State' => $account->state,
'Address' => $account->street_address.', '.$account->city.', '.$account->state.' '.$account->zip,
'Description' => 'Subscription Renewal',
'Amount' => $payment->amount,
'OrderNum' => $payment->id
);
$mergeUrl = 'https://www.webmerge.me/merge/12345/abcdef';
$ch = curl_init();
curl_setopt($ch, CURLOPT_URL, $mergeUrl);
curl_setopt($ch, CURLOPT_POST, 1);
curl_setopt($ch, CURLOPT_POSTFIELDS, json_encode($customerInfo));
curl_setopt($ch, CURLOPT_FOLLOWLOCATION, false);
curl_setopt($ch, CURLOPT_MAXREDIRS, 10);
curl_setopt($ch, CURLOPT_RETURNTRANSFER, true);
curl_setopt($ch, CURLOPT_HTTPHEADER, array(
'Content-Type: application/json'
));
$res = curl_exec($ch);
$response = json_decode($res, true);
$status = curl_getinfo($ch, CURLINFO_HTTP_CODE);
curl_close($ch);
if($status == 201){
//success
}else{
die('Error: '.$response['error']);
}
?>
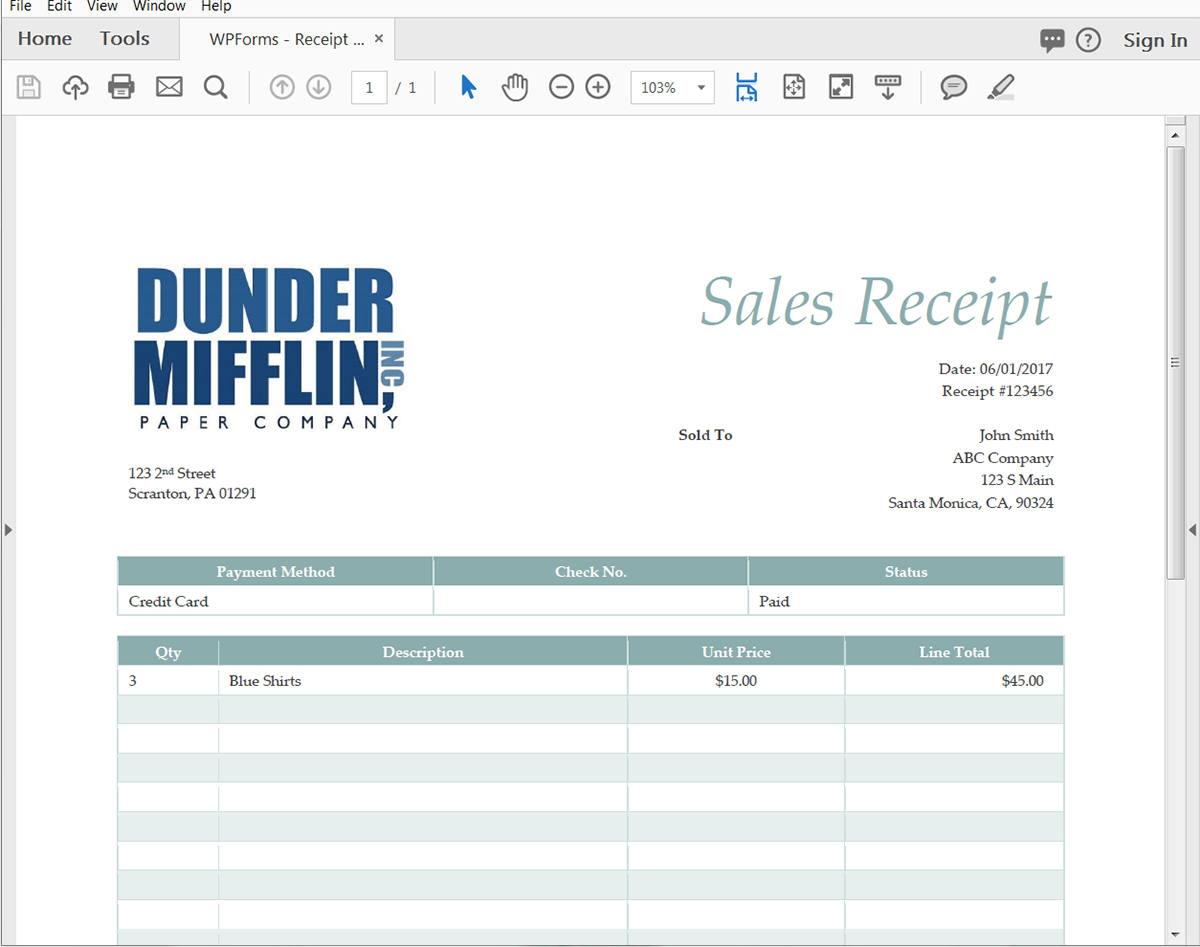
Once you add the code to your PHP application, we’re ready to run a test! Trigger your PHP code to run and send data over to Formstack Documents. This will populate the receipt and email it directly to the customer.
Here’s what our populated receipt looked like:
Congrats, you’re all finished! You can now automatically populate all types of documents from your PHP applications. Can you think of any other ways you can use Formstack Documents to simplify your paperwork process?
