


Using online forms on your website is a great way to collect information from new leads and current customers. With a tool like FormKeep you can easily save submissions from your own HTML forms for your website. They make it very easy to take that information you're collecting and send it off to other apps as well.
With Formstack Documents you can take the submission data from FormKeep and automatically populate various documents like contracts, reports, invoices, and more. You'll never have to keep track of a template or copy and paste again!
In this example, we're going to show you how to take information from a lead form and automatically kick off a quote for that lead. We'll then automatically email this quote directly to the lead for review.
Setting up your quote template
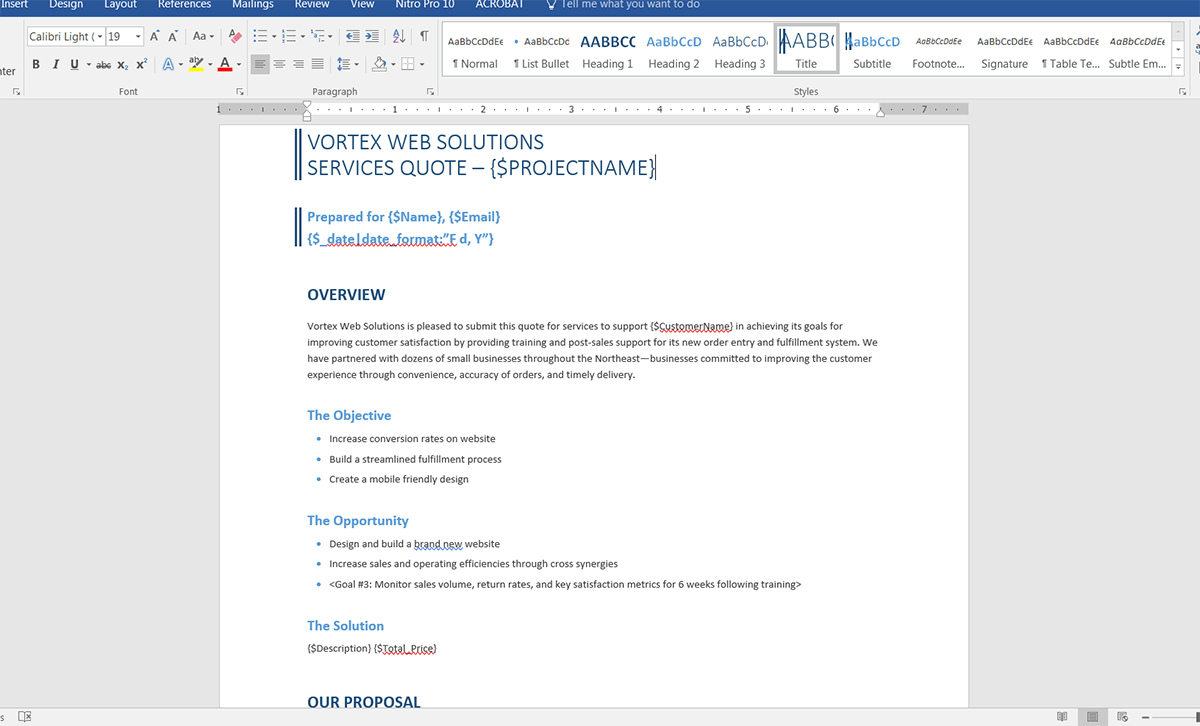
To get started, we're going to setup the template for our quote using a Word document. Inside Word, we're going to add our boilerplate quote details like our logo, contact information, description, etc Then for the spots that we want to insert data from our form, we're going to use merge fields that look like: {$Name}, {$Address}, {$Total_Price}, etc.
Here's what our quote template looks like:
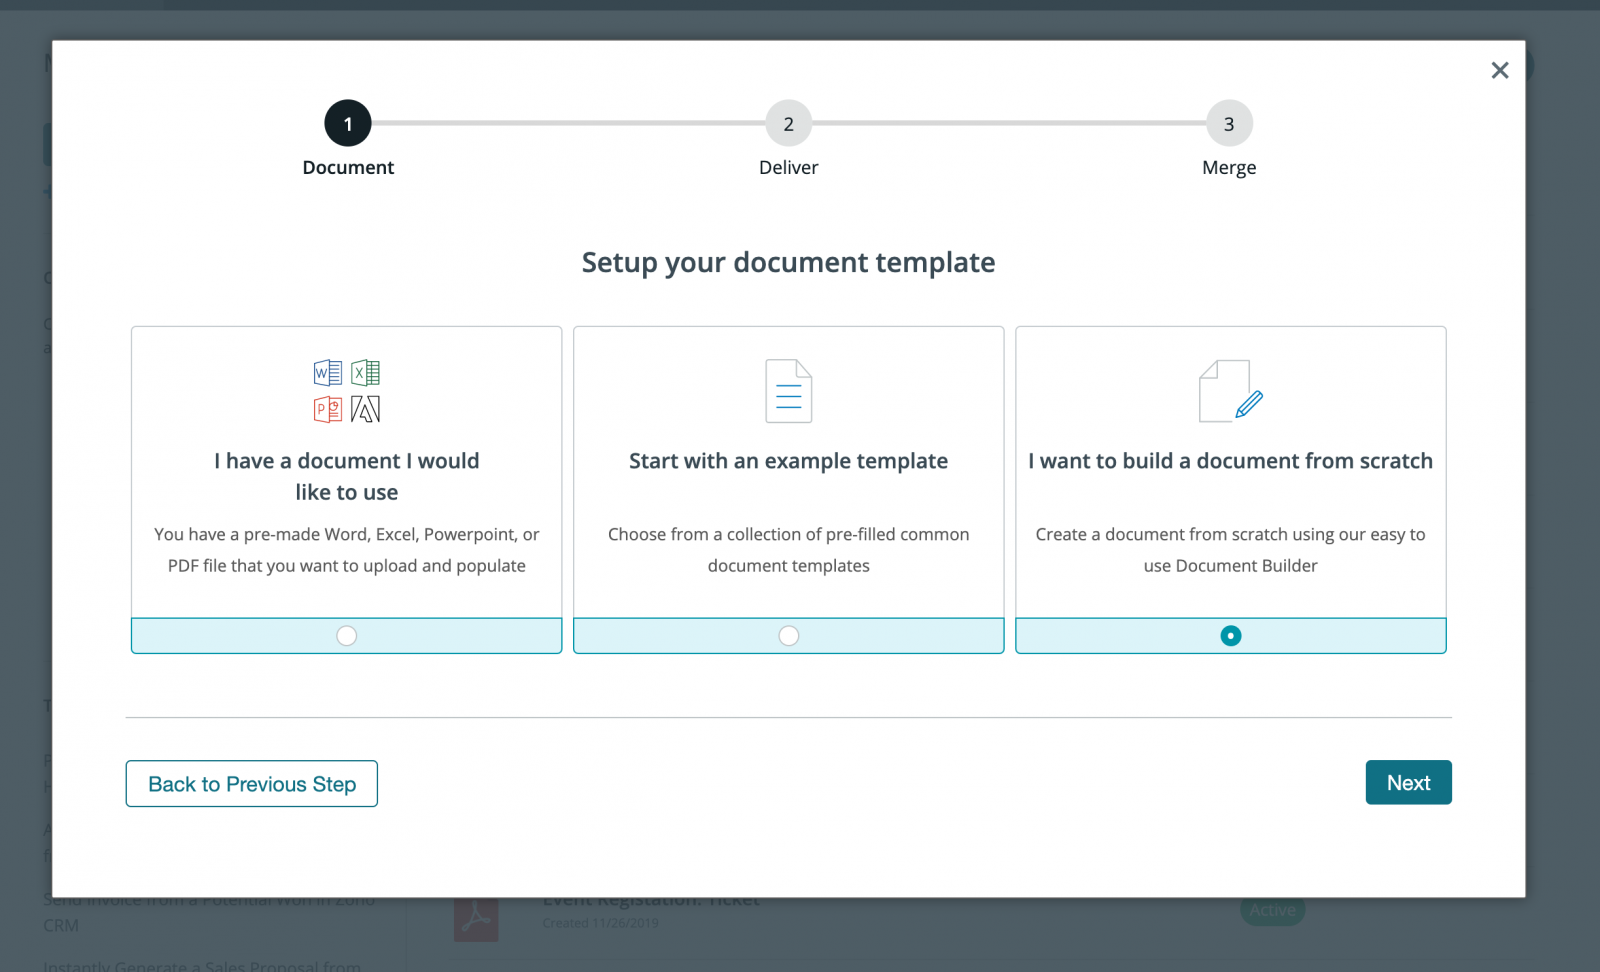
Once we have our template finished, we need to upload it to Formstack Documents. From the Documents page in Formstack Documents, click the New Document button then enter a name. On the next step, pick Office Document as the document type and then pick the file from your computer.
Customize your document settings
After you have uploaded your template to Formstack Documents, you'll be taken to the Settings tab where you can modify various options like the type of file that is generated and the name of the file. For this example, we're going to produce a PDF and include the name of our lead in the file name.
Next, we're going to setup the email delivery so that our document is automatically emailed to our lead. Under the Deliver tab, click the Edit button on the default email delivery. For the To address, we're going to use a merge field for the lead's email address. If you don't have a merge field in your template, choose <> from the dropdown then enter something like {$Email}.
Formstack Documents and Zapier
After you have saved your email delivery, we are done with the setup process in Formstack Documents and we're ready to setup the integration with FormKeep. To help with the integration, we're going to use our friends over at Zapier.
Inside Zapier, we're going to create a new Zap. For the Trigger, we're going to choose FormKeep as the app then New Submission as the trigger.
After you authenticate your FormKeep account, you'll be asked to pick the form that you want to monitor. Go ahead and pick the lead form that you have setup.
Next, we're going to setup the Action of our Zap. For the app, choose Formstack Documents and then Create Document Merge as the action.
After you authenticate your Formstack Documents account, Zapier will load a list of all the documents in your Formstack Documents account. Go ahead and pick your quote template then Zapier will load a list of the merge fields in your document.
For each of the merge fields, you need to pick the corresponding field from your form. This tells Zapier how to send your form data over to Formstack Documents so that it is populated in the correct spot on your template.
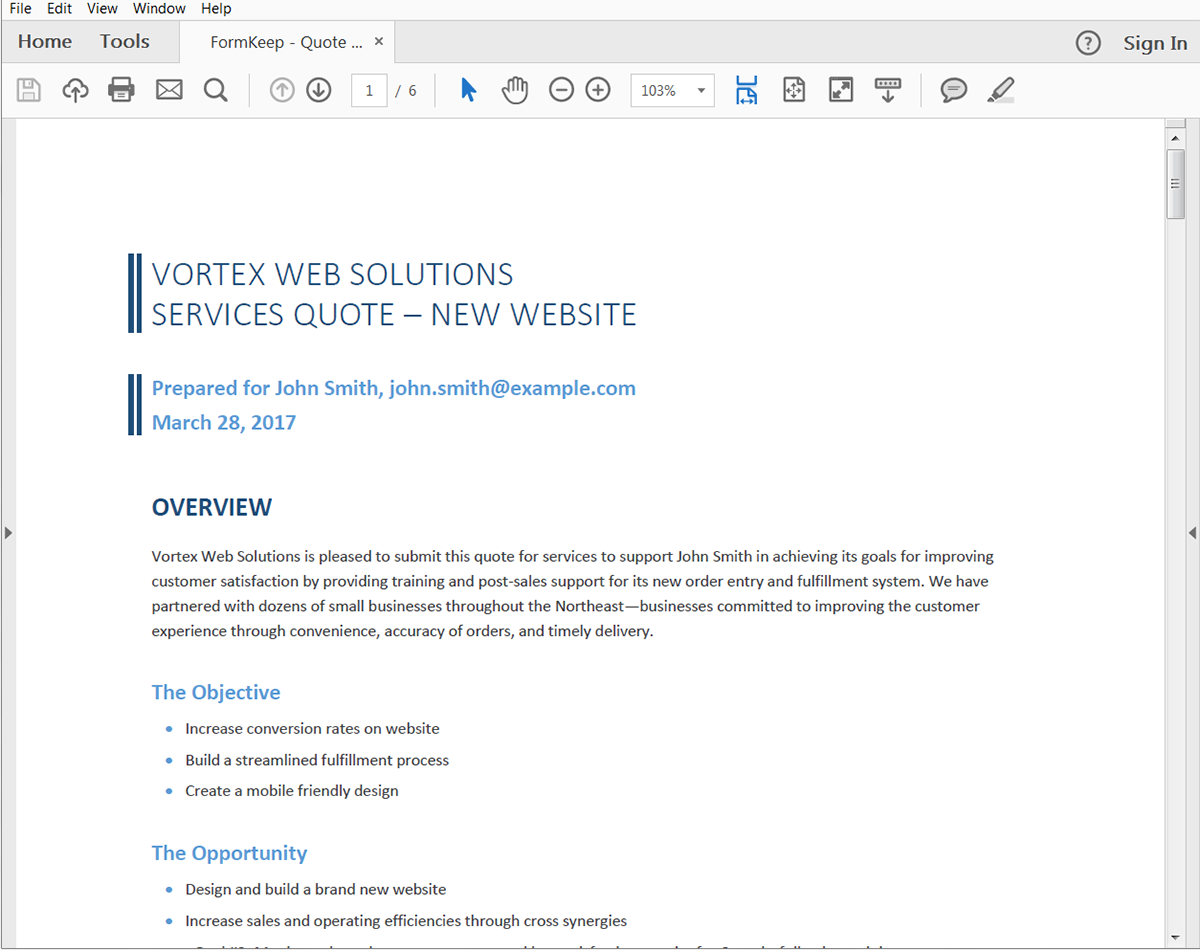
After you have matched up all of your merge fields, go ahead and save your zap and turn it on. We're ready for a test! Submit a new submission to your form and then Zapier will detect the new submission and send the info over to Formstack Documents and your quote will be generated.
Here's what our populated quote looked like:
Congrats, you're all done! How can now automatically generate all types of documents from your online forms using FormKeep. Check out our webinar below to learn more about leveling up your document generation process with Formstack Documents.

