Collecting any type of application is not an enjoyable experience. We’ve all been there. Whether it’s applying for a loan, financing a new car, buying a house – all the paperwork is tedious and sometimes confusing. We’re going to show you how to use Formstack Forms + Formstack Documents to collect all the important information you need using an easy-to-use web form then populate the PDF application for your office.
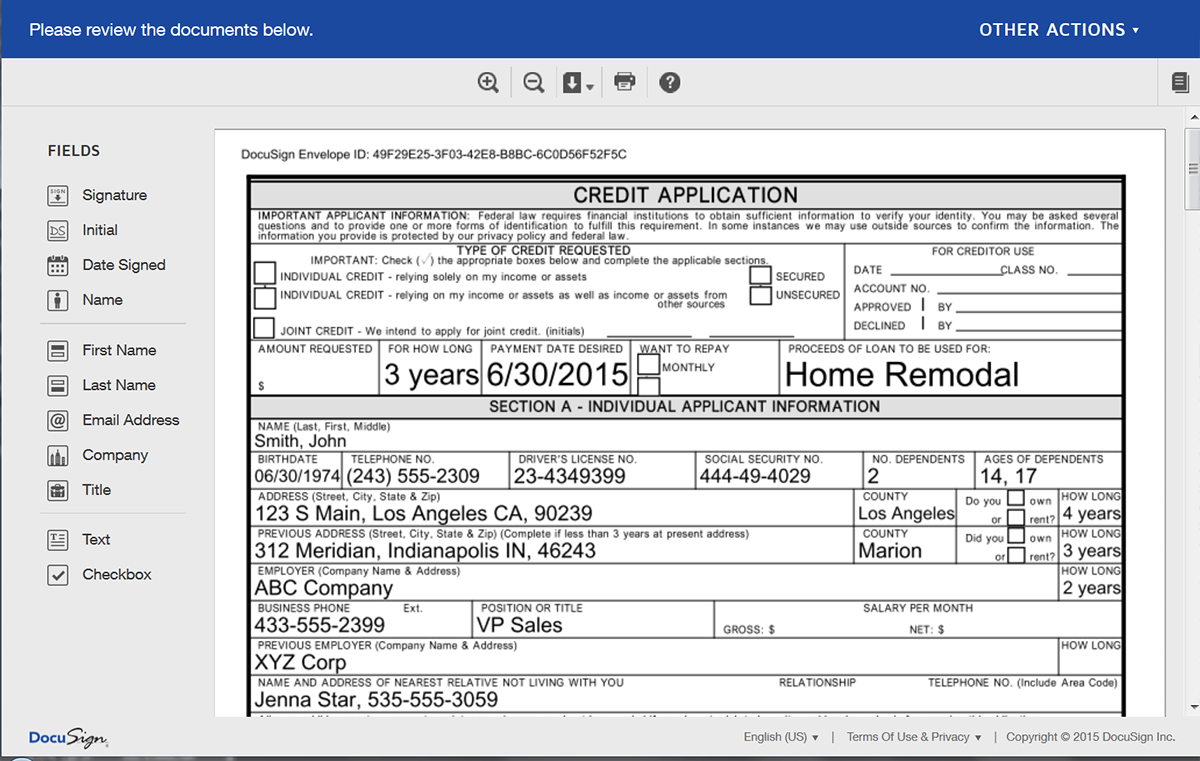
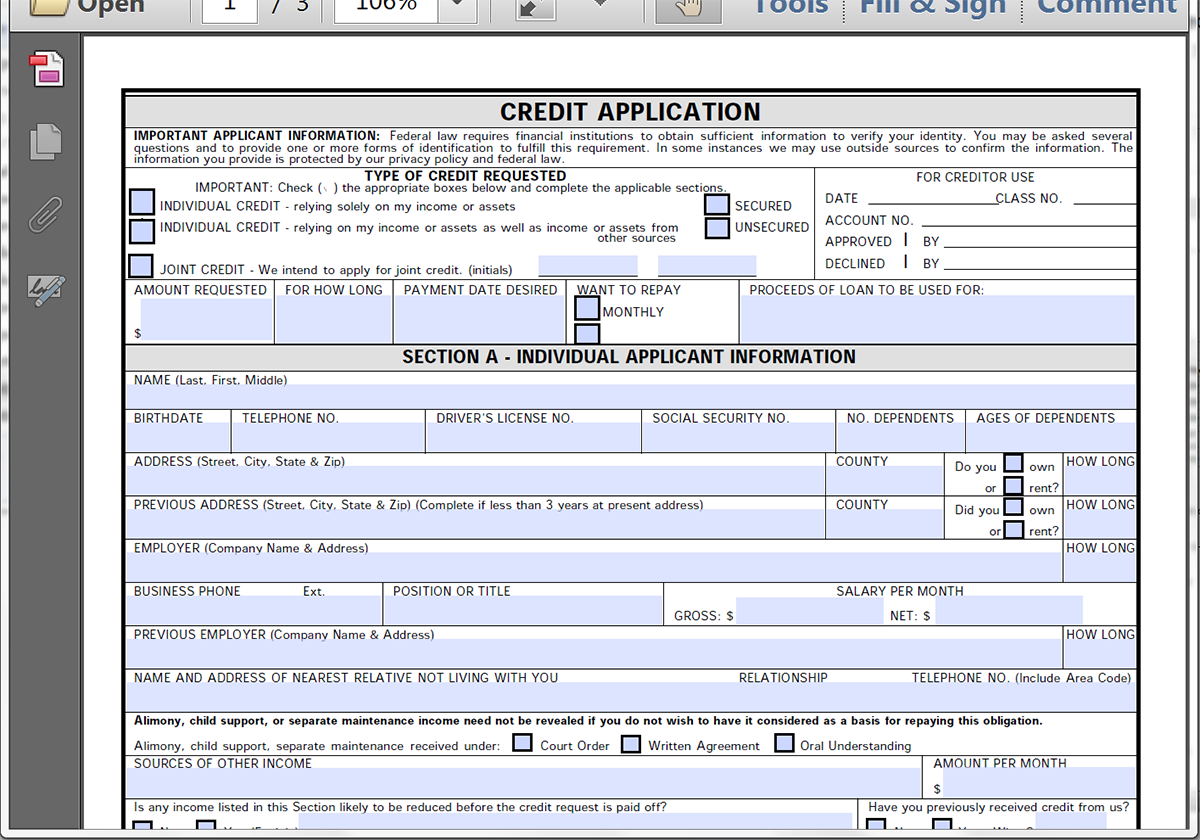
The first thing we are going to do is setup our PDF (template) inside Formstack Documents. We’re going to use a fillable PDF form that we’ve built using a PDF editor (we suggest Adobe or Nitro). Here’s what our application looks like:
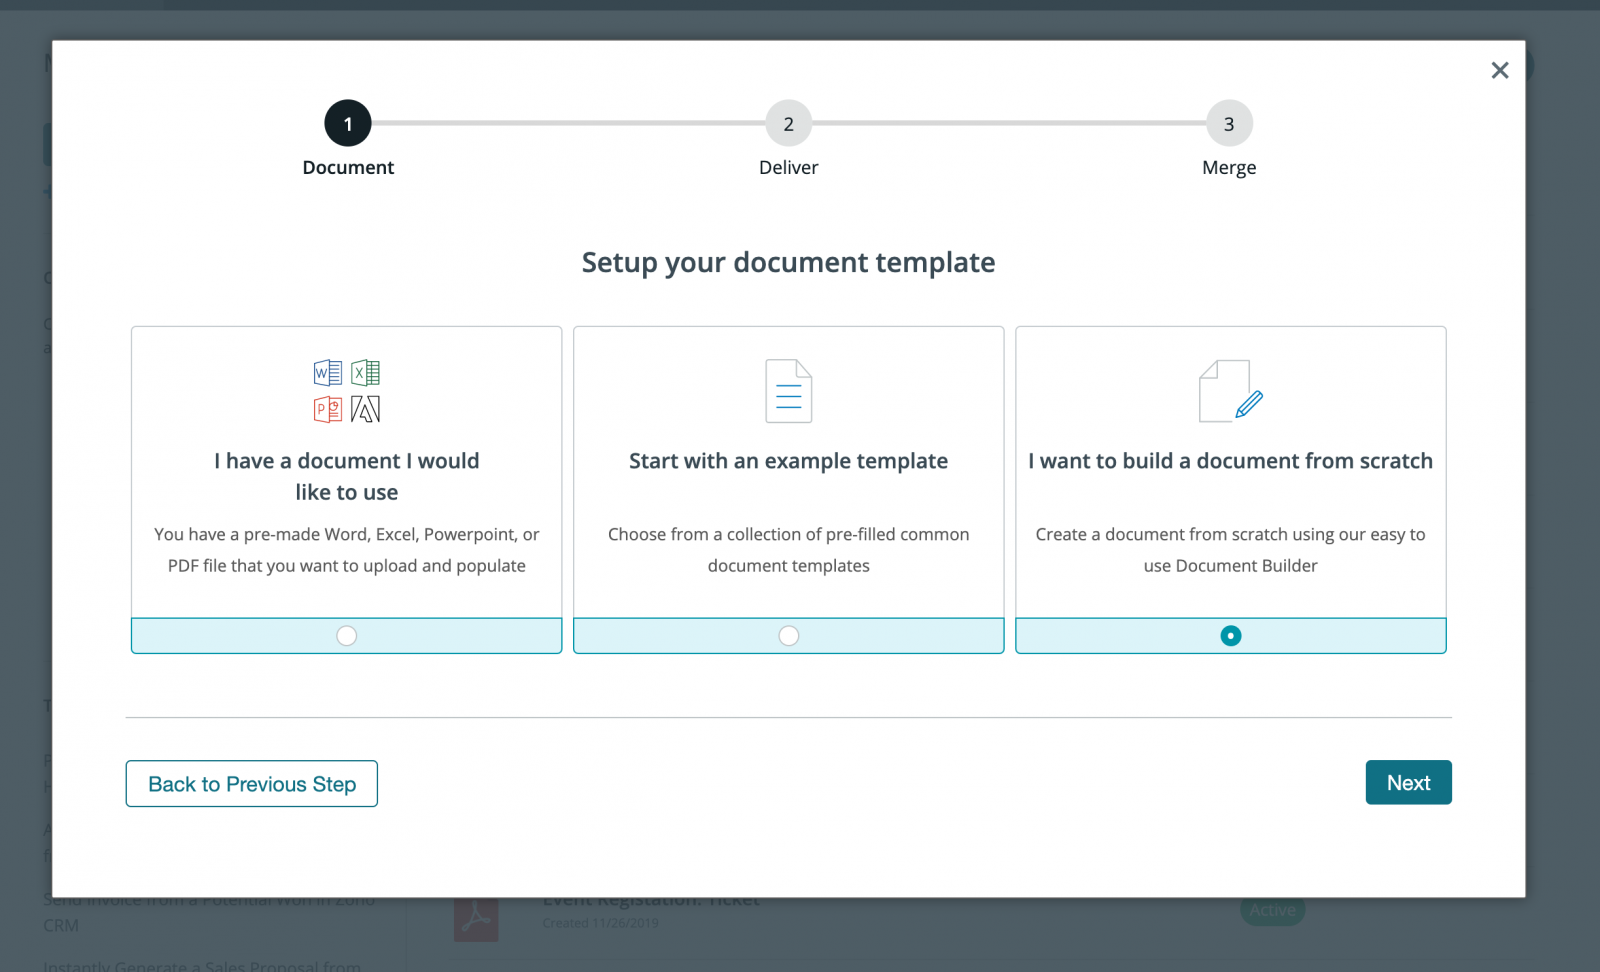
Inside Formstack Documents, we’re going to click New Document, name it “Credit Application”, then choose Fillable PDF on the next step. This is where we’re going to upload the PDF file from our computer.
Once you have the document uploaded to Formstack Documents, you can go through the Settings page and change any of those settings like the file name or if you want to be able to edit the PDF later.
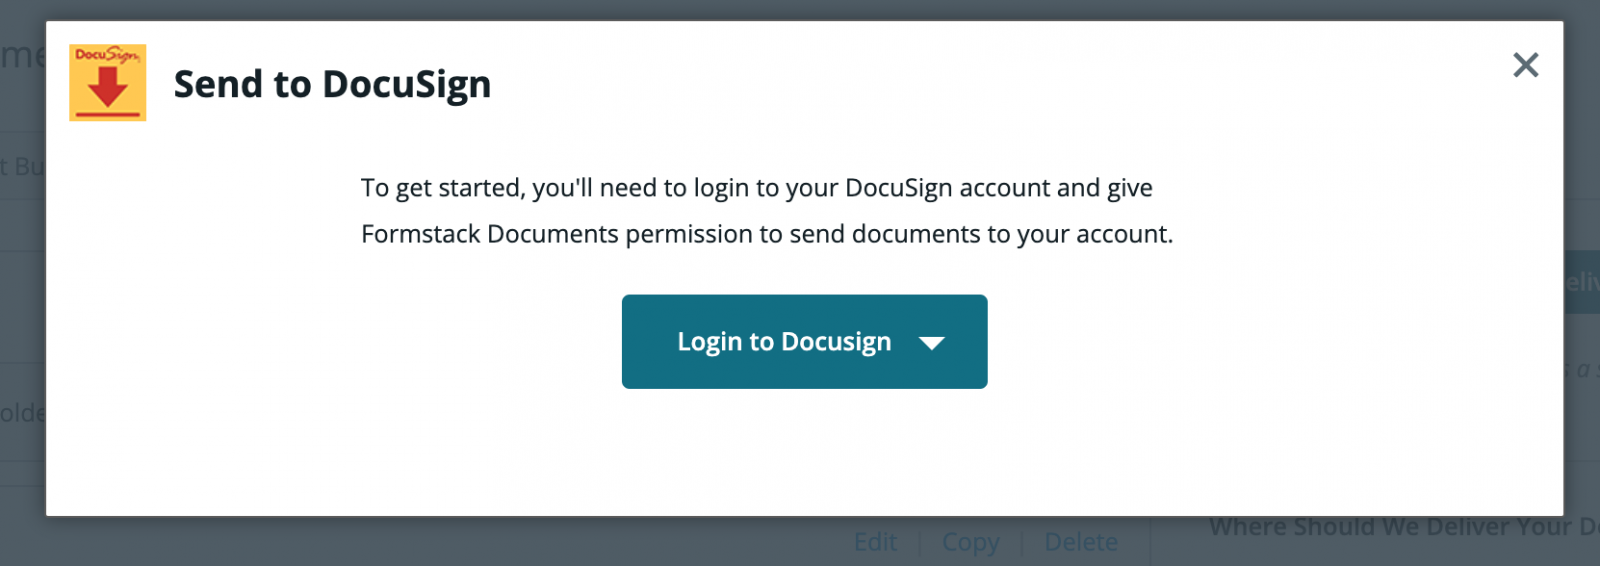
On the next step we are going to setup a “Delivery” for the populated application. By default, there is going to be an email delivery setup, but we need to collect a signature for the application. We’re going to use DocuSign to collect that signature, so we’re going to click New Delivery and select DocuSign. From here we’ll setup the integration and this will automatically send our populated application to DocuSign for signature.
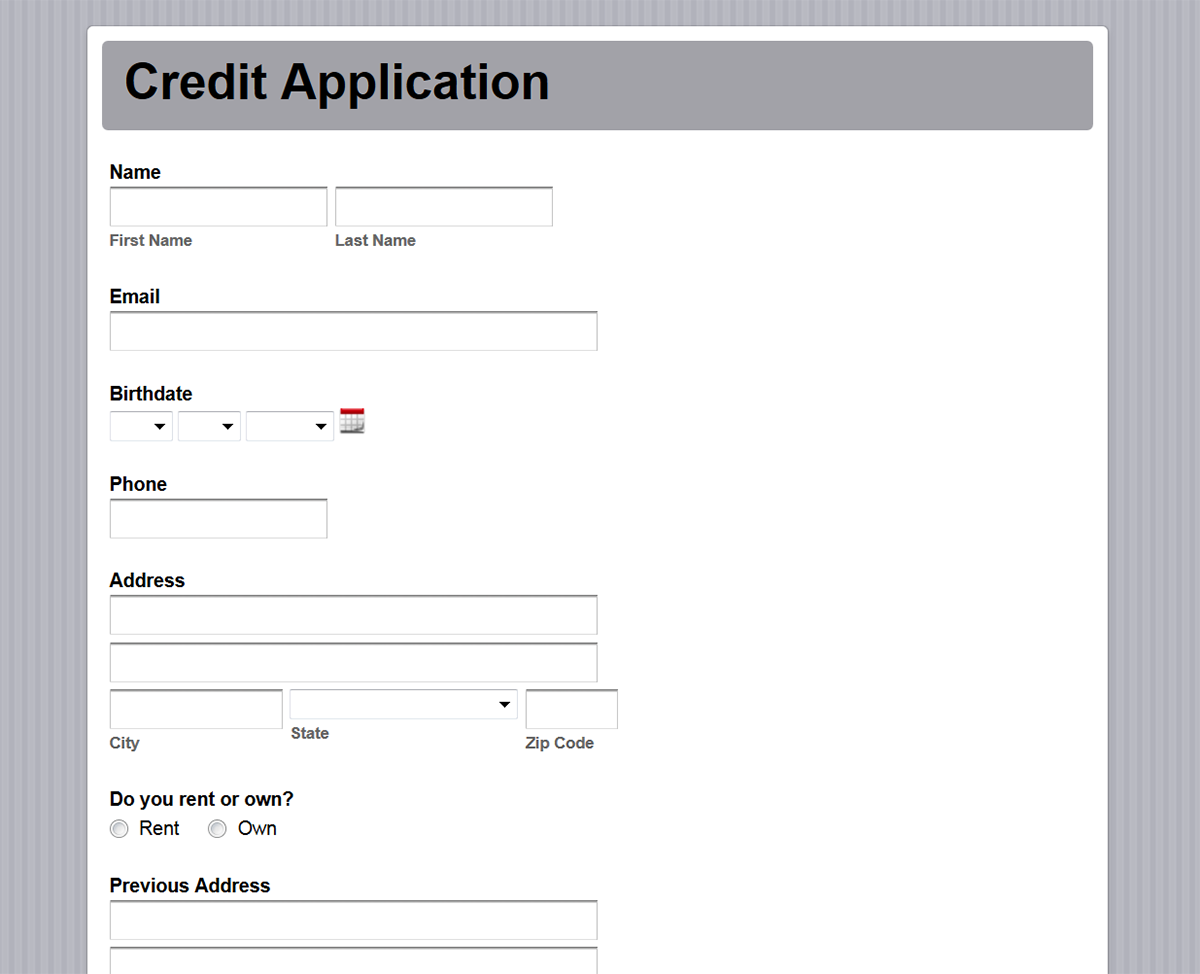
That should be the end of our document setup, so now we’re going to jump over to Formstack and build our web form that is going to collect the information we need from the applicant. Formstack has a great form builder with easy drag and drop functionality. You can build a form in no time and customize to your needs. Here’s what our form looks like:
Now that we have our form completed, we’re going to add the Formstack Documents integration onto the form so that with each submission that we get on the form, that information is automatically sent to Formstack Documents to populate the PDF. Under the Settings tab for your form, there is an Integration Hub section. Click that and go to the Documents section, then add the Formstack Documents integration. It’s going to ask for your Formstack Documents API Key and Secret and then it will pull in a list of your documents. Go ahead and find your Credit Application.
After you select the Credit Application, it will load a list of the fields that are in your PDF. For each of these fields, you are going to need to “map” them to the corresponding fields on your Formstack form (the fields in the dropdown menus on the right). This tells Formstack how to send the information over to Formstack Documents so that data goes into the correct spots on the PDF.

Congrats, you’re all finished with the setup! To do a quick test, jump over to the Publish tab for your form and fill out a quick submission with test data (using your contact information) and when you click submit, your information will be sent over to WebMerge, the PDF will be populated, then sent to DocuSign for signature. You should receive an email from DocuSign with signing instructions.