


Running an event can mean a lot of work (and headaches)!
We just got back from our annual all company meeting, Converge. Before we left, all attendees needed to complete several forms for Formstack. We used Formstack Forms, Documents, and Sign to make the process quick and easy.
Today, I’m sharing a similar tutorial to show you how to use Formstack products to streamline how you plan events. This workflow combines Formstack Documents and Formstack Sign with the power of Eventbrite to take the hassle out of organizing events.
This workflow can improve your events by automating tickets, receipts, waivers, and more. In this example, we’re going to show you how you can automatically send out waivers to your event attendees and have them sign before the event. This tutorial will use Formstack Documents, Formstack Sign, and Eventbrite. We’ll establish the integration between Formstack Documents and Eventbrite using Flow XO, which provides an automated way to integrate services in the cloud.
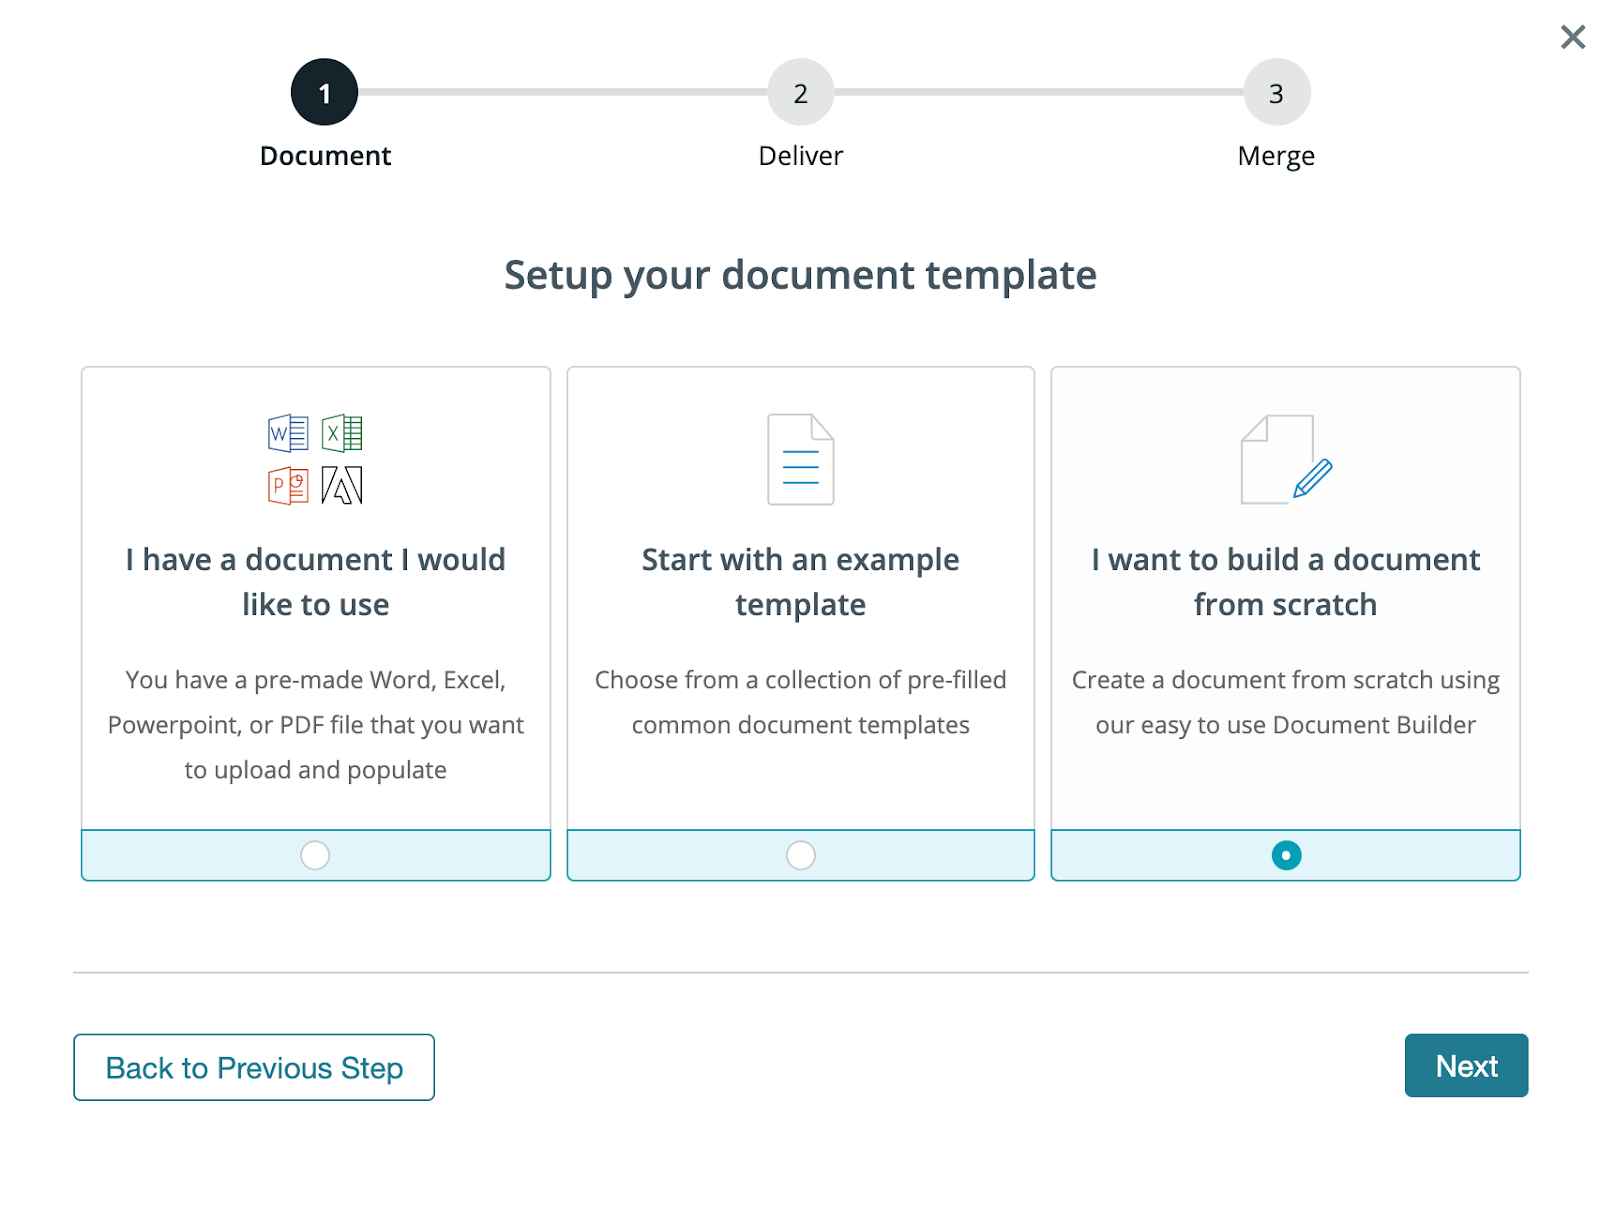
To get started, select New Document in your Formstack Documents account. You’ll be prompted to give your document a title and set up your template. You have the option to upload a Microsoft Word document, Excel spreadsheet, PowerPoint, or PDF; to start with a Formstack Documents example template; or to build your document from scratch. For this example, we’re going to build our waiver in the document builder.
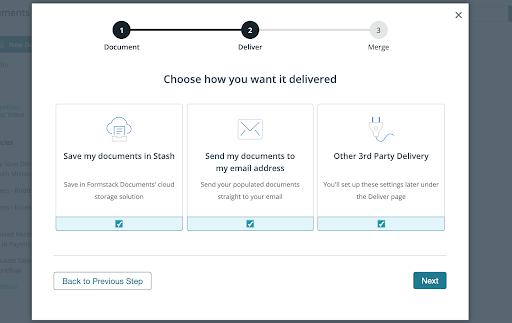
Next, choose how you want to deliver your populated document. We’re going to save our completed waivers in Formstack’s cloud storage tool, Stash; share our document with our clients by email; and send our document for signature using Formstack Sign. Select all three boxes.
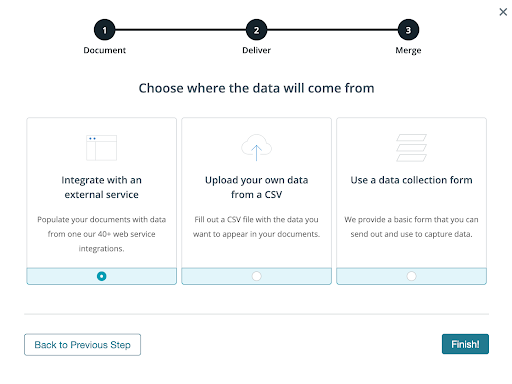
Finally, we need to choose where our data is coming from. We’re going to pull data in using Eventbrite, so select Integrate with an External Service.
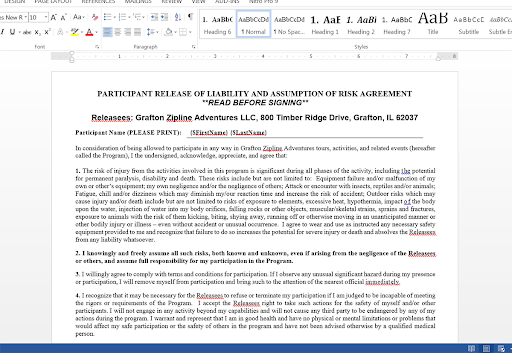
Now, it’s time to build our waiver template using the document builder. In the document builder, we’re going to add our boilerplate waiver information. For the spots that we want to insert our attendee’s information, we’re going to add merge fields that look like {$FirstName}, {$LastName}, etc.
Learn more: For a detailed tutorial on adding merge fields to your documents, check out this video.
Here’s what our waiver template looks like:
Since we’ll be getting this waiver signed, we need to add the Formstack Sign anchor tags so the signatures are added to the document where we want them. eSignature tags are made up of three components.
1. Text Tag Type
The first part signifies the type of text tag. Formstack Sign offers a few different types of text tags, which include:
- sig – to require a signature (Example: [sig|req|signer1])
- check – for creating a checkbox (Example: [check|req|signer1])
- initial – for requiring a signer’s initials (Example: [initial|req|signer1])
- date – to auto-populate the date when passed through Formstack Sign (Example: [date|req|signer1])
- text – to provide a short answer text box in place of the text tag (Example: [text|req|signer1])
2. Required Field
This part of the tag lets Formstack Sign know whether or not the field is required. (Examples: [sig|noreq|signer1], [initial|req|signer1]).
3. Signer Identification
Since you may have multiple people who need to sign your document, the last part of the tag identifies which signer should sign where. (Examples: [sig|req|signer1], [sig|req|signer2], [sig|req|signer3], etc.)
For our waiver, our signatures look like this: [sig|req|signer1]
After you’re finished adding your text tags and creating your template, change the color of your text tags to white. This will “hide” them inside your document.
Save your document, and navigate to the Settings tab, where you can modify options like the name of the file and the type of file that we want to generate. For this example, we’re going to generate a PDF and include the name of our attendee in the file name.

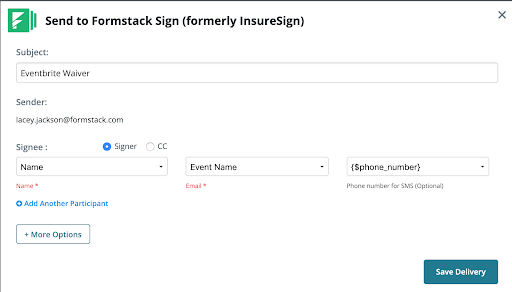
After we’ve updated our settings, we’re going to set up our eSignature collection. Head over to the Deliver tab in Formstack Documents and click New Delivery. Formstack Sign will be at the top of the list. To make collecting waiver signatures as easy as possible, we’re going to send them to clients by text message. Simply give your document a name, designate a sender email, and select the merge fields that contain the signer’s name, email, and/or phone number.
Now, we’re ready to set up the integration with Flow XO.
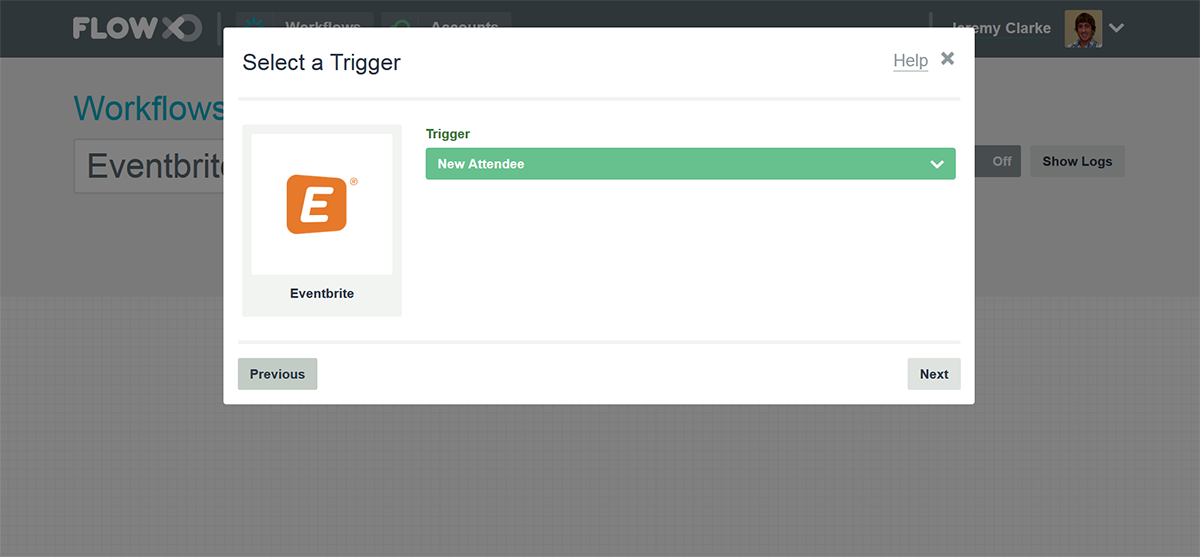
From inside Flow XO, go ahead and create a new Workflow. For the trigger, we’re going to pick Eventbrite as the service and then New Attendee is the trigger.
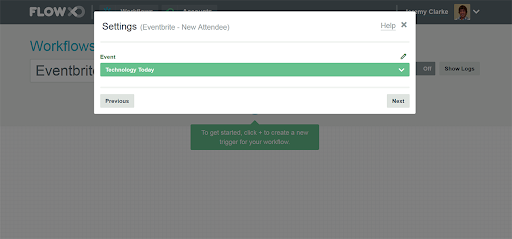
After you authenticate your Eventbrite account, you’ll have to pick the event that you want to monitor. Go ahead and pick your event.
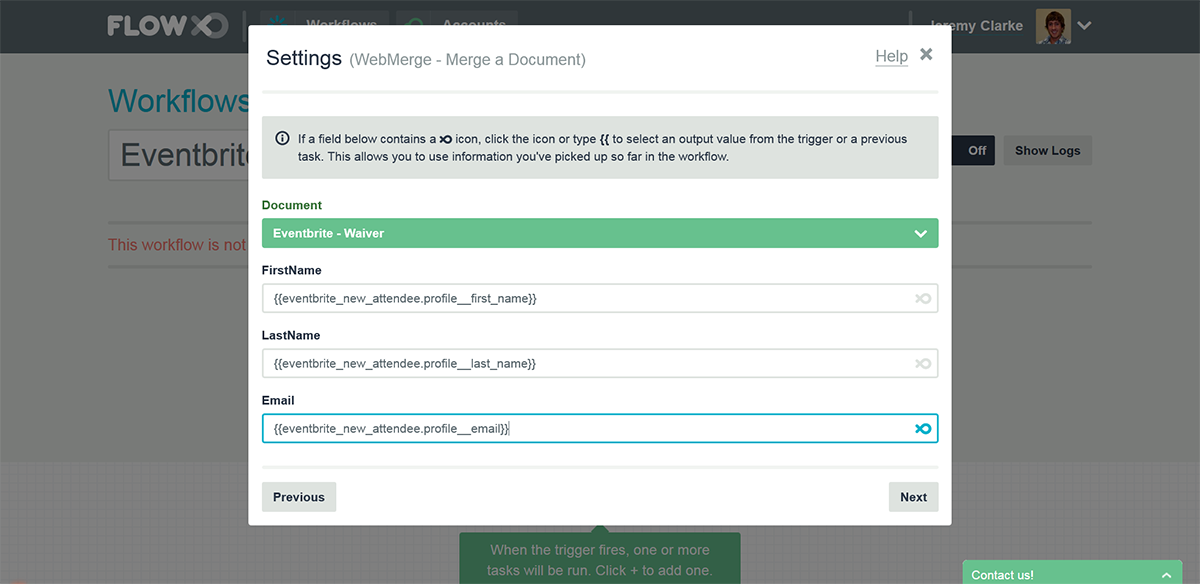
Next, we’re going to set up the action for our workflow. For the service, we’re going to pick Formstack Documents and then Merge Document as the action.
After you authenticate your Formstack Documents account, you’ll need to pick the document that you’d like to merge. Once you pick the document, Flow XO will load a list of the merge fields that are in your document.
For each of your merge fields, you need to pick the corresponding Eventbrite field.
After you have mapped all your merge fields, go ahead and save your workflow and turn it on! You’re ready to run a test through Eventbrite. Add a new attendee to your event, and then Flow XO will send that attendee’s data over to Formstack Documents. Your waiver will be generated and sent over to attendees by text message for signature.
Feeling inspired to learn more about Formstack Documents? Check out the video below to learn how to customize your documents to better fit your brand and make them more aesthetically pleasing.

