


Managing projects, finances, timesheets, and deliverables can be a job in itself, but with Harvest you can make life a whole lot easier. Harvest can track all your expenses throughout a project and make it easy to bill your customers when the project is complete. Sounds great, right? Well, we agree, but what if you want to customize the invoices or send letters to your new customers? Your options are limited.
With Formstack Documents, you can easily generate customized invoices, send welcome letters to new customers, and more. With the help of Zapier we can automatically send data from Harvest directly to Formstack Documents to generate these documents.
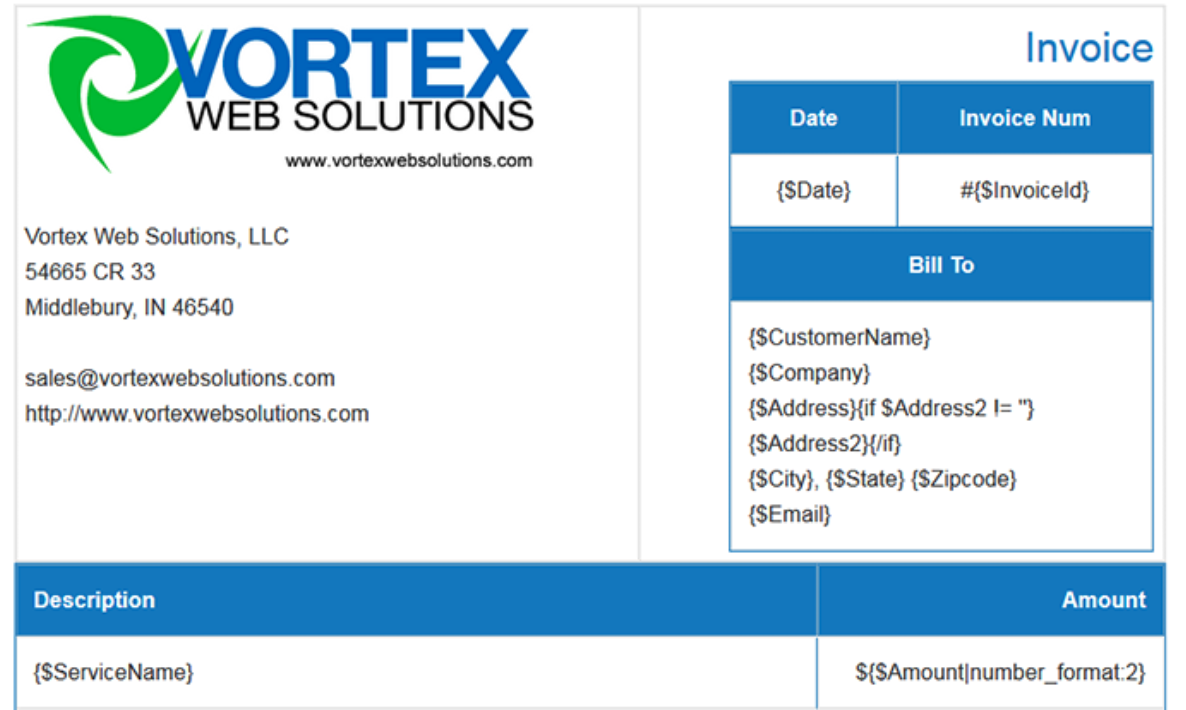
In this example, we’re going to show you how to generate a customized invoice from your Harvest account. This will be automatically generated each time a new invoice is entered into Harvest. To get started we’re going to setup our template in Formstack Documents using the online builder. Here’s what our template looks like:
After you have your template setup in Formstack Documents, we need to setup our email delivery so that the invoice is emailed to our customer when it is created. Jump over to the Delivery tab and edit the default email delivery we have setup already. You’ll need to update the “To” field to map to the email address of the customer (the merge field you’ll be using).
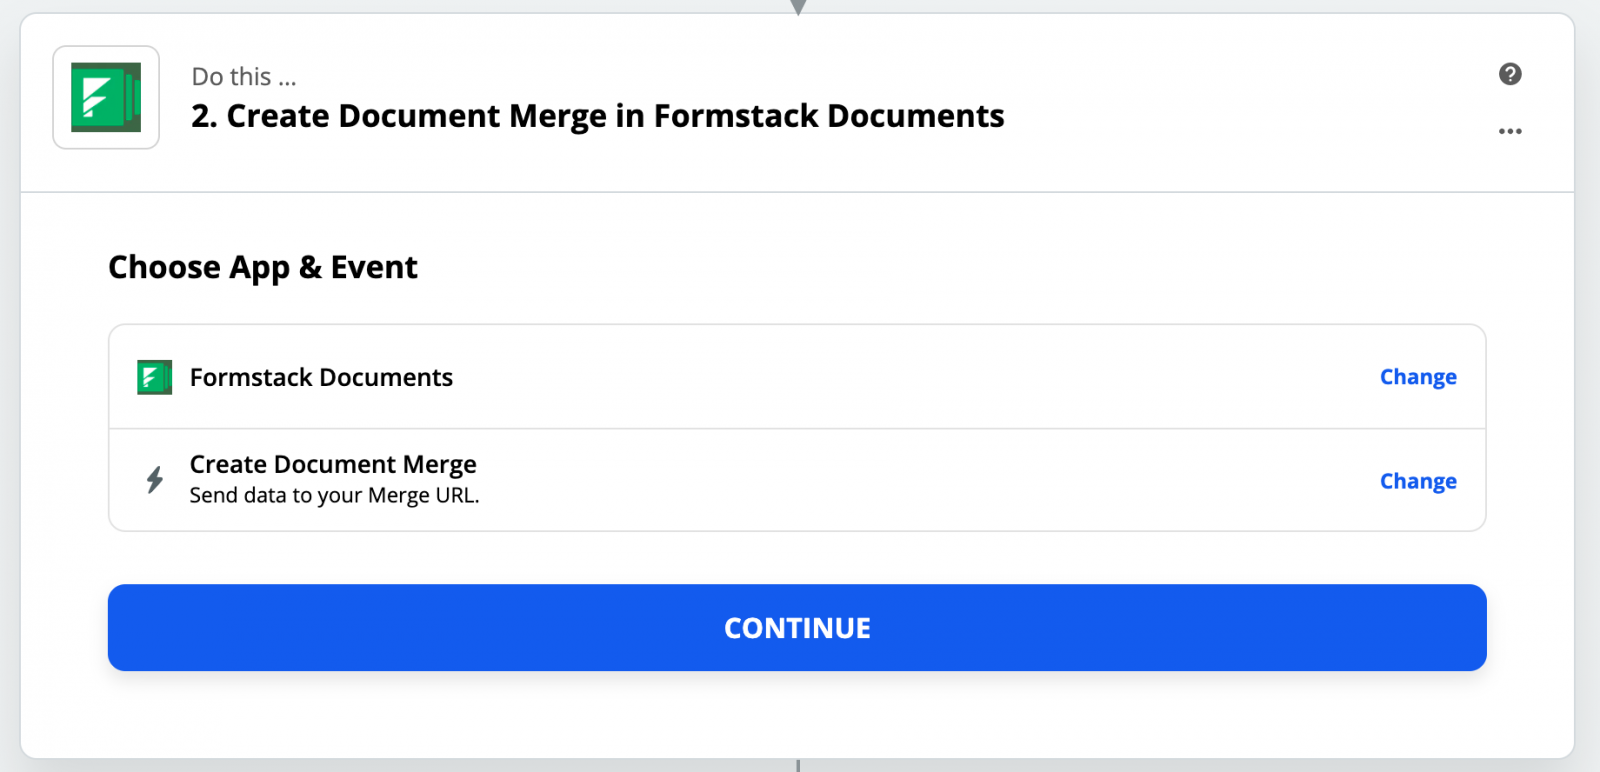
Great, now we’re ready to setup our Zap inside Zapier. You’ll want to choose Harvest > New Invoice as the trigger and then choose Formstack Documents > Create Document Merge and authorize your accounts accordingly.

When you add your Formstack Documents account, Zapier will load a list of your documents for you to pick from. Go ahead and pick the Invoice document you just created and then a list of the merge fields in your document will automatically be loaded below. Your next step will be to match up those merge fields with the fields coming from Harvest. This tells Zapier how to send your Harvest information over to Formstack Documents.
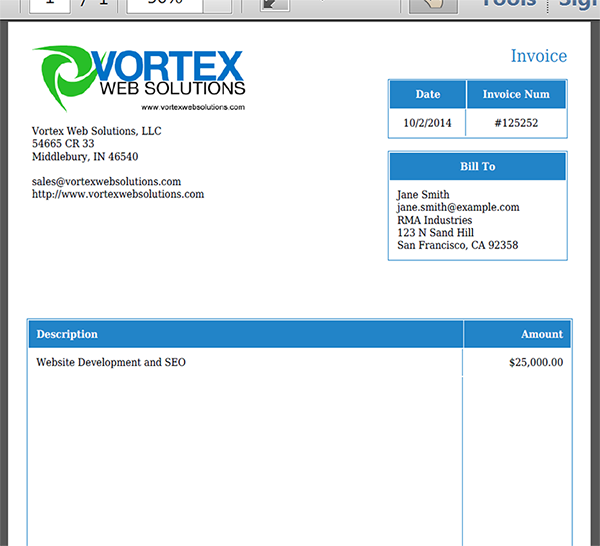
Once you have the mapping complete, let’s run a test! Zapier has an easy way to send test data to Formstack Documents and you can find that below the mapping. Follow the instructions from there. If you need to make any changes, you can do so inside Formstack Documents and then run another test. Here’s what our test looked like:
Congrats! You’re all set and now each new invoice you add to Harvest will automatically be emailed to your customer. Check out the video below to learn more about leveling up your document generation process with Formstack Documents.

